SLC-S21W1: Creating a Blog for Amazon Affiliate Marketing
2 comments

Hello steemians,
I am enthusiastically participating in the Steemit Learning Challenge Season 21 competition. Through this initiative, I am developing an Amazon affiliate blog using Blogger to promote various products. This project allows me to practice essential skills in content creation and affiliate marketing. I am looking forward to sharing this experience, interacting with the community and receiving constructive feedback to improve my approach.
Step 1: Creating the Blog
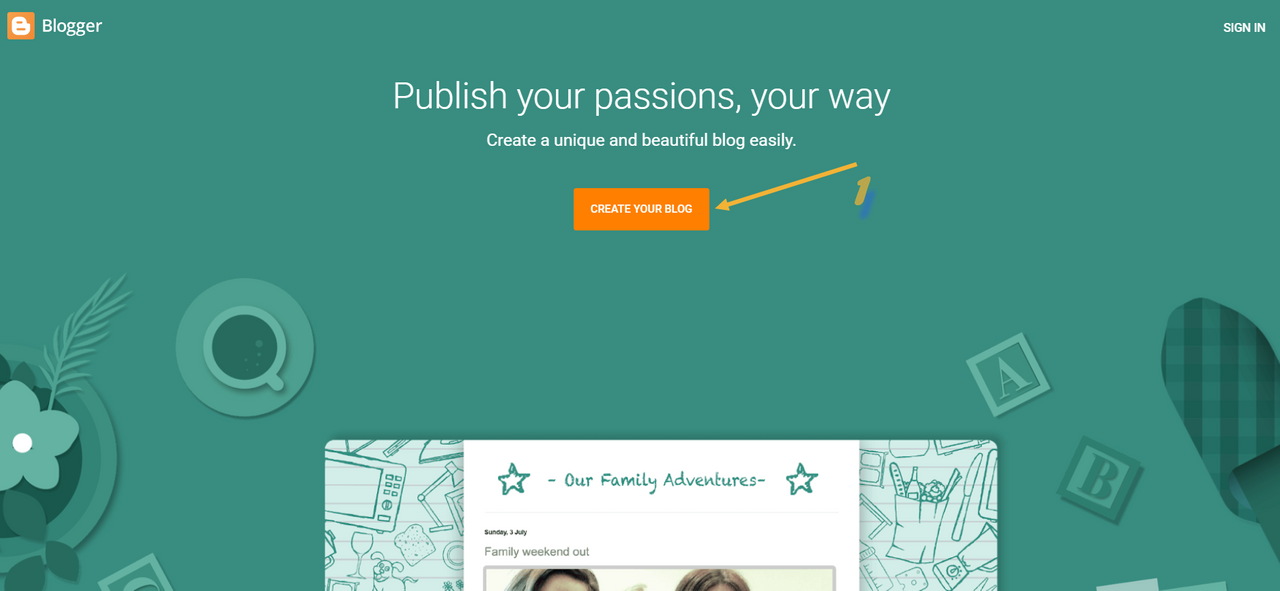
To start, I go to Blogger and sign in with my Google account. This takes me to the Blogger homepage, where I can begin setting up my blog by clicking the "Create Your Blog" button (Image 1). This button guides me through the setup process, where I’ll choose my blog's name and URL.
In the setup, I pick a relevant name that reflects my blog’s theme, such as "Deals Tailored for You" (Image 2). This name will appear at the top of my blog and should attract visitors while clearly indicating the type of content I offer. Next, I set a unique URL for my blog, selecting an address that’s memorable, like dealztailored4u.blogspot.com (Image 3).
In the Display Name field, I add my name or pseudonym, like Bilel (Image 4), which will be publicly visible to readers. To complete this step, I click Finish.
I’m then redirected to my Blogger dashboard, where I can manage my blog and its content (Image 5).
Step 2: Applying a Custom Theme
A custom theme can significantly enhance my blog’s appearance, which is essential for a professional affiliate blog. First, I download a Blogger theme optimized for affiliate blogs, which provided by the author.(Image 6)
Once the theme file is downloaded, it’s usually compressed in a ZIP format, so I extract it to access the XML theme file. Then, I go to the Blogger dashboard, click on Theme, and select Customize. In this section, I choose Restore (Images 7 and ) to import the theme.


I click Upload and upload the extracted XML file (Image 9).
After applying the theme, I view my blog to ensure it looks the way I want and displays well on different devices.
Step 3: Customizing the Post Template Code
To keep my product posts consistent, I set up a customized post template. I open the text file containing the HTML code of my post template, usually provided with the theme or downloaded separately (Image 10).
In the Blogger dashboard, I go to Settings and scroll down to the Post Template section (Image 11). I paste the HTML code into the "Post Template" box (Image 12). This template adds a specific format for my posts, including buttons and sections for product information.


The code usually includes CSS classes like product-data and a "View at Amazon" button that redirects users to Amazon. Once I paste the code, I click Save to save the template. This template will apply automatically to every new post, ensuring visual consistency.
Step 4: Researching and Selecting Products on Amazon
With my blog set up, I choose products to promote. I go to Amazon and search for products relevant to my niche, such as gaming keyboard and mouse (Image 14).
While browsing, I collect essential information about each product, like the title, main features, price, and image. I download high-quality images of the products, ensuring they’re visually appealing and represent the product accurately (Image 15).
Step 5: Creating Product Posts
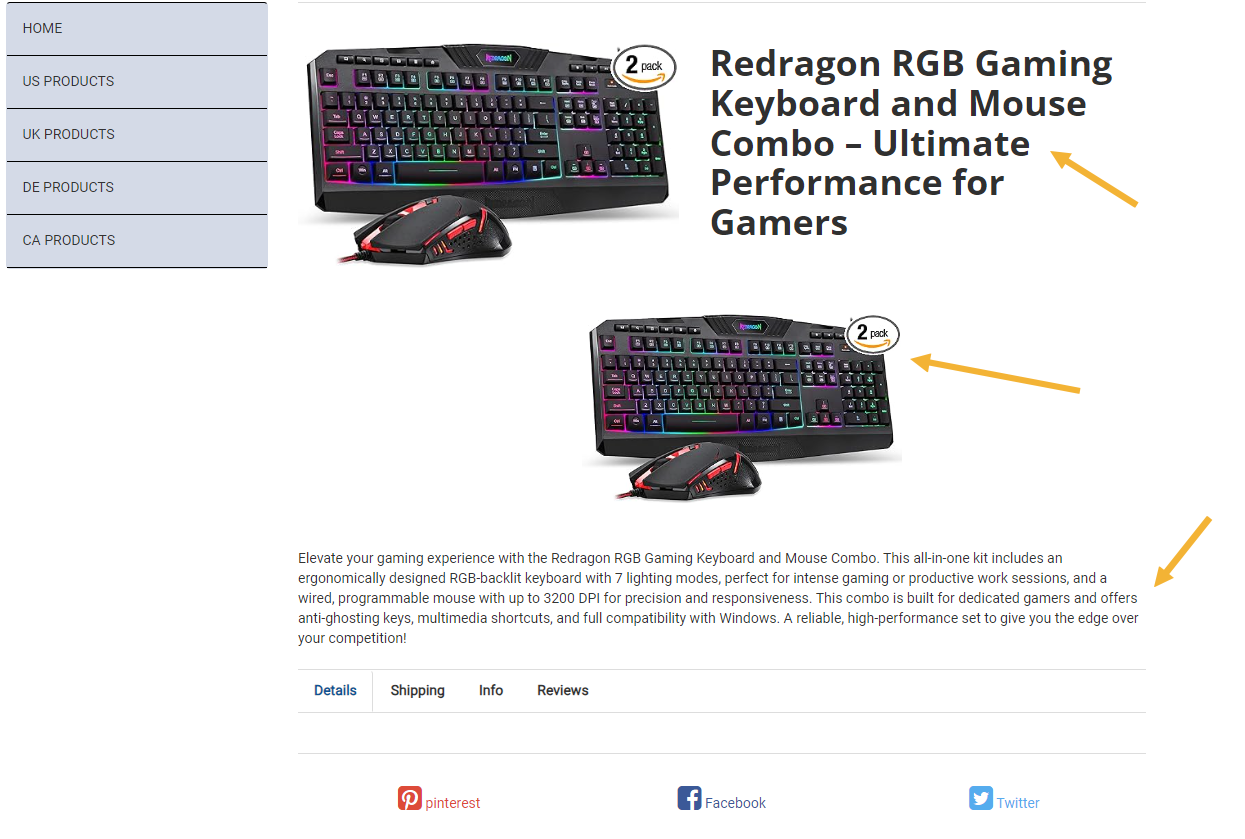
In my Blogger dashboard, I click New Post to create a new post for each product (Image 15). I add a specific title for each post, like "Redragon RGB Gaming Keyboard and Mouse Combo – Ultimate Performance for Gamers". Then, I insert a product image I downloaded earlier to grab readers’ attention . I write a concise yet informative description of the product’s key features, highlighting what makes it appealing (Image 16).
To encourage affiliate clicks, I use the HTML post template to insert a "View at Amazon" button that directs visitors to the product on Amazon. I add my affiliate link in the HTML code to make this possible.
Step 6: Publishing and Managing Posts
After completing the product description and adding the affiliate link, I publish the post by clicking Confirm (Image 17).
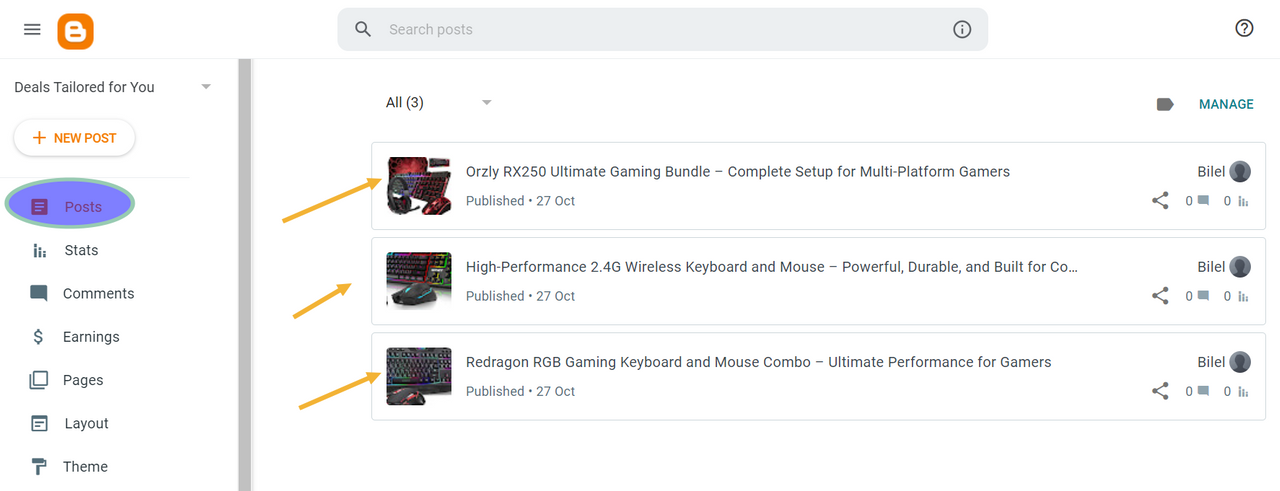
Once it’s live, I go to the Posts tab to view all available posts and check their organization (Image 18).
To help users navigate, I organize my posts into specific categories, such as "US PRODUCTS" and "UK PRODUCTS" (Image 19). This setup makes it easier for visitors to find products relevant to their location.
Here are the links to the blog and the links to the three product posts:
| Blog Link | Product 1 Link | Product 2 Link | Product 3 Link |
|---|---|---|---|
| Link) | Link | Link | Link |
Thank you very much for reading, it's time to invite my friends @khursheedanwar, @stream4u, @fombae to participate in this contest.
Best Regards,
@kouba01


Comments