Simple Techniques Part-01 with Examples of Electronic Fault Finding.
1 comment
Steemian Friends,
Today, I will share an electronics troubleshooting trick with Steemian friends. We worry about solving problems with our electronic devices at home. Through my writing, I will show you that we can solve the problems of home electronic devices by ourselves. Today, I will show you the technique for finding and solving the electronic fault of the battery charger of my office emergency generator. I hope you will benefit from my blog.
.png)
Design By Canva
I first learned about the 24-volt battery charger problem and its configuration. The problem is that the battery charger's output voltage is not 24 volts. I then found the charger's input and output voltage. The input voltage of the charger is 220 volts, and the output voltage is 24 volts. I checked the output with a 220-volt supply at the input.
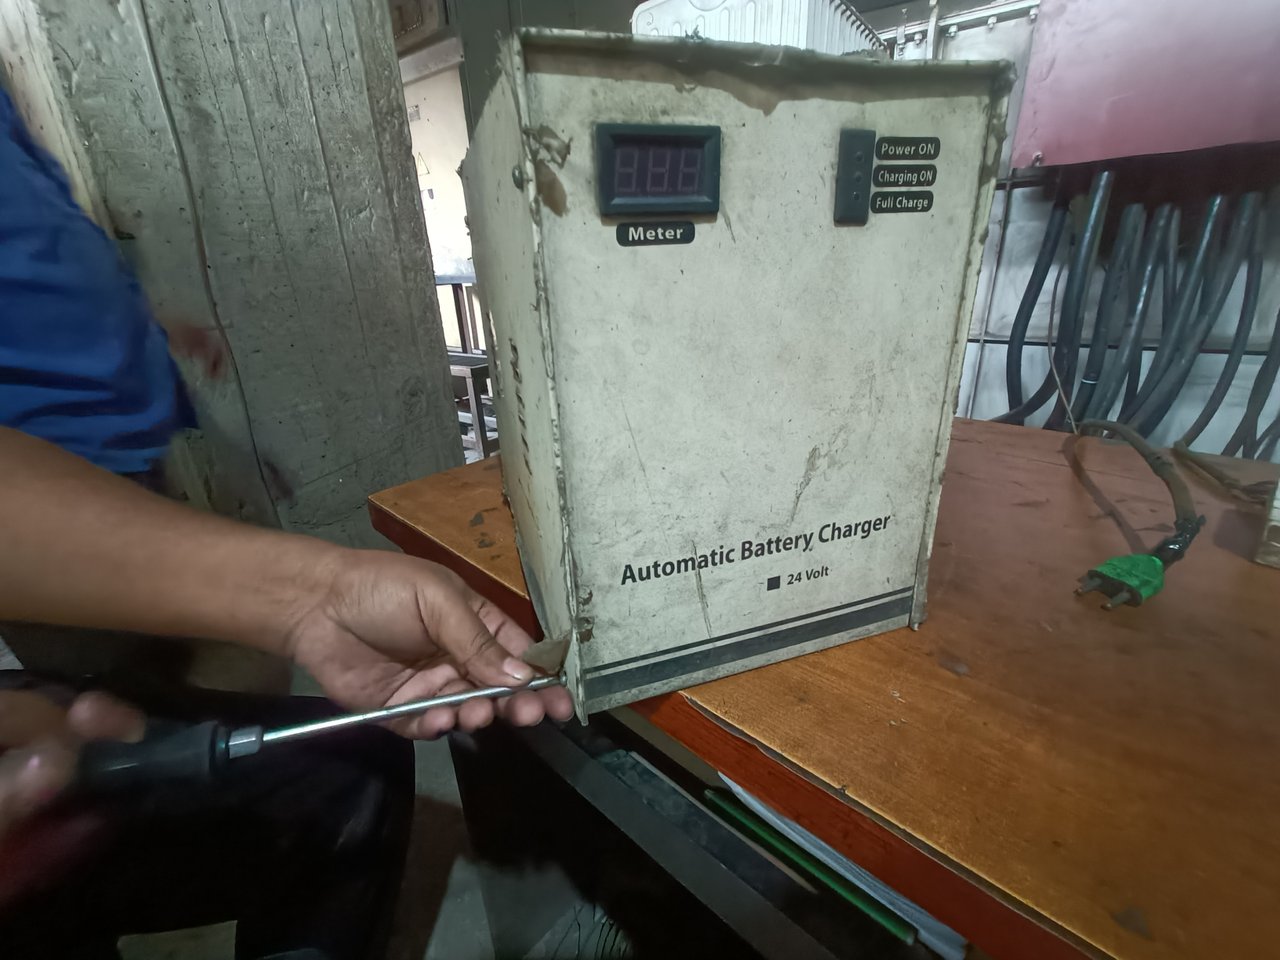
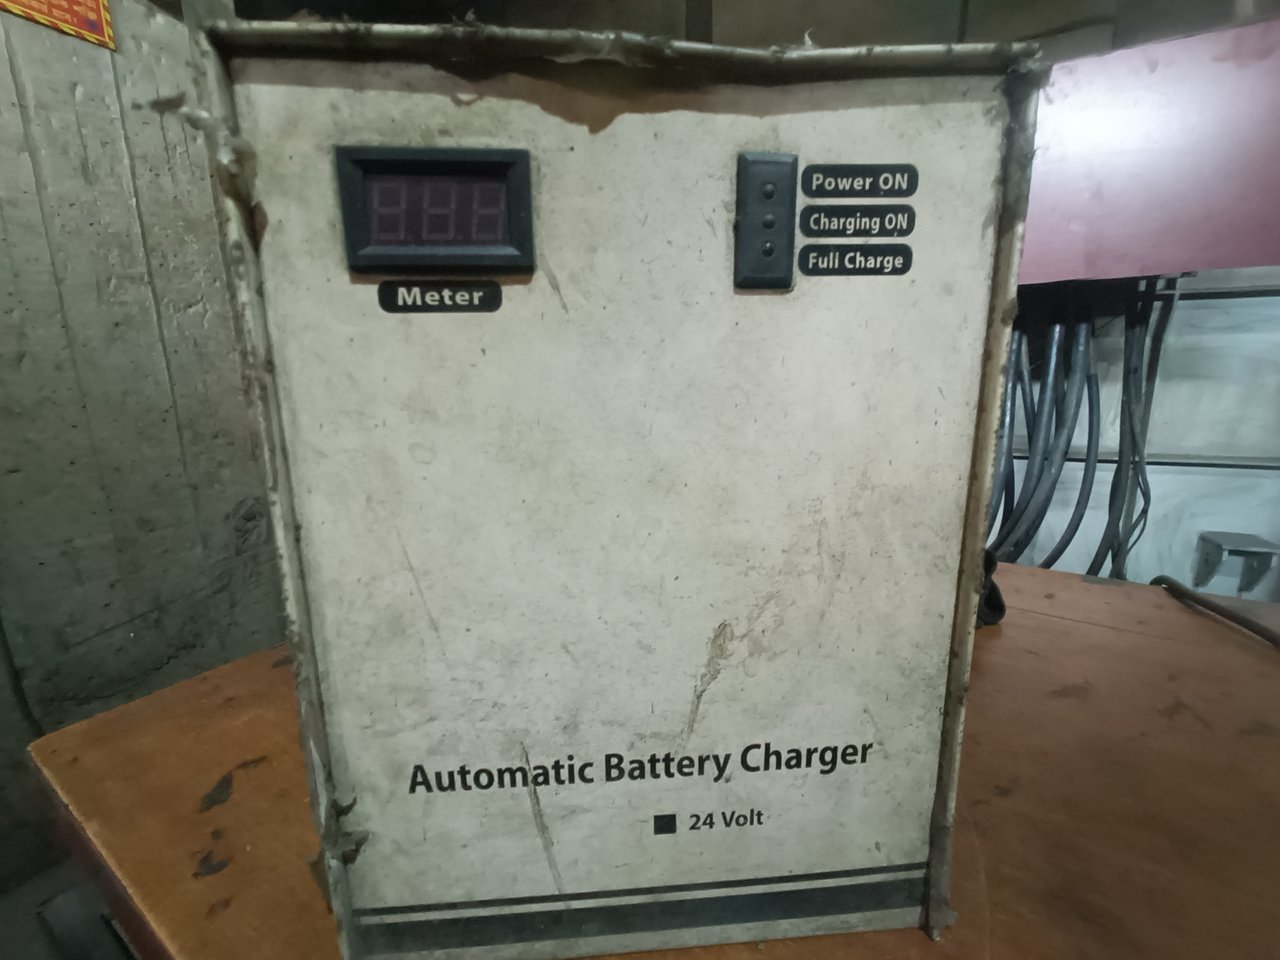
Then, I didn't have the electronic tools to open the top cover of the battery charger. My electrical team helped me. After opening the top cover of the battery charger, I found a lot of dirt on the electronics circuit inside. I cleaned the circuit with a blower machine with my electrical team. Many times, dirt in the electronic circuit causes problems in the output.
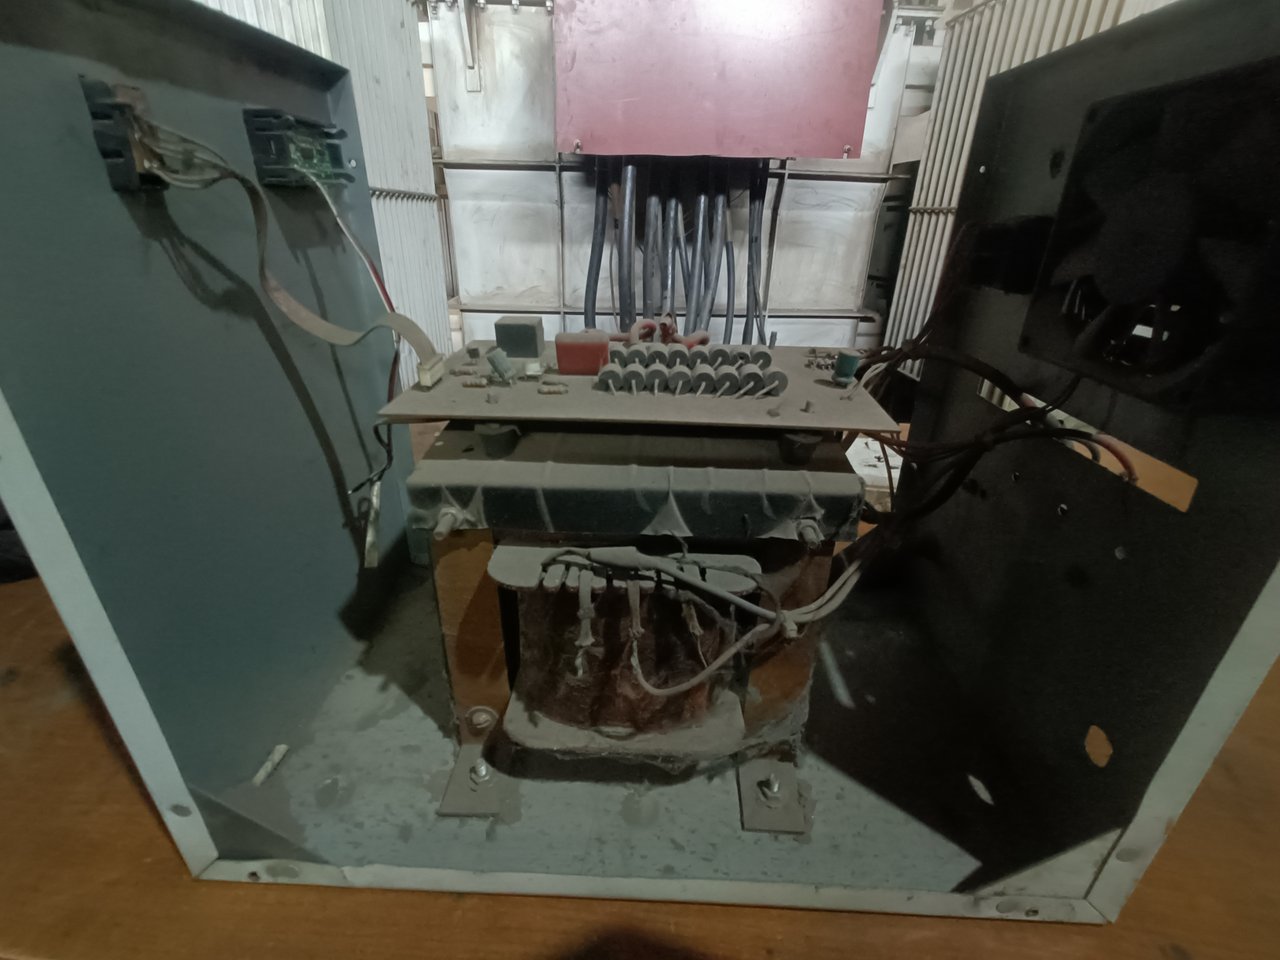
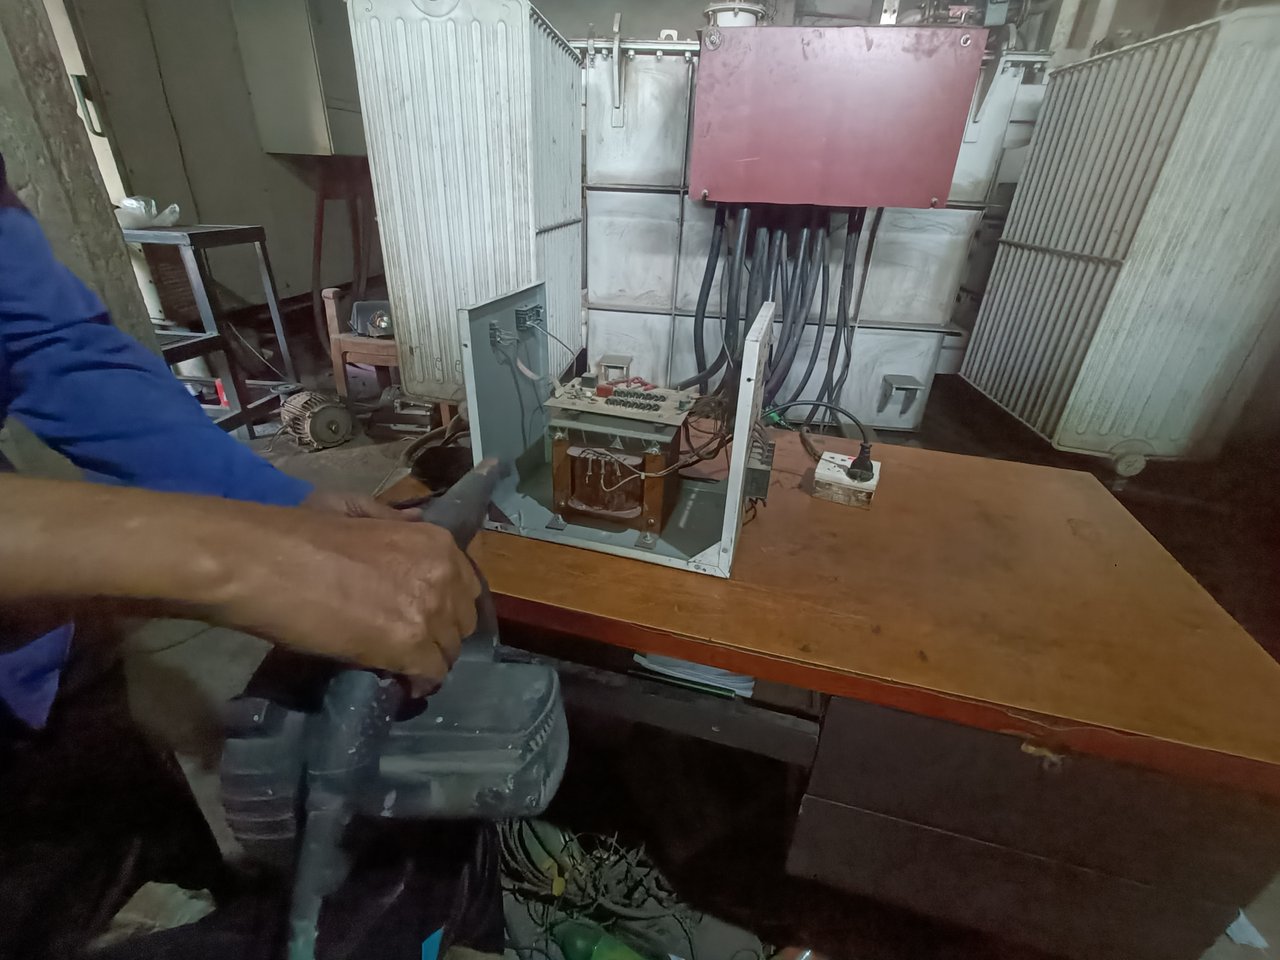
Then, I resort to the first strategy to solve the problem. I first visually check the entire electronic circuit to see if any electronic component is blown. Then, I check the 220/24-volt electronic transformer. I check the battery charger very carefully. In about ten minutes, I found no signs of electronic component failure in the circuit. Then, I resorted to the second technique of finding the electronic fault.
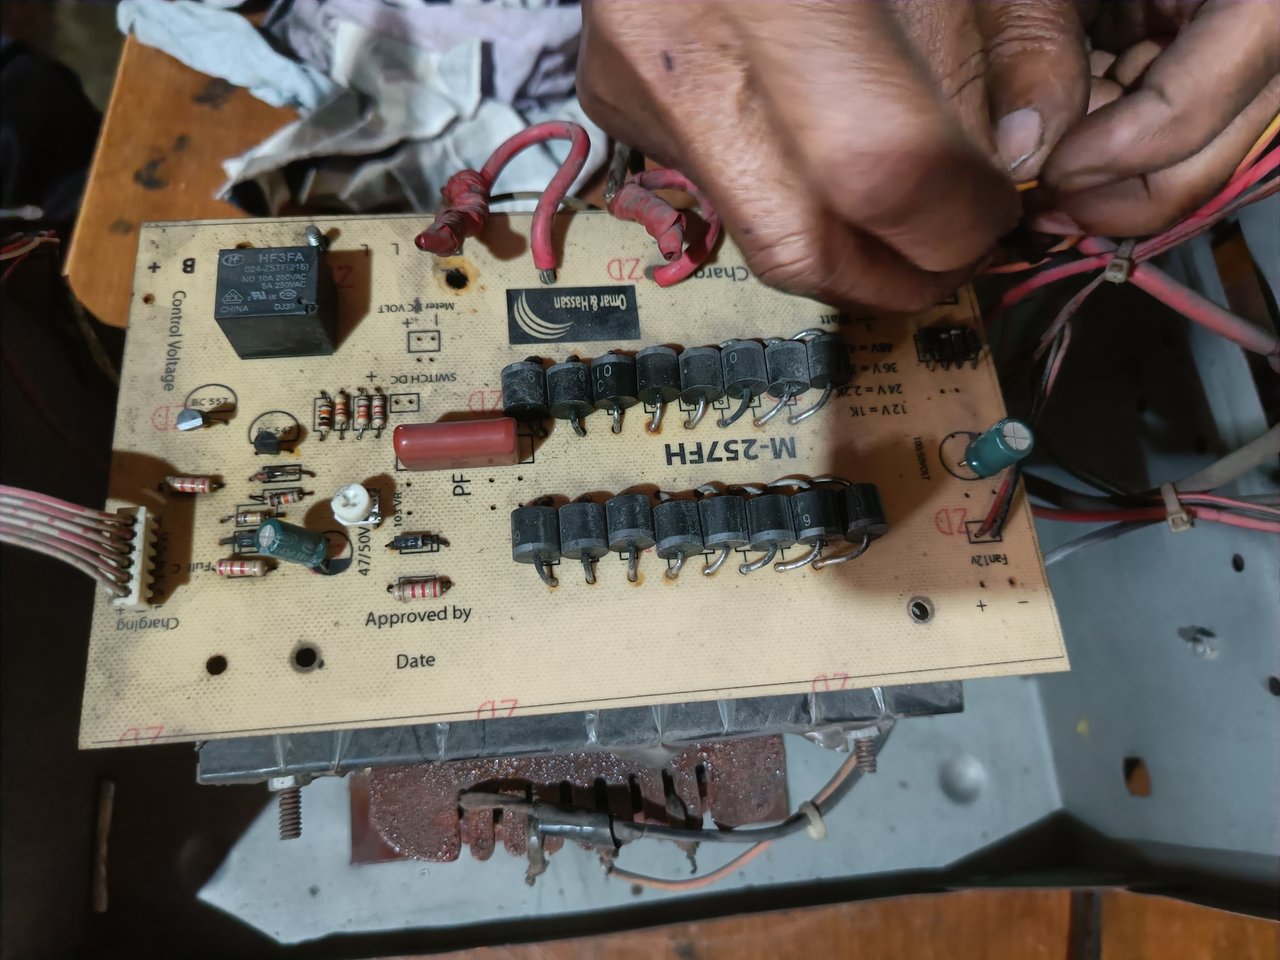
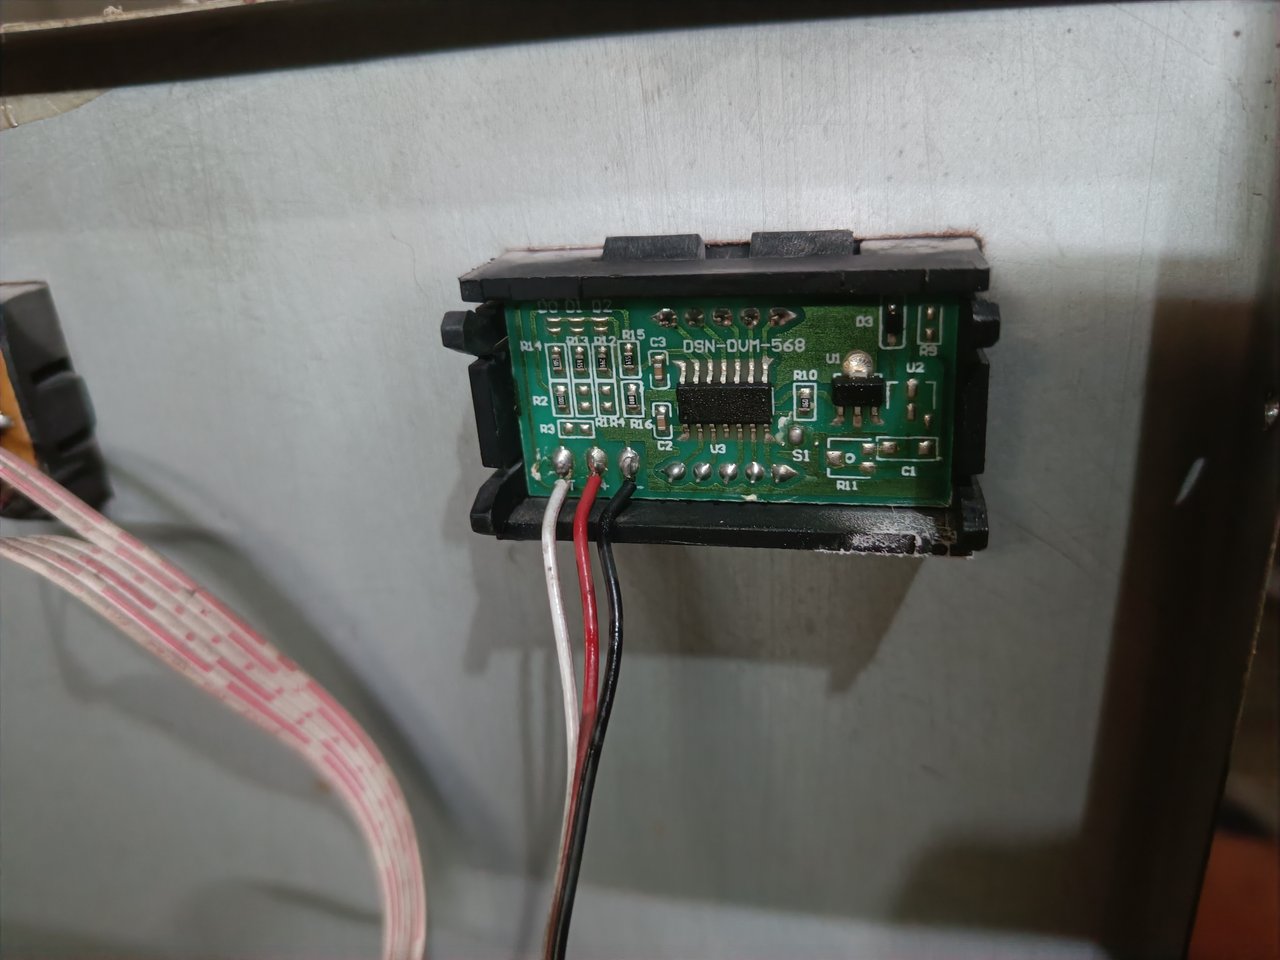
I measured a few suspicious electronic components with a multimeter, checked that the circuit had a fuse, and checked the capacitors and diodes of the electronic circuit. I did not find any problem inside the battery charger, so I resorted to a third method of finding an electronic fault.
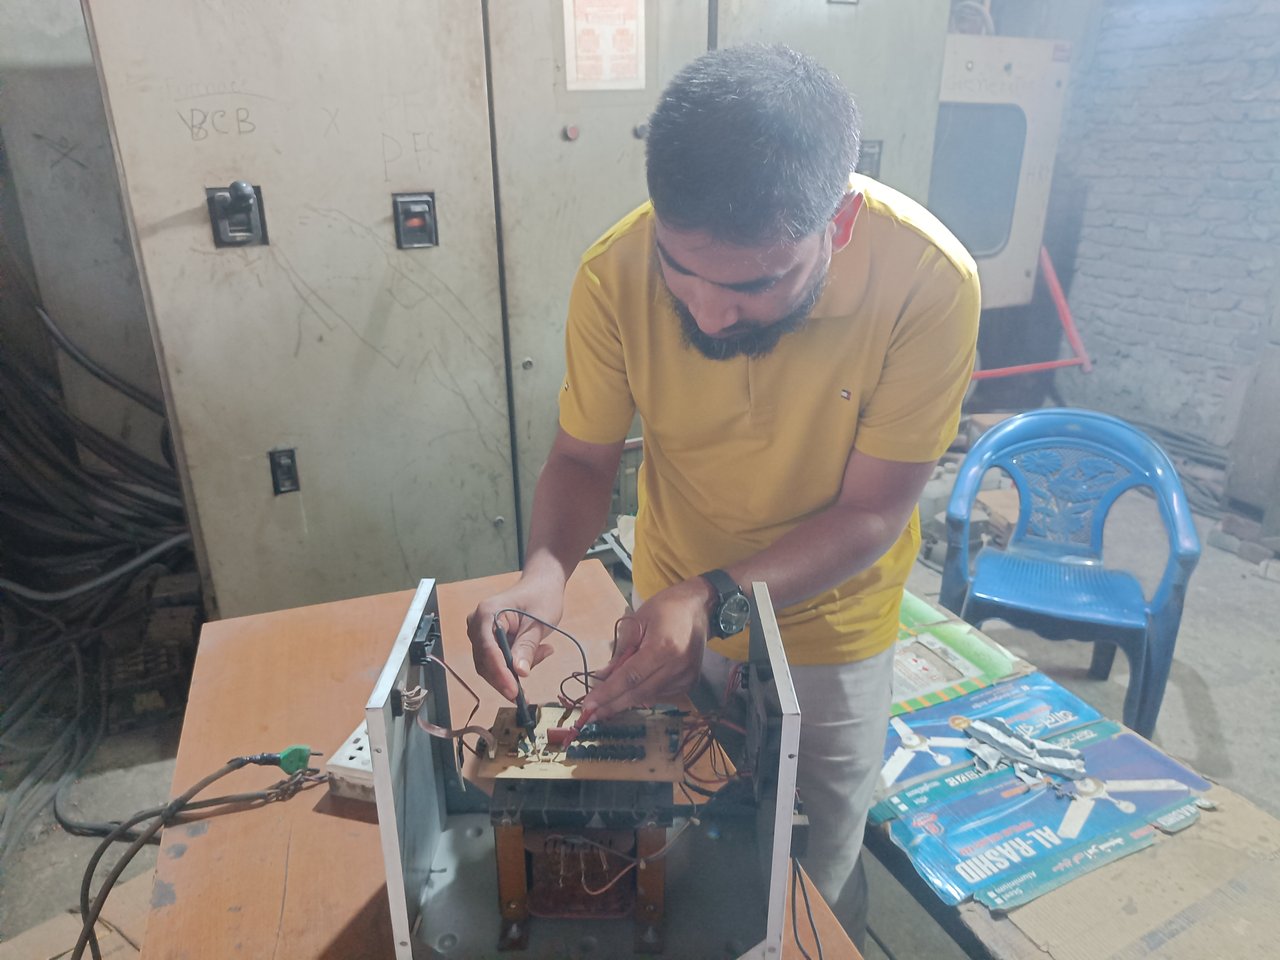
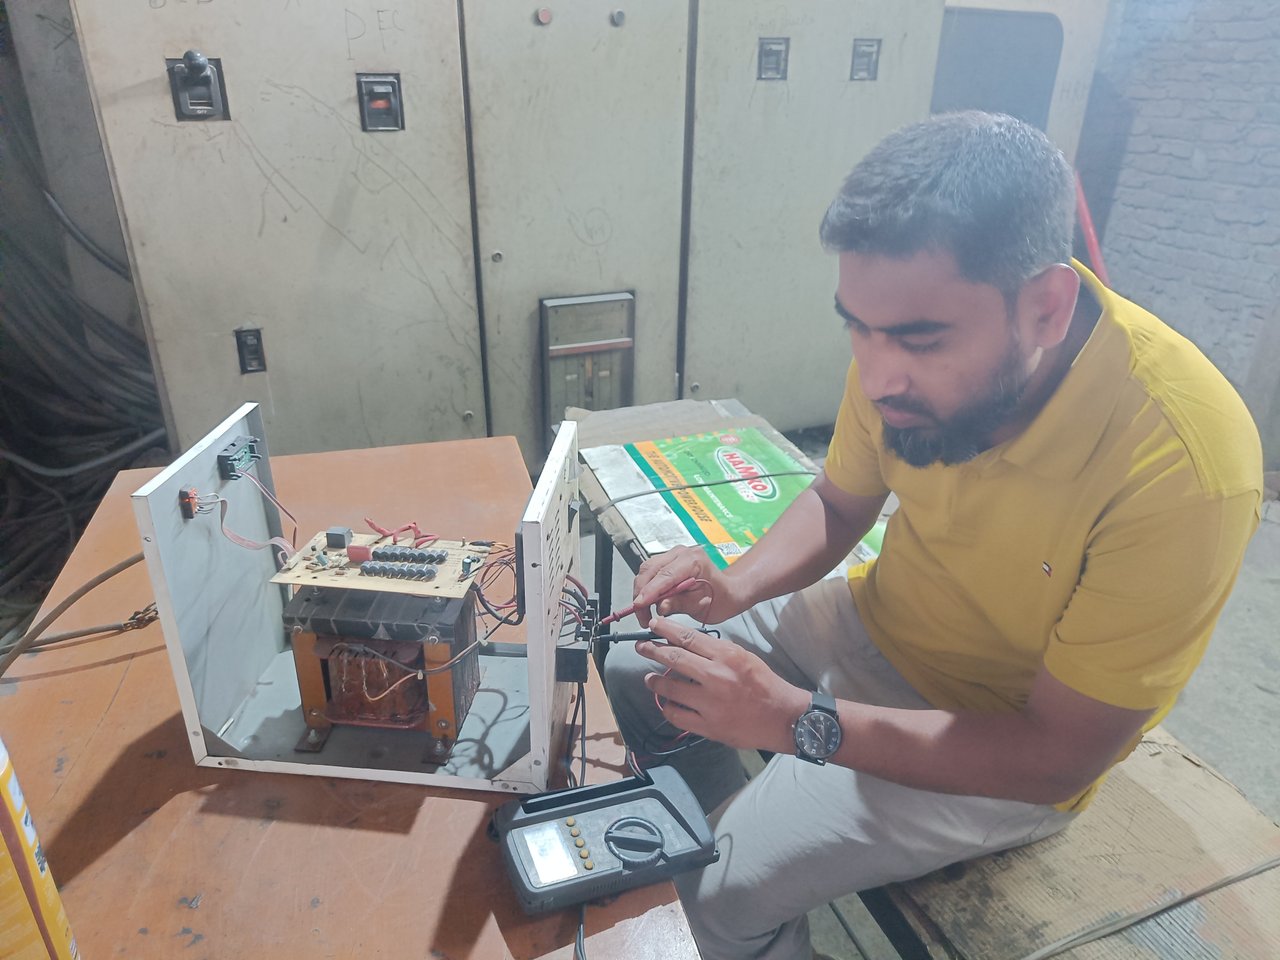
I bring a contact cleaner to clean electronic circuits. I spray each electronic component with contact cleaner. If the output is stopped after dirt on the electronic circuit, this method will fix it. After I cleaned the electronic circuit with contact cleaner, the battery charger came out pretty good.
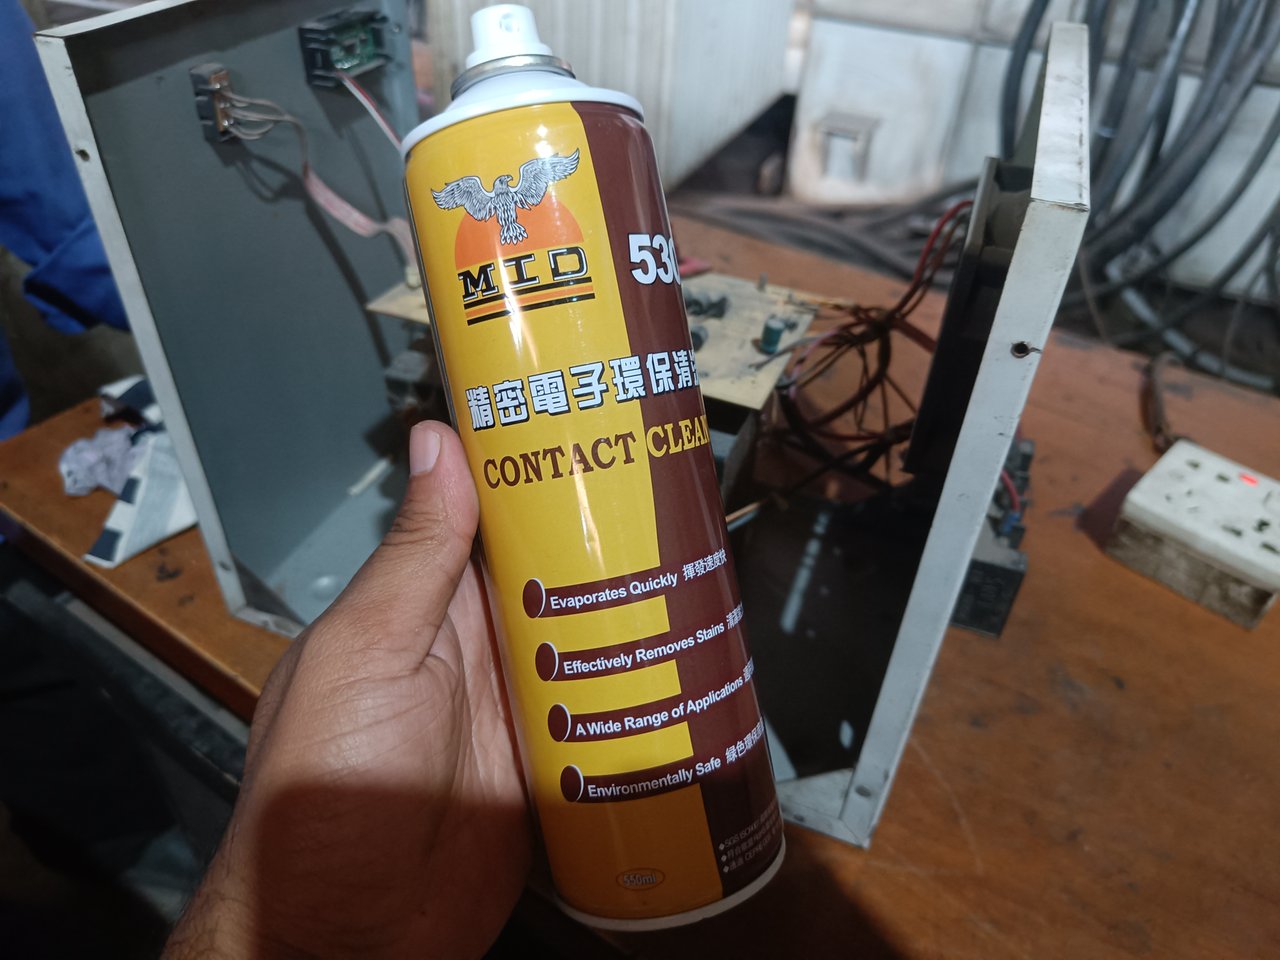
Then, I turned on the charger again with an input 220-volt battery charger. Initially, the output lights of the battery charger light up. Then, I measure the input and output voltages with a multimeter. I got the desired output voltage of my battery charger to be 24 volts. I then realized the problem was caused by dirt on the electronic circuit inside the battery charger. In this way, we can solve small electronic faults ourselves. We are worried about a small problem and are looking for people who can work with electronic devices. But if we want to be brave, we can solve the electronic tasks ourselves.
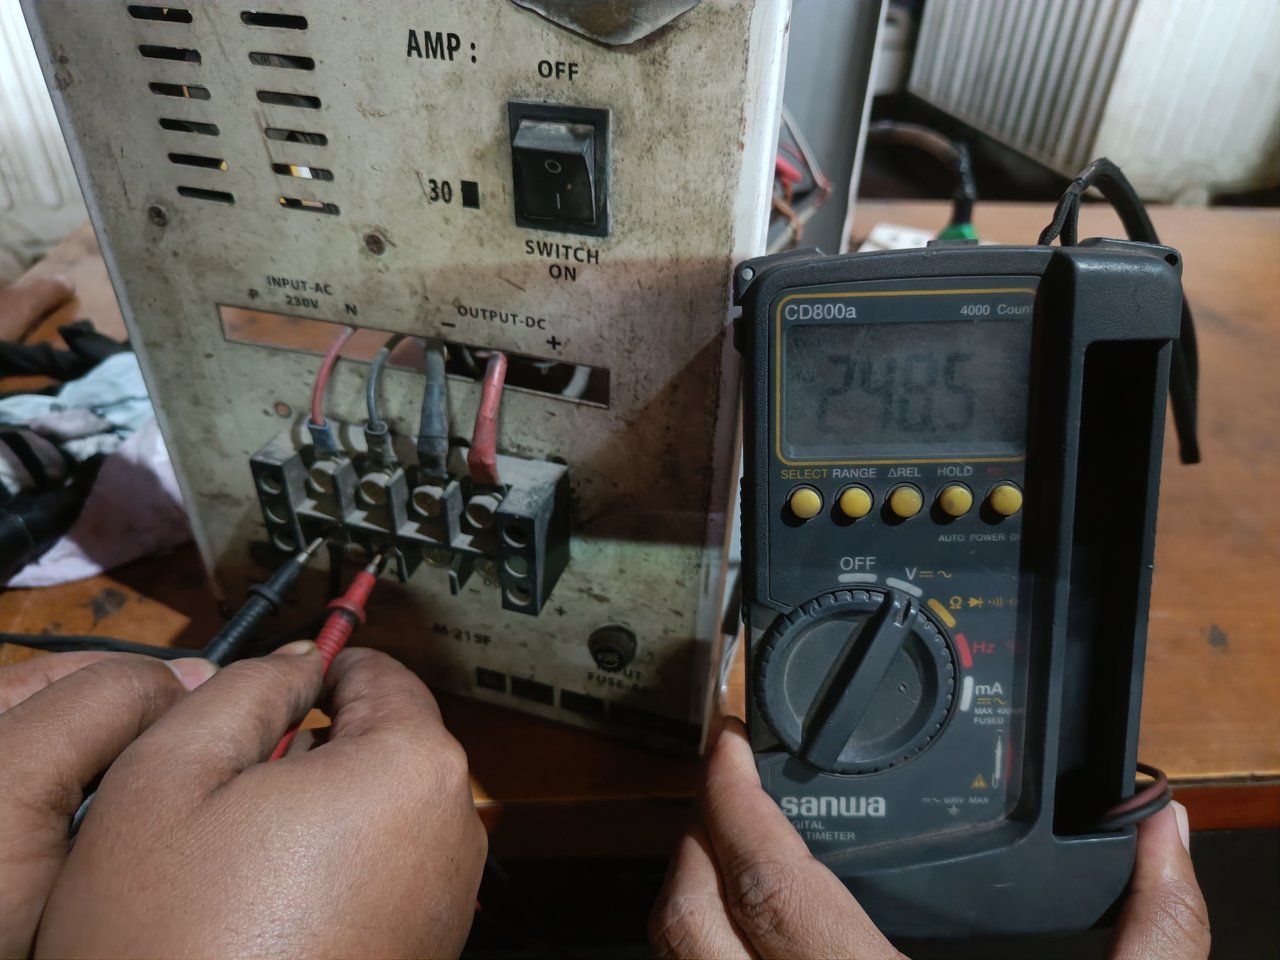
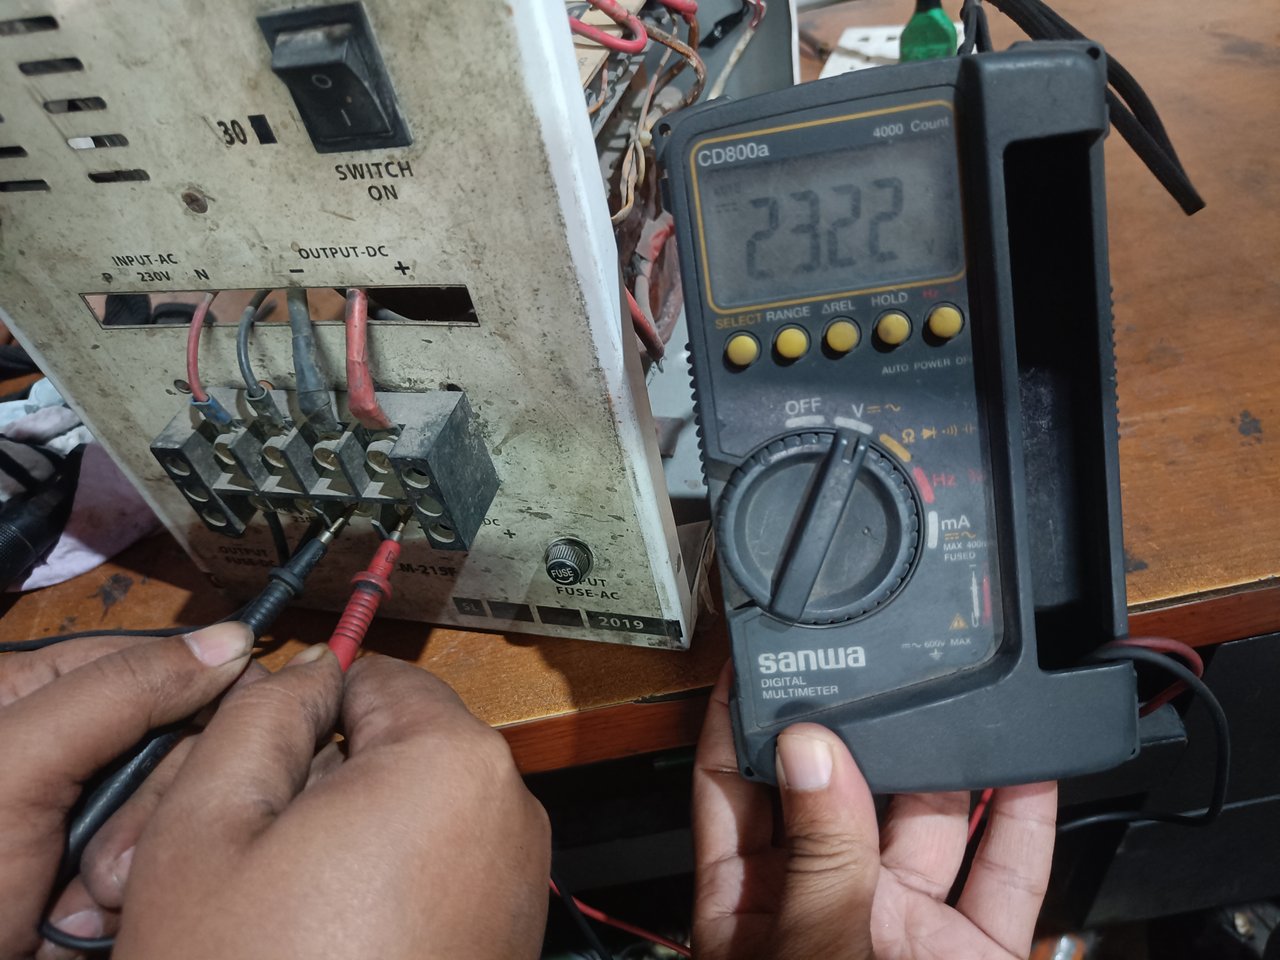
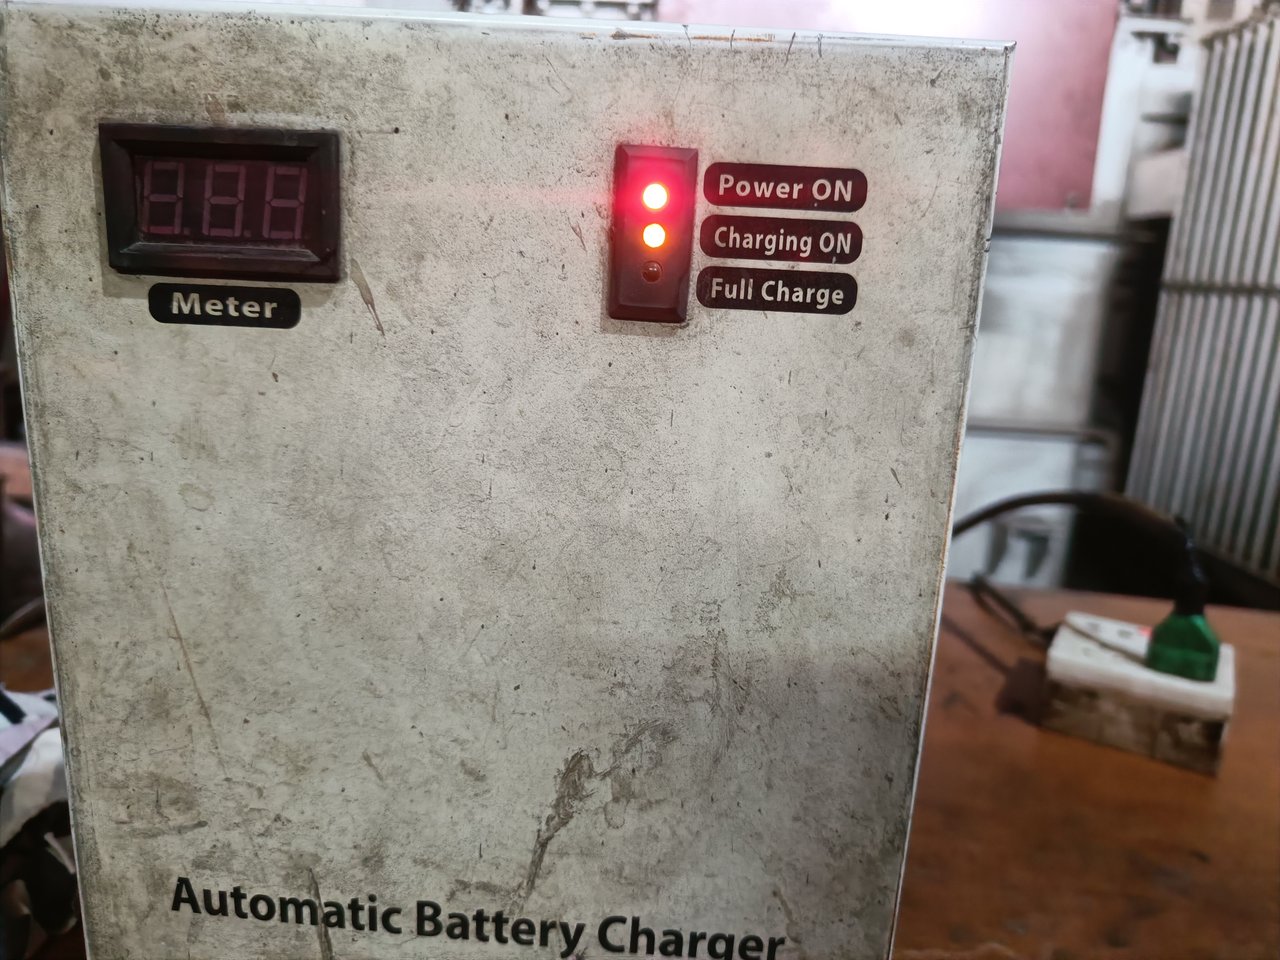
Hopefully, by reading my blog, I will be able to solve the electronic circuits and devices in my home by myself. I will write about another electronic fault-finding technique from my work next week.


Comments