Let's do it...Do It Yourself👉Craft, Creativity, Drawing, origami, DIY, Recycling and more
9 comments
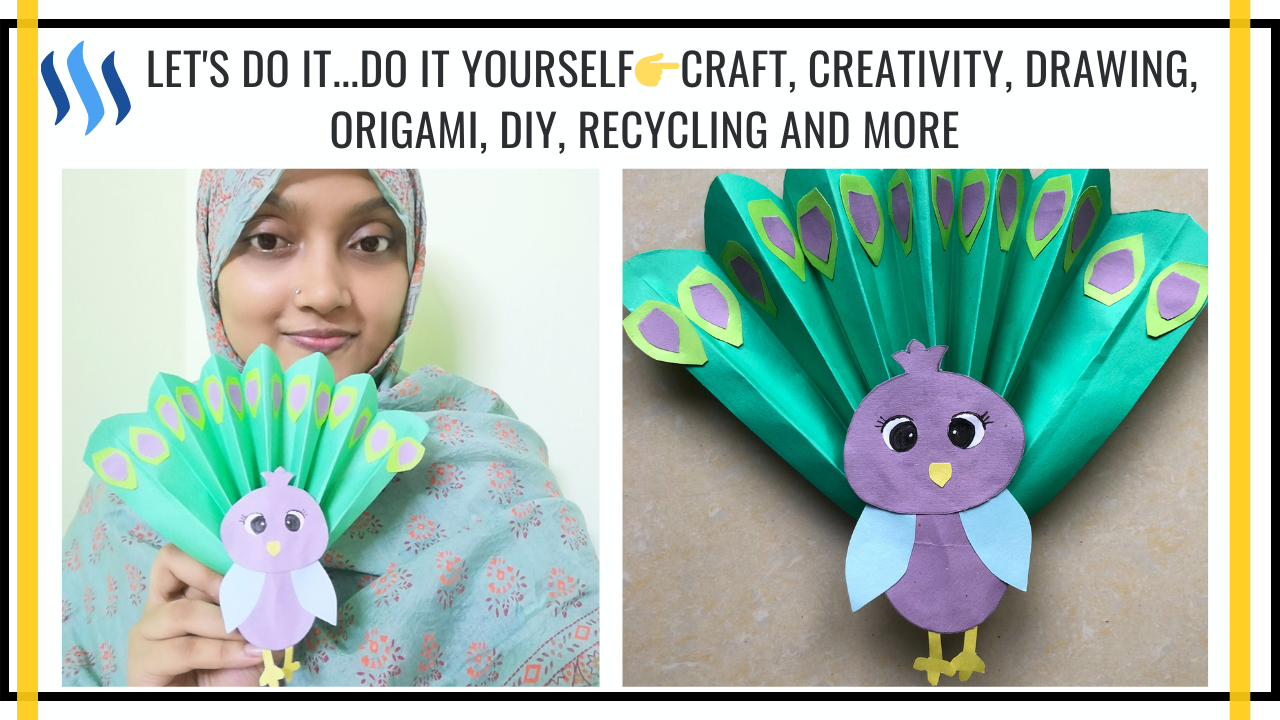
[Designed by Canva]
Greetings to all the members of the Steem For Ladies community! I am here to participate in a new contest which is being arranged by our friend @ngoenyi .It's a pleasure to be taking part in this imaginative and joyful subject once more.
My favorite bird is the peacock because of boasts stunning, vivid colors. Its feathers are very beautiful and colorful which attracts me more and more all the time. Today, after deciding to make a paper craft in this contest, the first thing that came to my mind was making it. So let's start the paper peacock-making process.
All the essentials needed to make a craft Peacock.
| Essential tools |
|---|
| 🔹 Color sheet |
| 🔹 Glue |
| 🔹 Scissors |
Let's start making
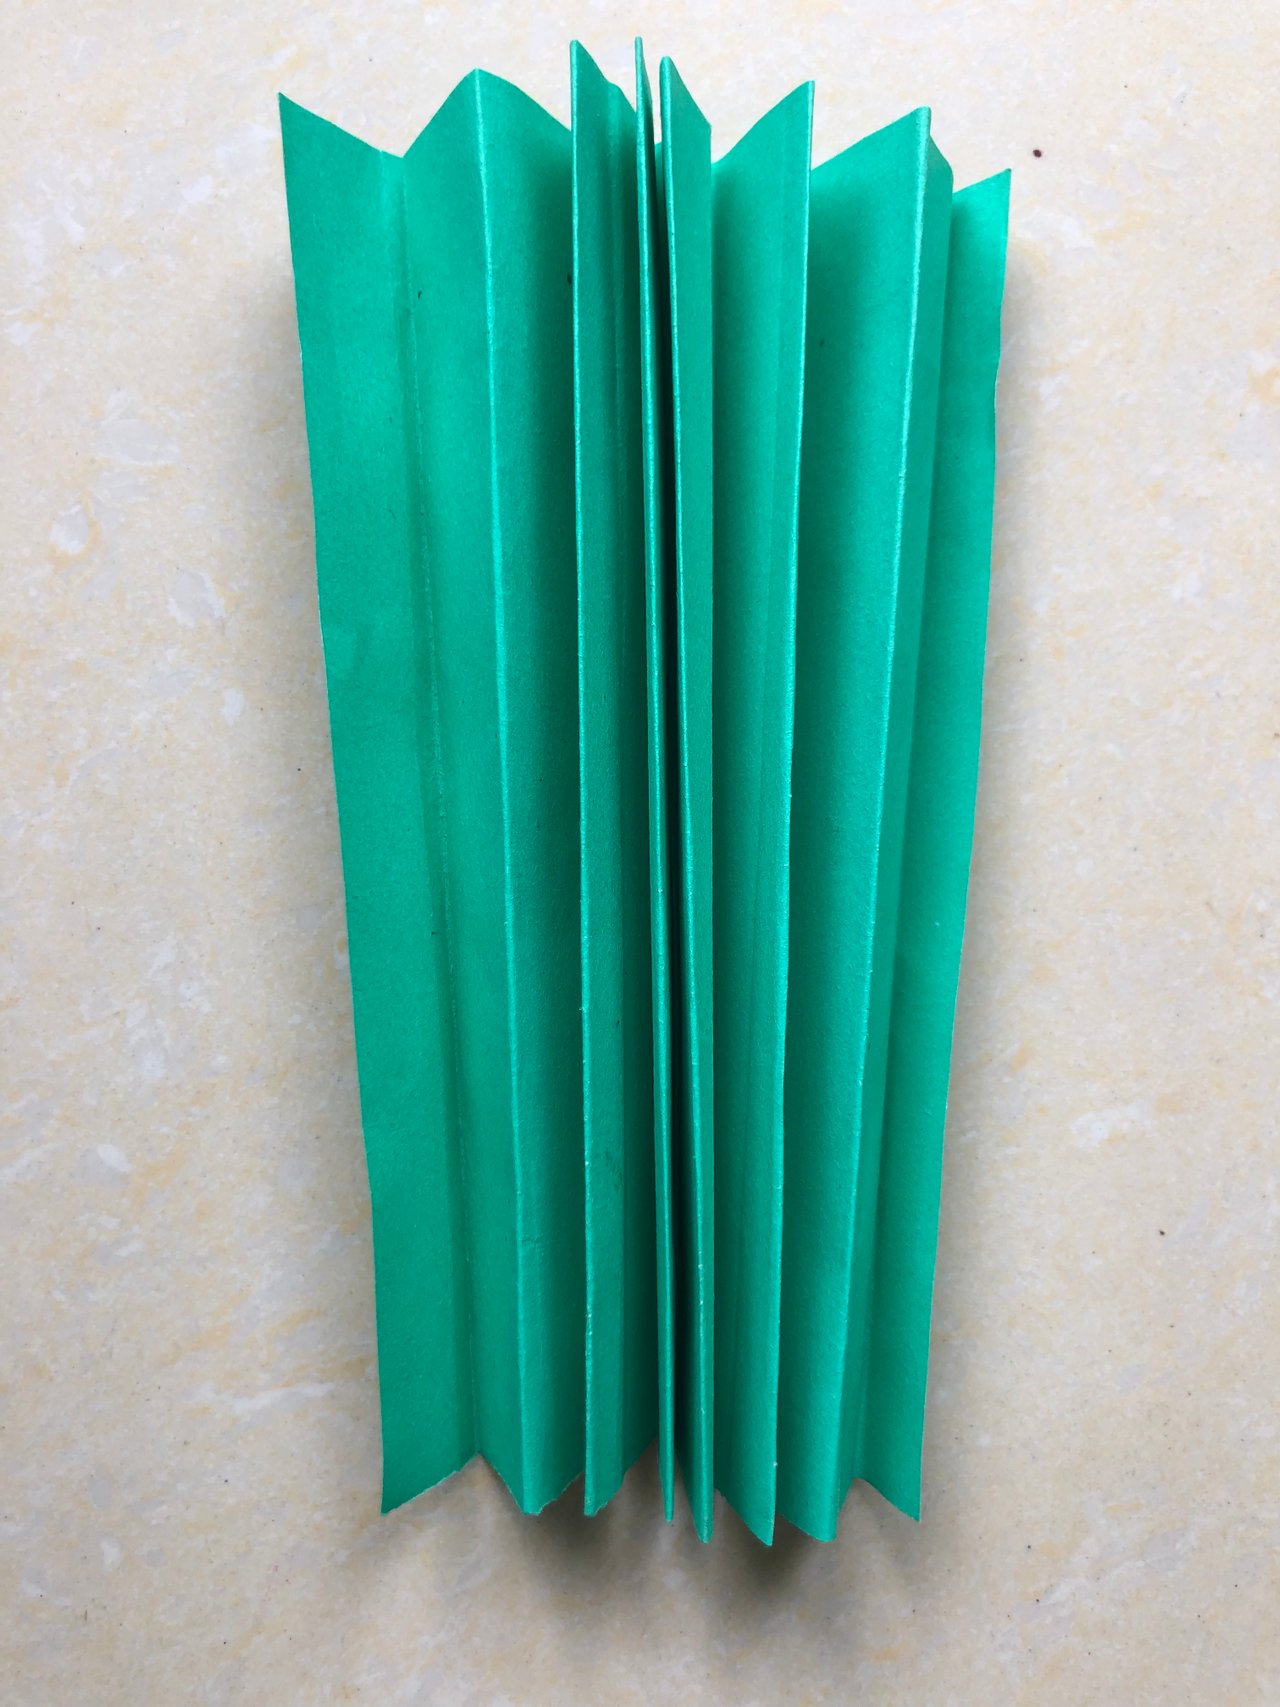
First took a piece of paper and tried to Alternate between folding forward and backward, which made horizontal folds up the tail of a peacock. Tried to do this as symmetrically as possible so that a smooth peacock tail would come out.
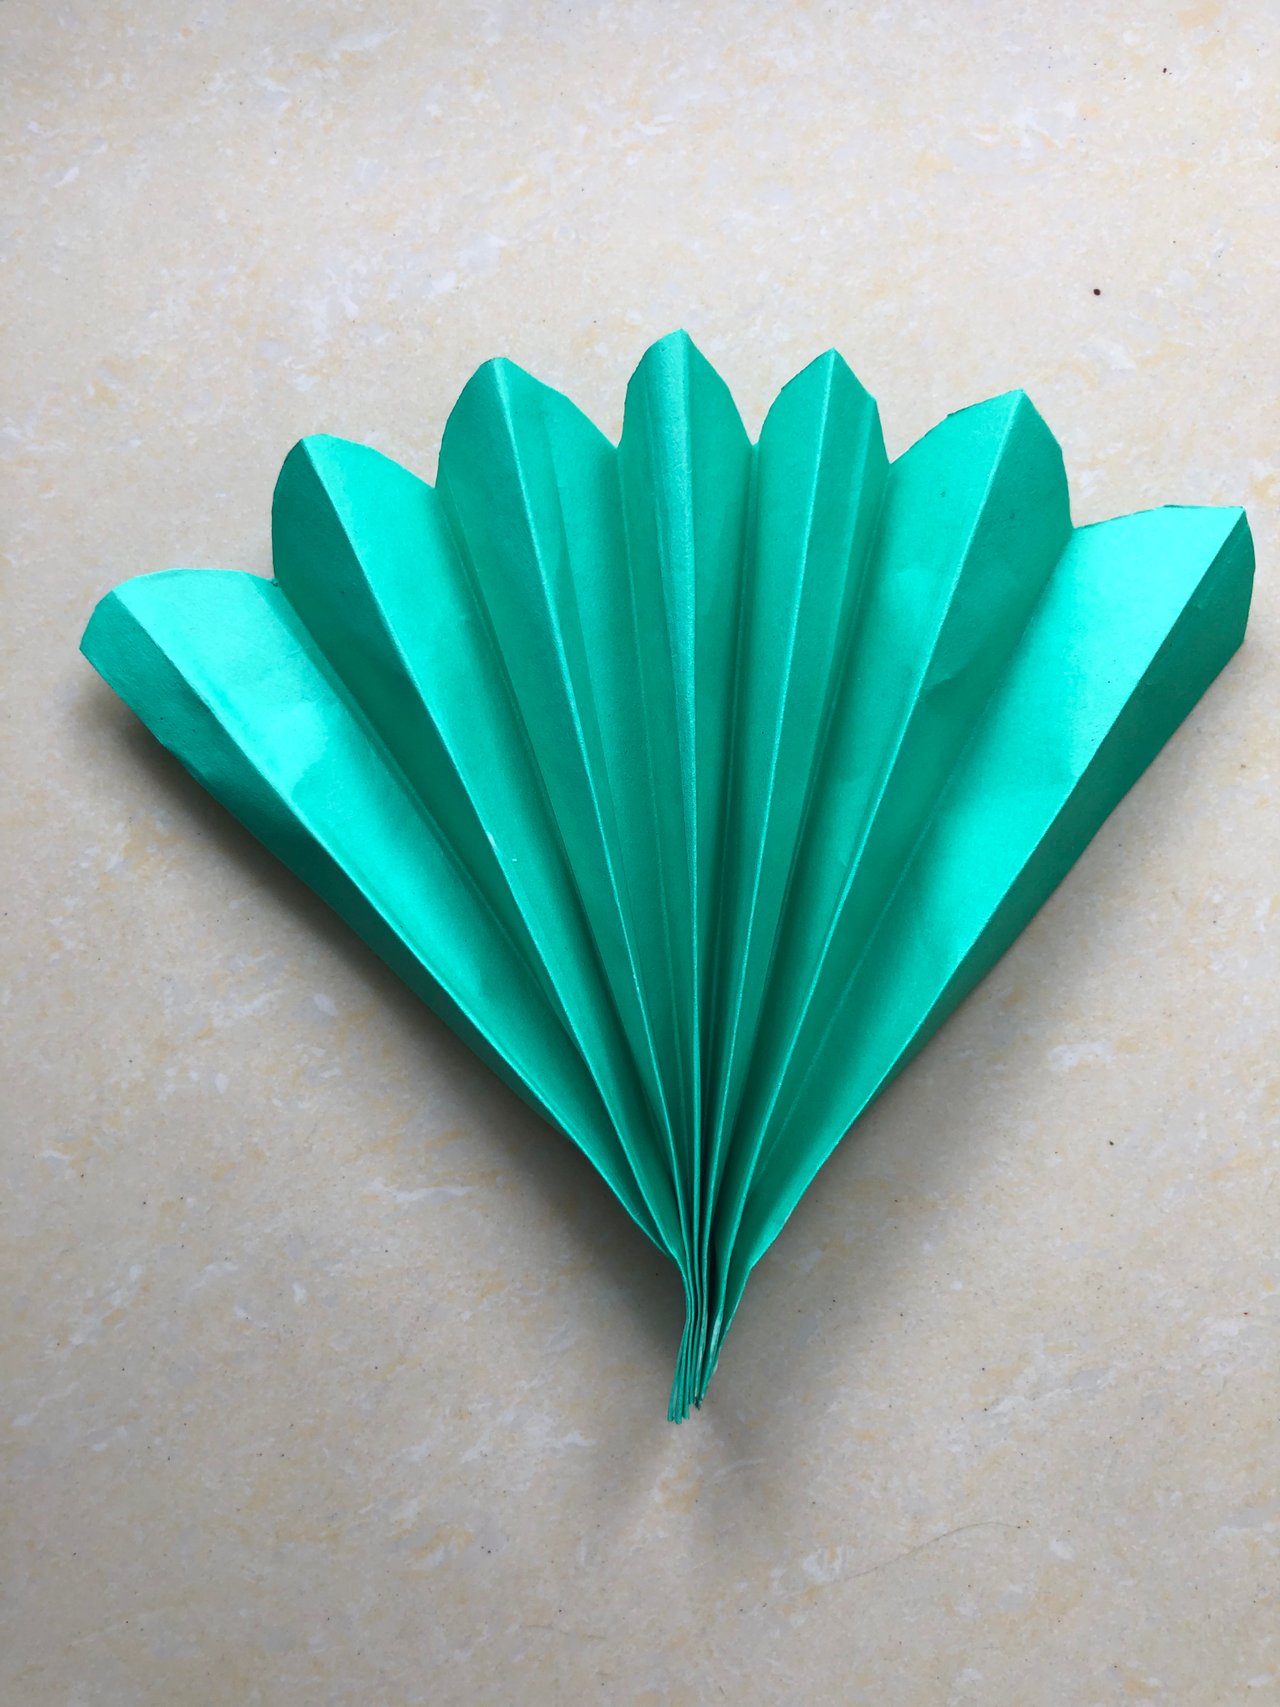
Then, with the help of scissors, I cut a part of the folded paper into a half circle. So that it can be made some nice shape. Along with that, the other parts of the paper should be glued together.
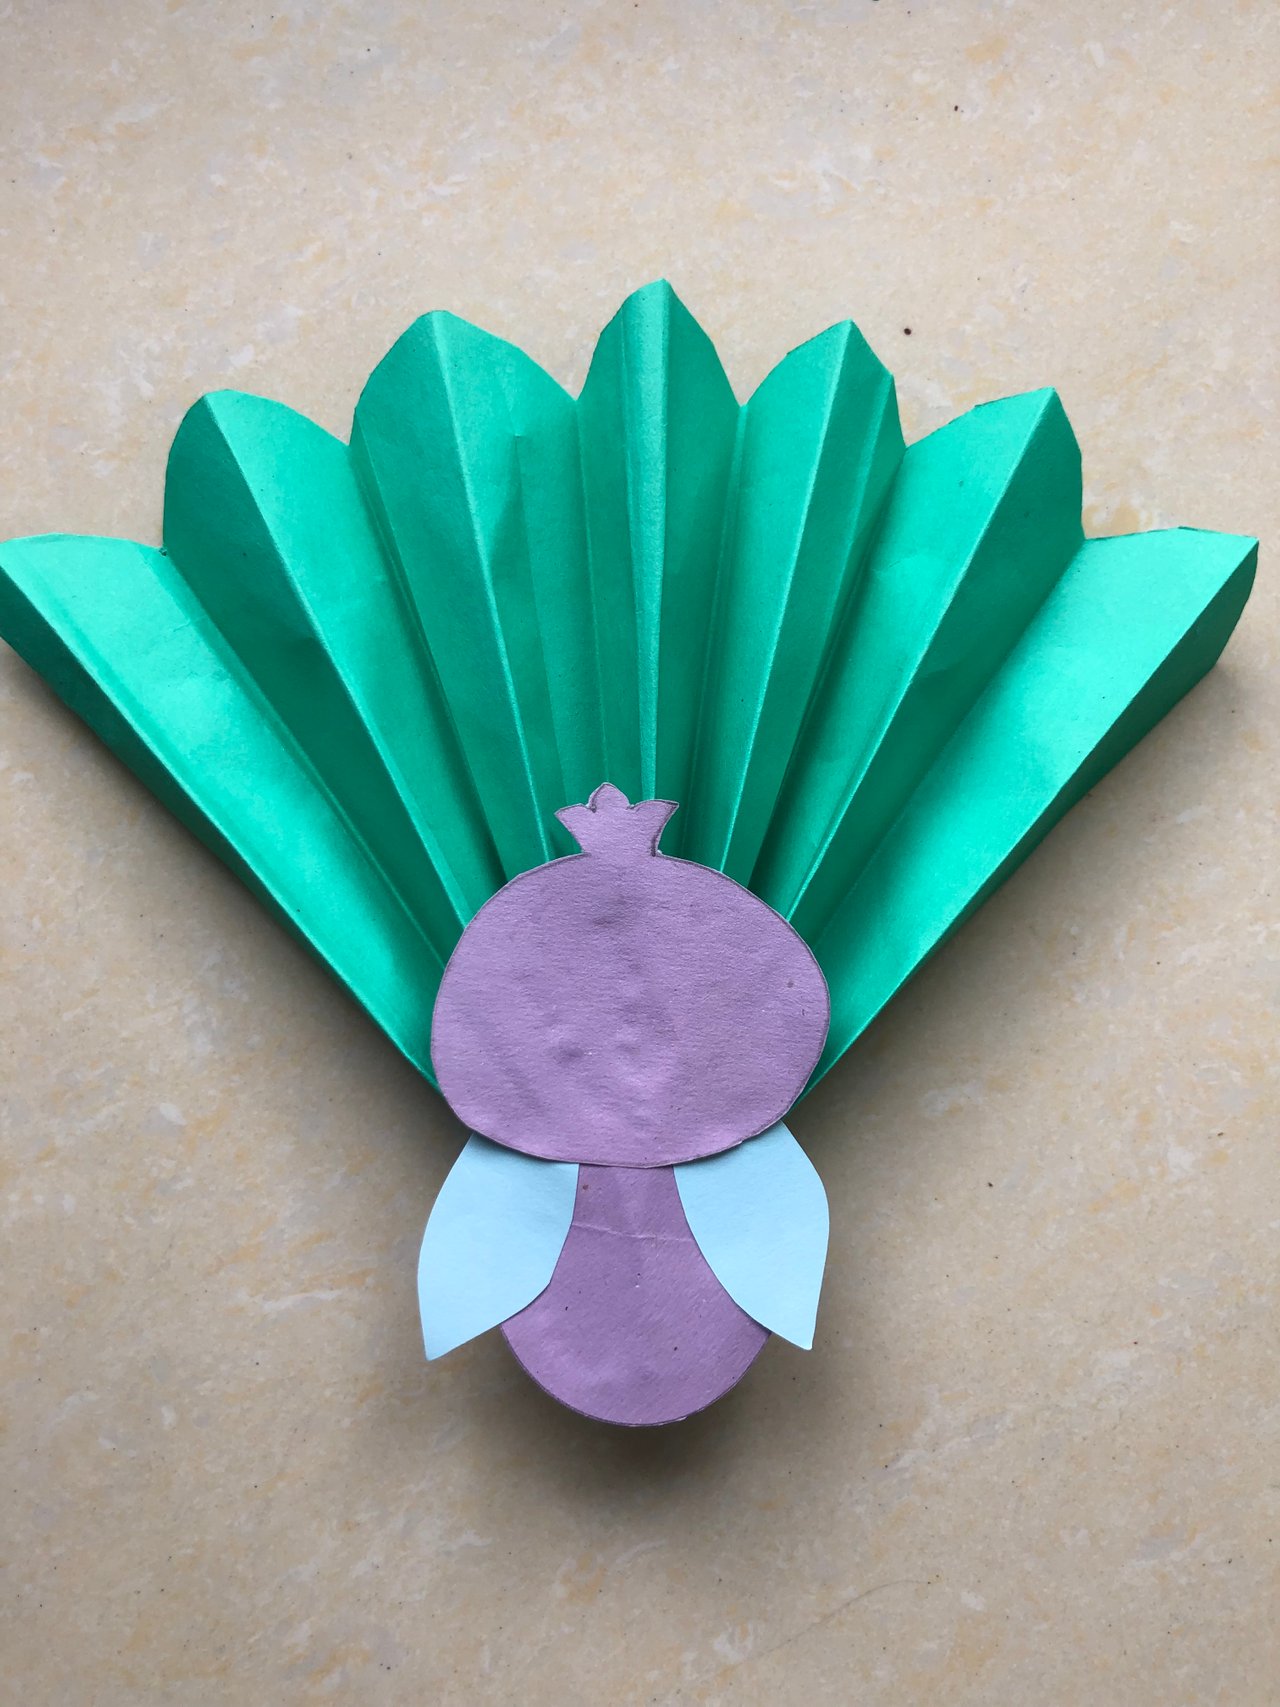
Then I cut a paper of another color into both circular and oval shapes. In this case, I used the Oval-shaped cut paper for the peacock's head and the circle-shaped paper for the body.

After finishing the body and head parts, I cut a piece of paper 5cm x 5cm, which I used to make the wings of the peacock. I attached them to both sides of the circle and cut paper with glue.
After that, I took two colors of colored paper and cut it down to 33cm and 1.51.5 in a leaf shape. After that, I glued the small cut colored paper on top of the big one. And I attached it to the tip of the peacock's tail with the help of glue.
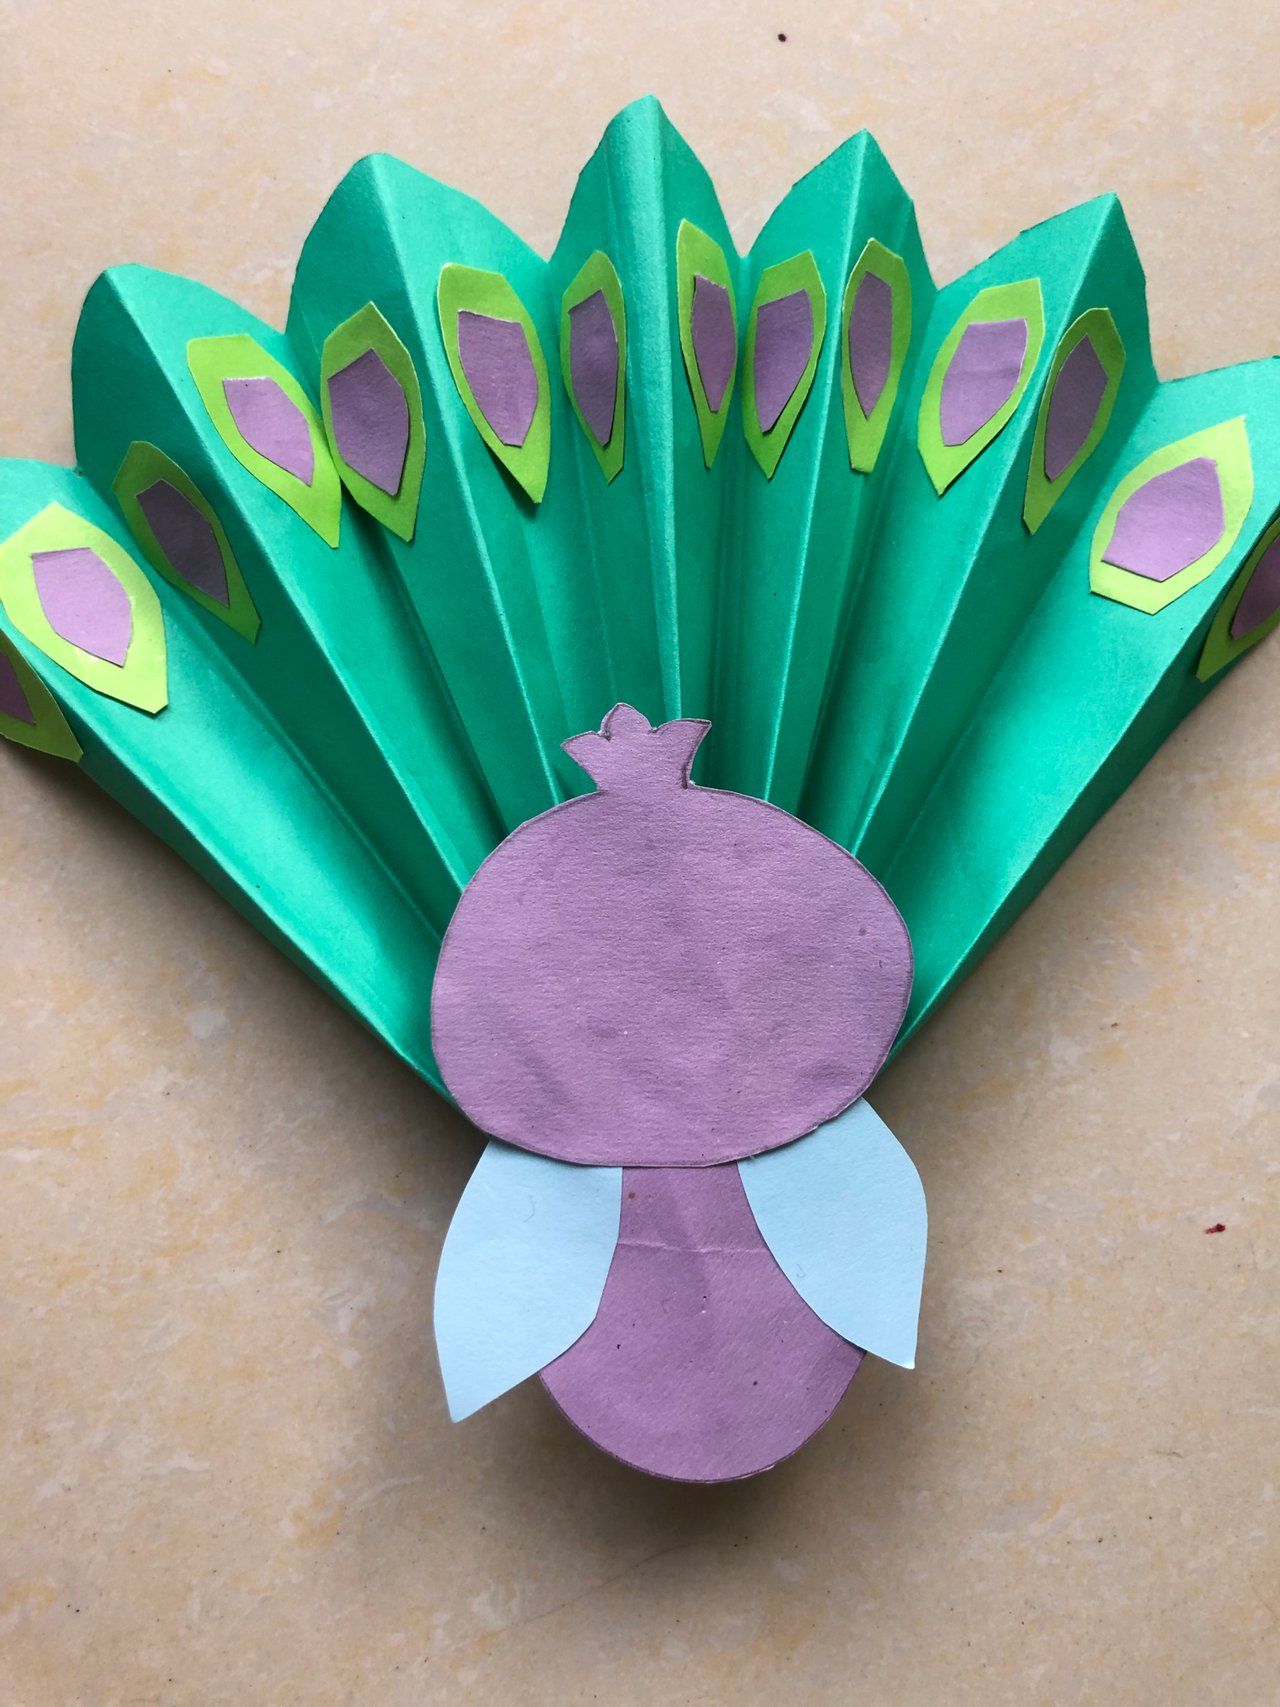
After finishing the tail, I cut the yellow paper and made the peacock's legs and nose, which I put it in the right place with the help of glue.
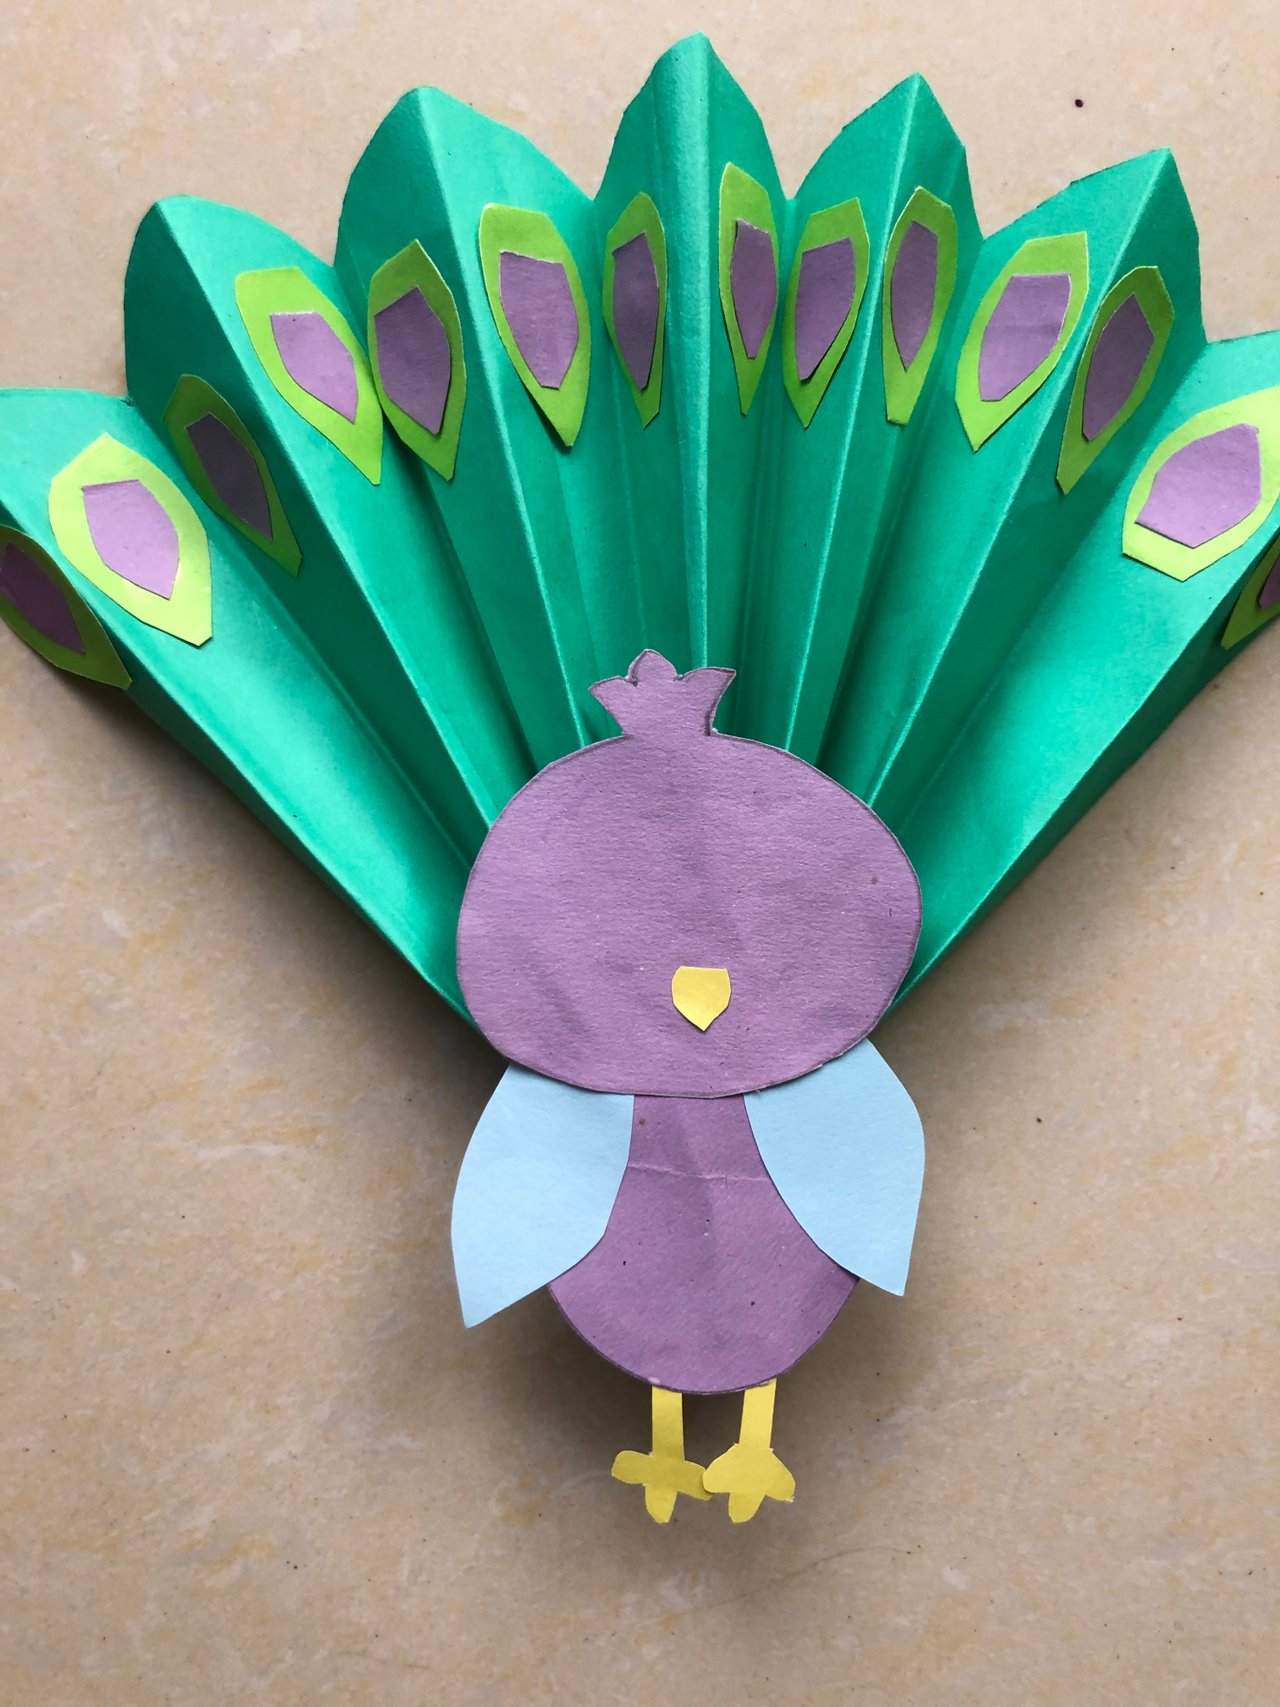
Finally, I cut a piece of white paper and made eyes. And defined it with a marker pen. now my peacock is ready!!!
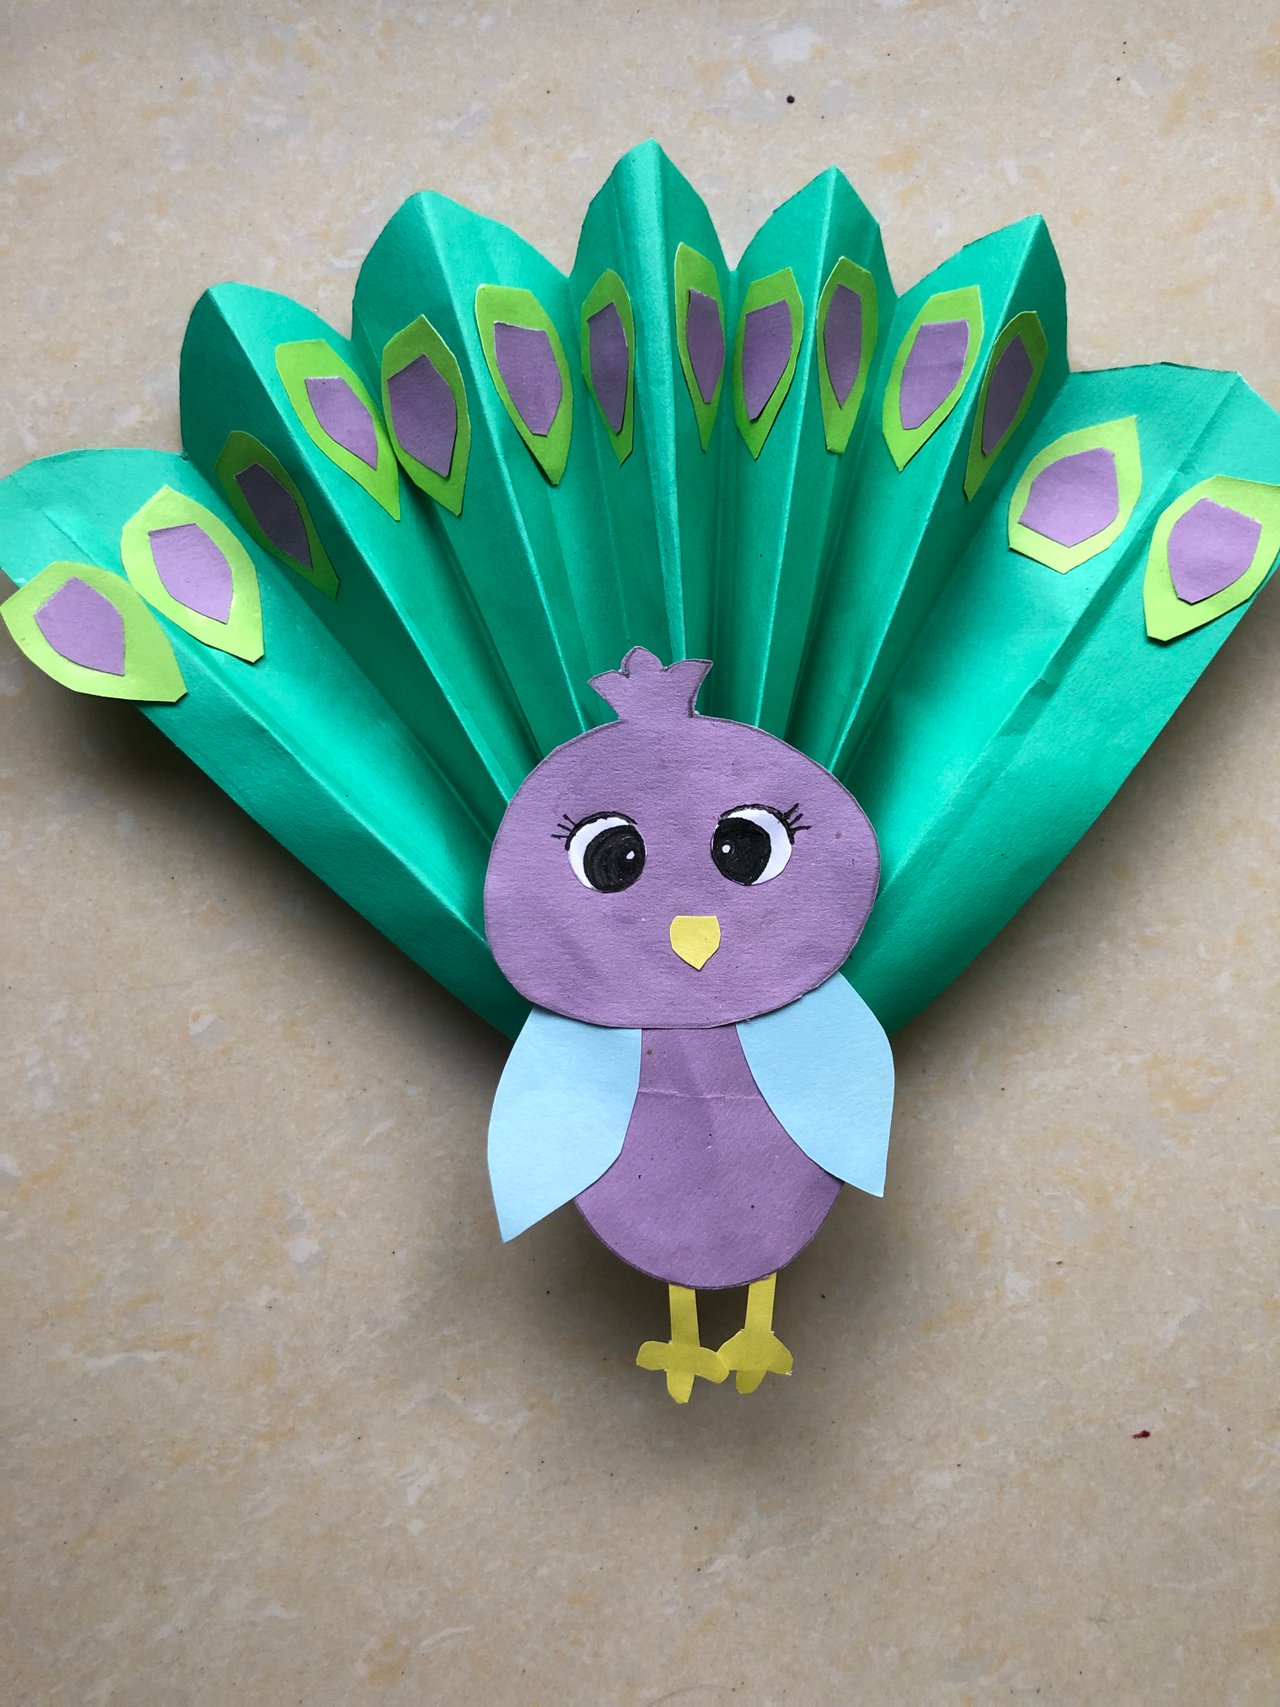
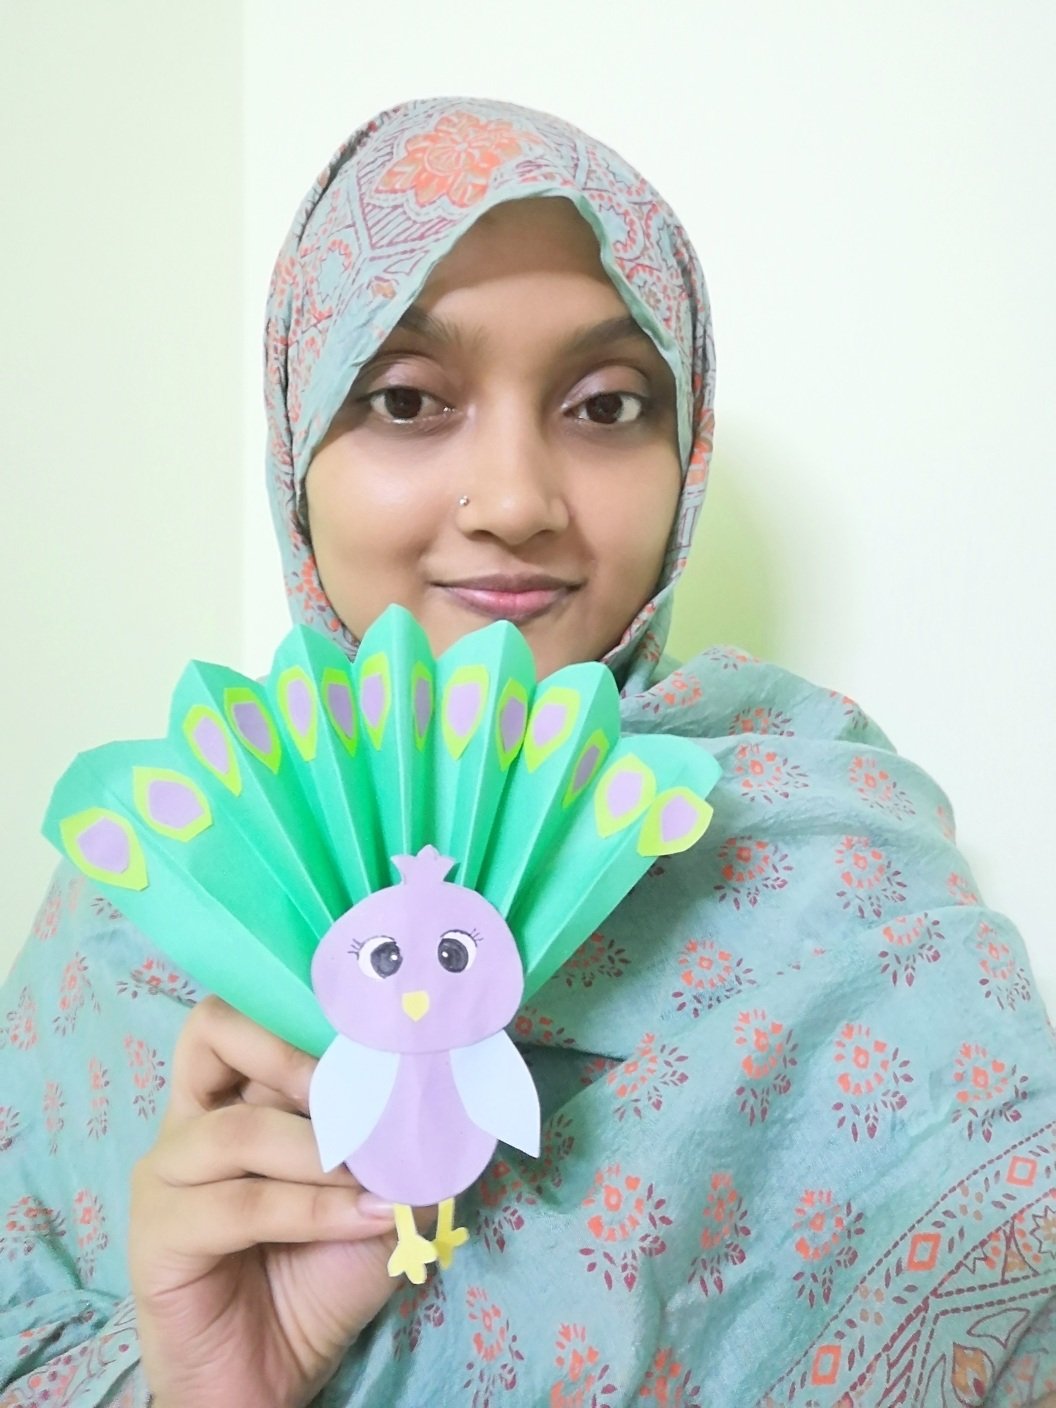
I was pleased with it when it was done as I could make it exactly how I had imagined it.
I invite @apa07 @bazer, and @mandarin2016 to participate in this contest.
@shawlin

Comments