Let's do it ----Do it yourself 👍 craft,DIY, Recycling and more by @esthyfashion
10 comments
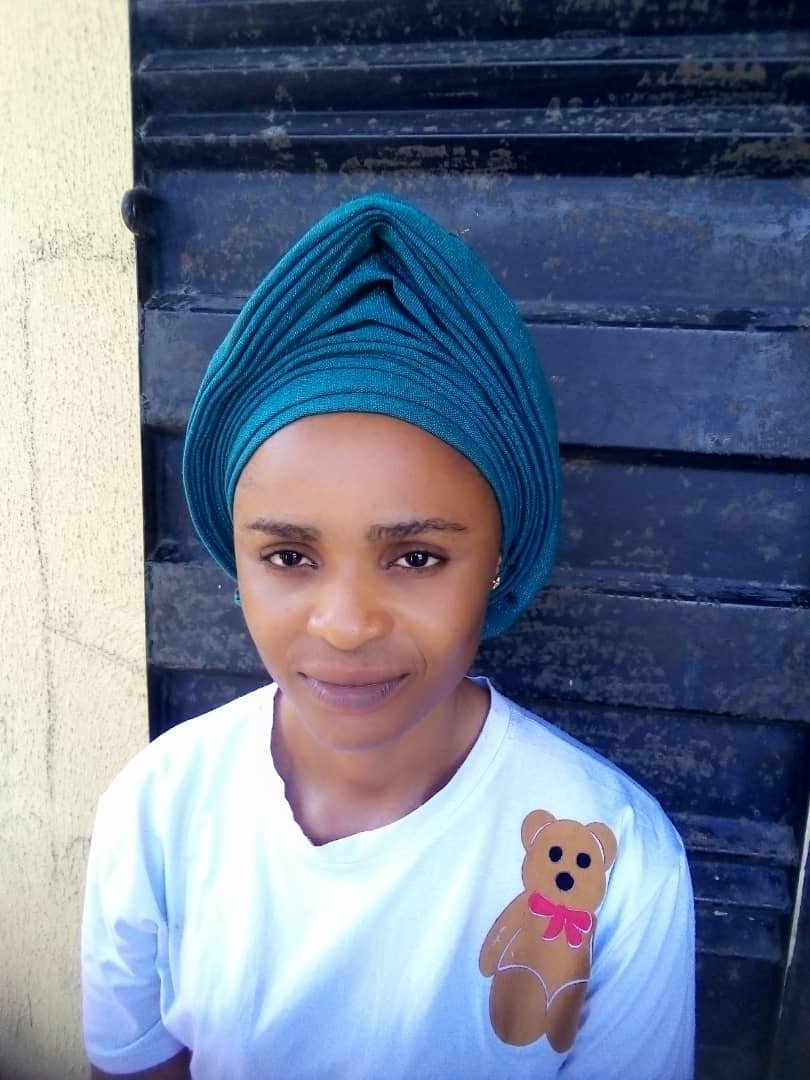
Greetings beautiful ladies welcome to my blog I know a lot of us can not go to occasion without gele, so today I want to show you ladies step by step on how to tie gele if you can follow it you will be able to do it on your own without any assistance.the only thing you need when tiring gele is office pin ,we have so many styles of gele but to I want to show you guys how to tie round gele please follow up.
Step 1
You places the gele on your laps and pleat 5
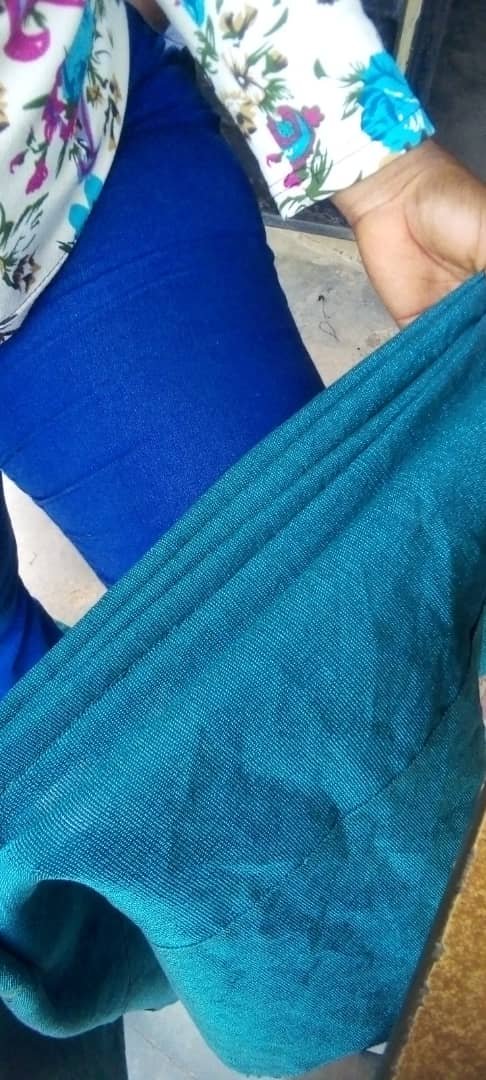
Then you places it on her hair and arrange the pleat.
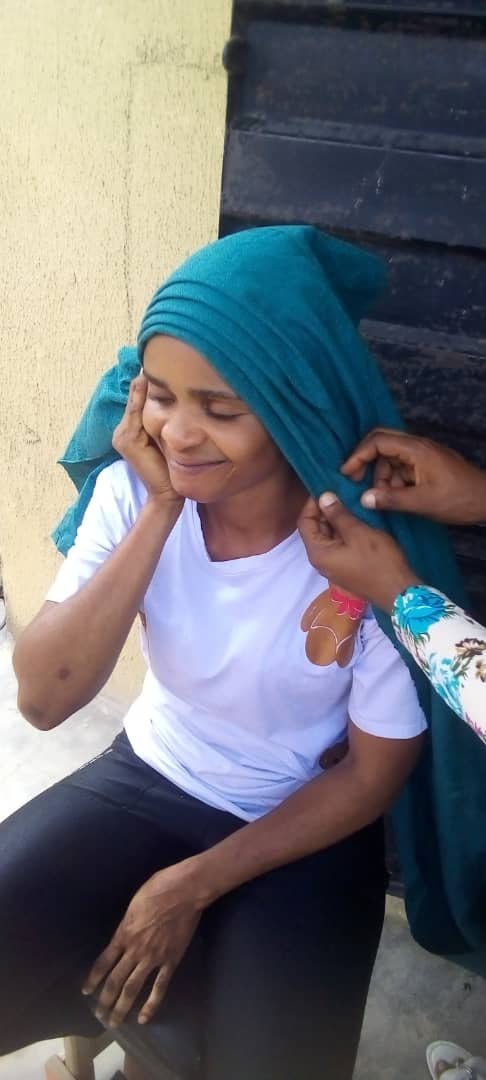
Step 2
After arranging the front you now go to the back and arrange the pleat on the back, well arranging the back she will used her hand to hold so that the pleat will not scatter

Step 3
After arranging the black you will squeeze it tight
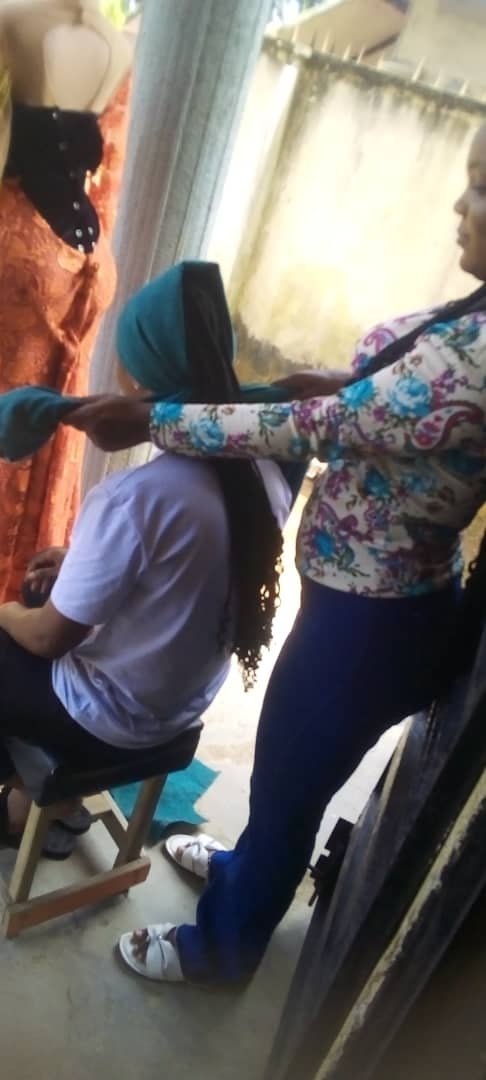
After squeezing it you will carry the long one of the gele and pin it to the right side
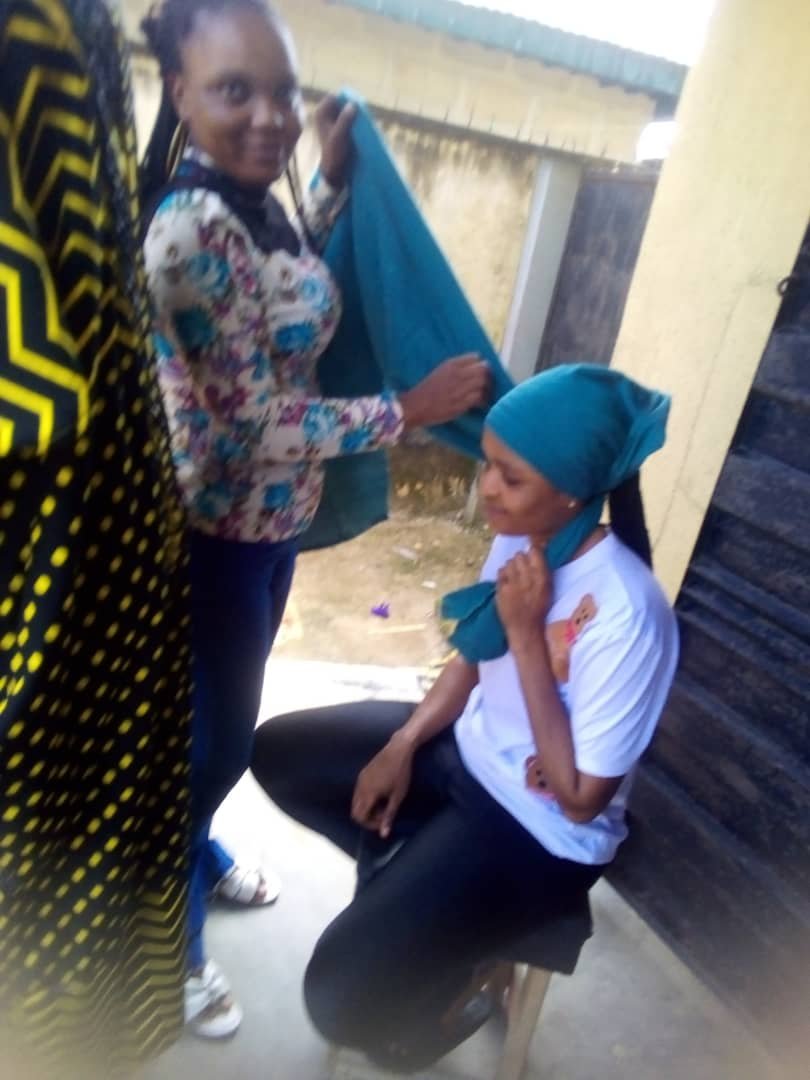

Step 4
After pining it you now move to the back and floded the small one and pin it at the back, After flooding it you carry it up and move to the front
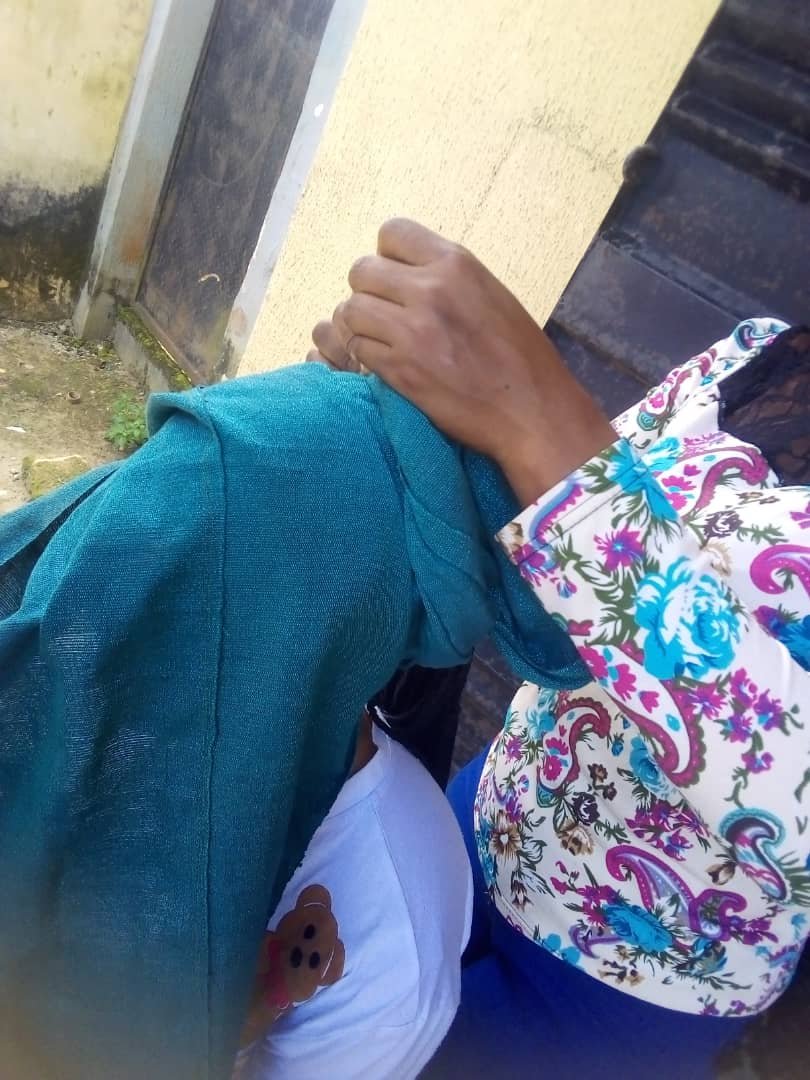
Step 5
You now start to arrange the pleat, each layer of the pleat will come out 5

So you will take your time to arrange the pleat, you don't need to pleat it big instead you will make it tiny for the beauty to come out
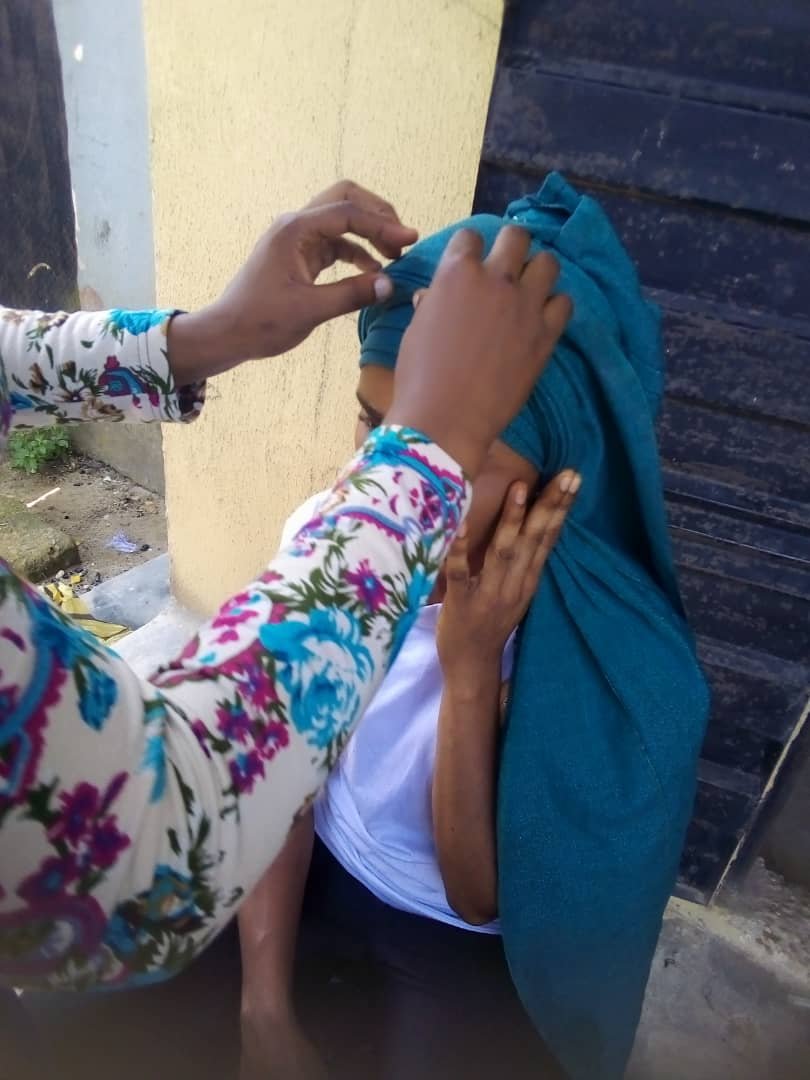 You will also stand at the back to arrange it too
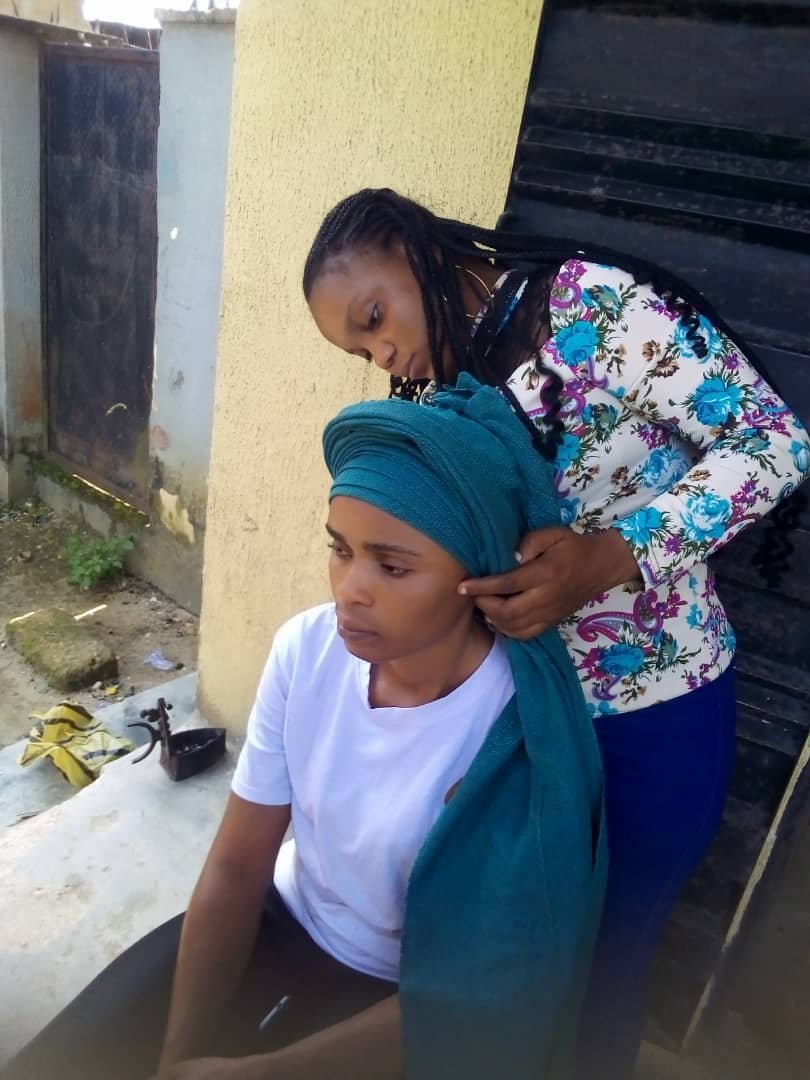
Step 6
Pleating it tiny will make the head tie to full especially in this around but making it big will make the head tie scatter, so you need to take your time though it a little difficult but doing it gradually you will achieve it
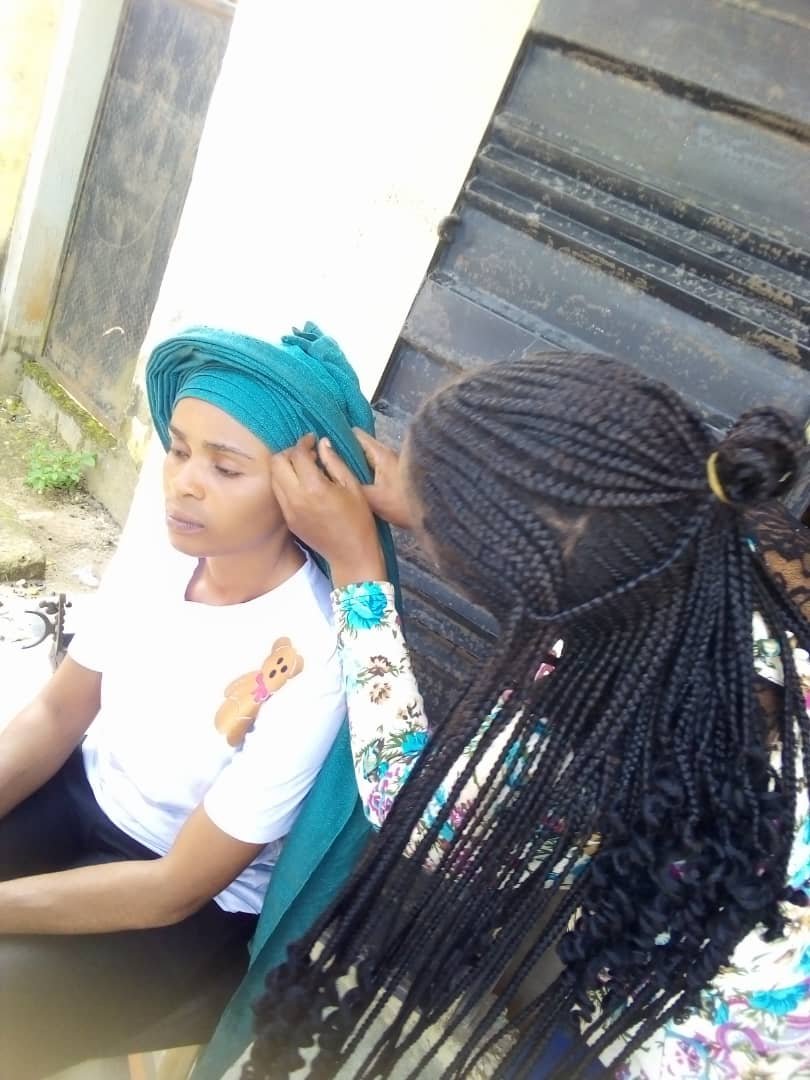
Step 7
After arranging it you will pull the pleat one after the other so that it will kick then you now flood the long one as you can see in the picture below
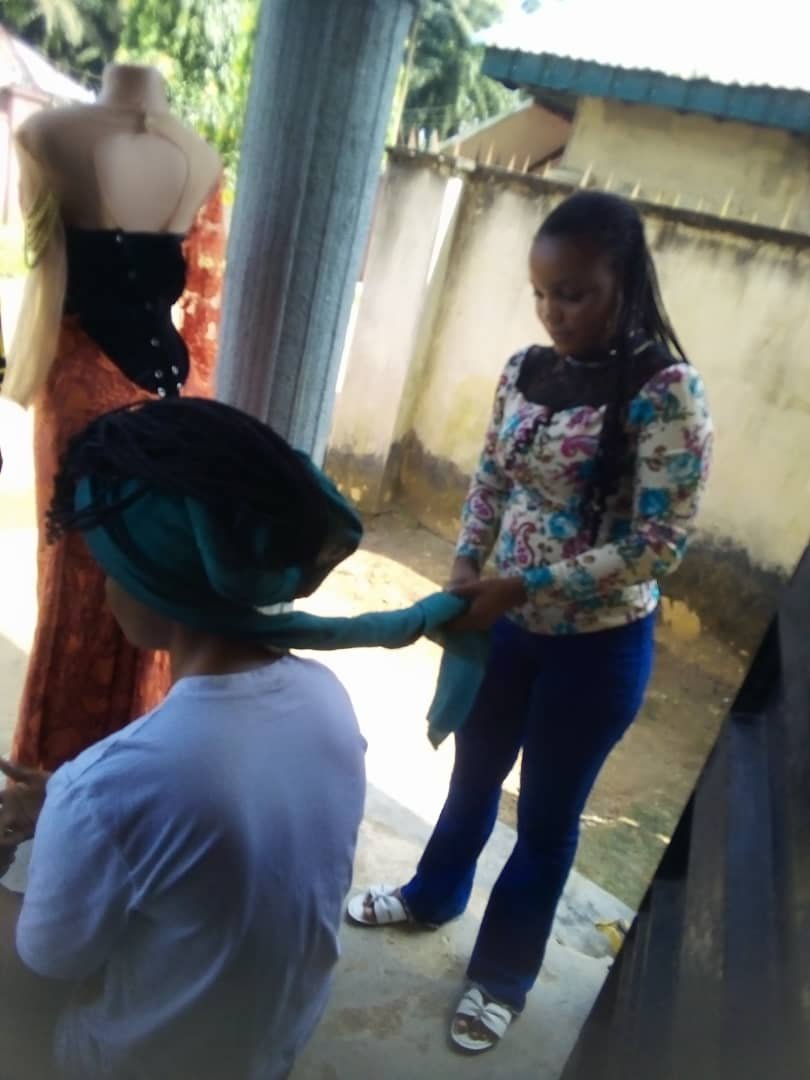
Step 8
After flooding it you now rap it at the back and pin it
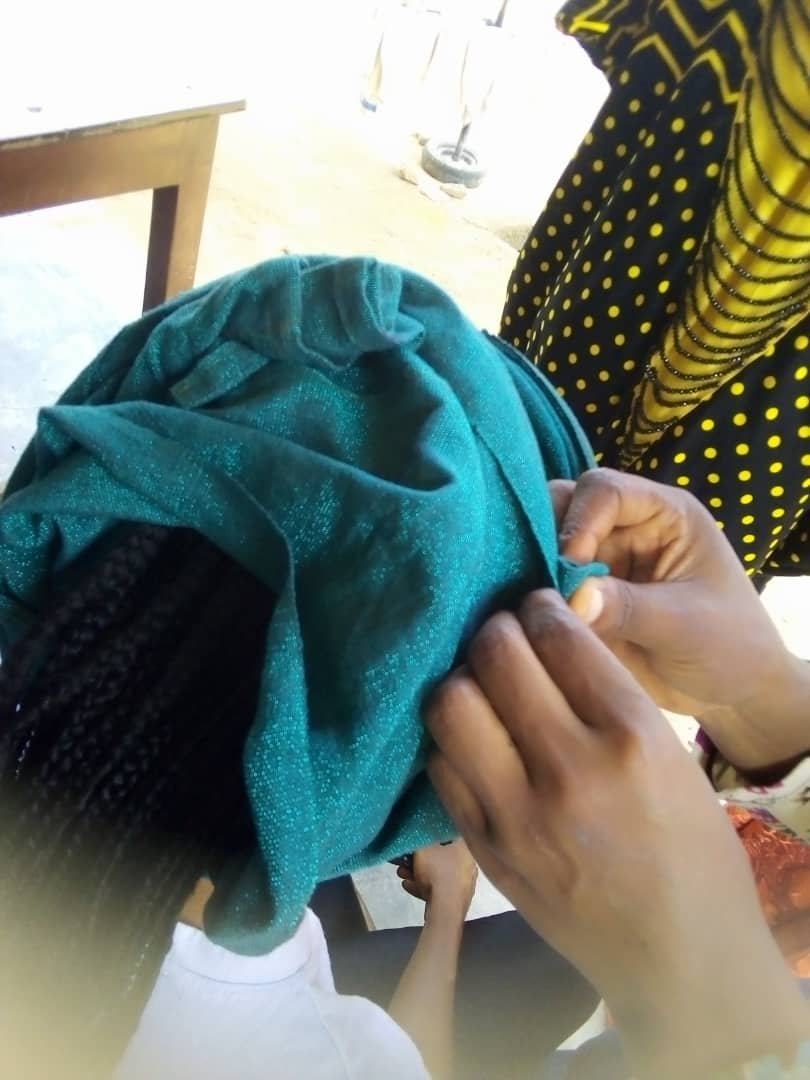
After pinning not you arrange it very well so That it will not loose
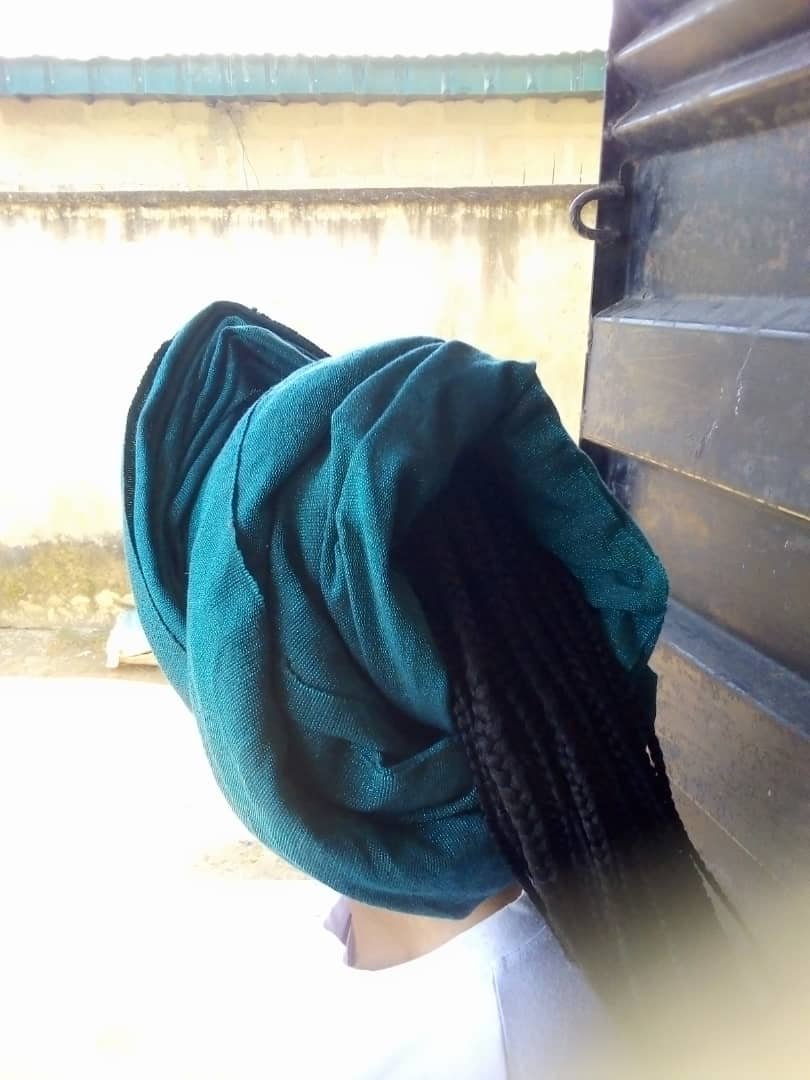
Step 9
You move to the front and arrange again then you places your fingers on the head tie and pull it up
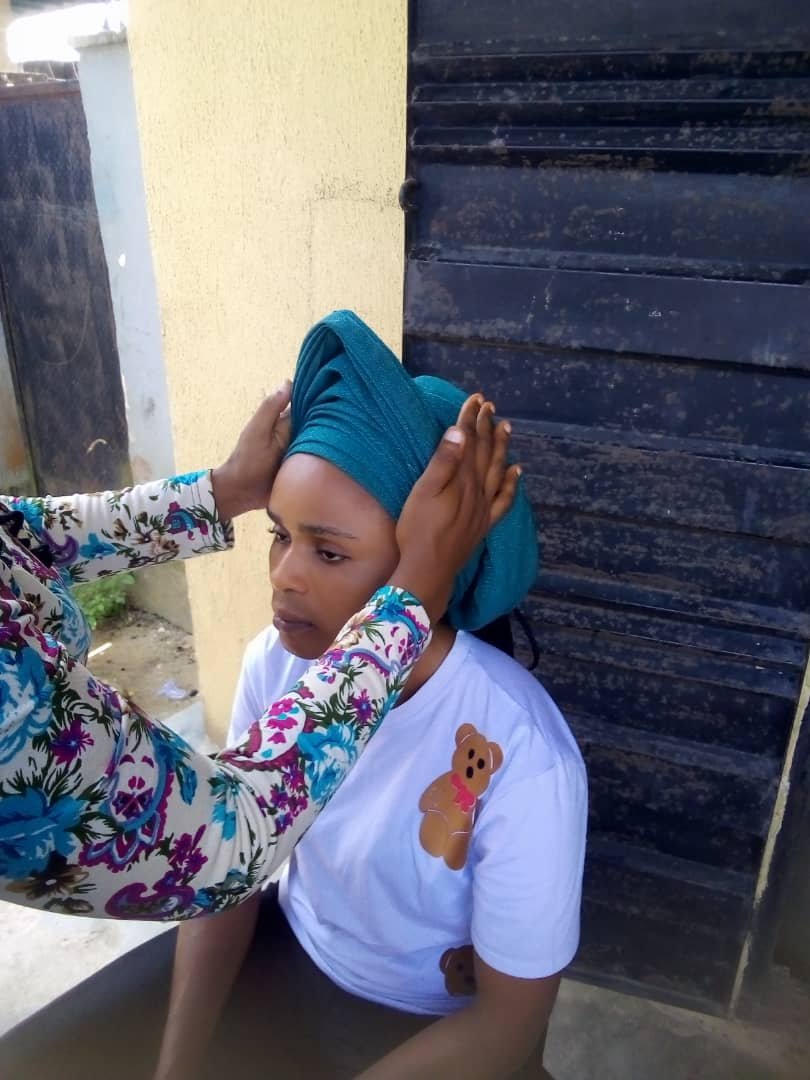
This is the finished results

The back view

The side view
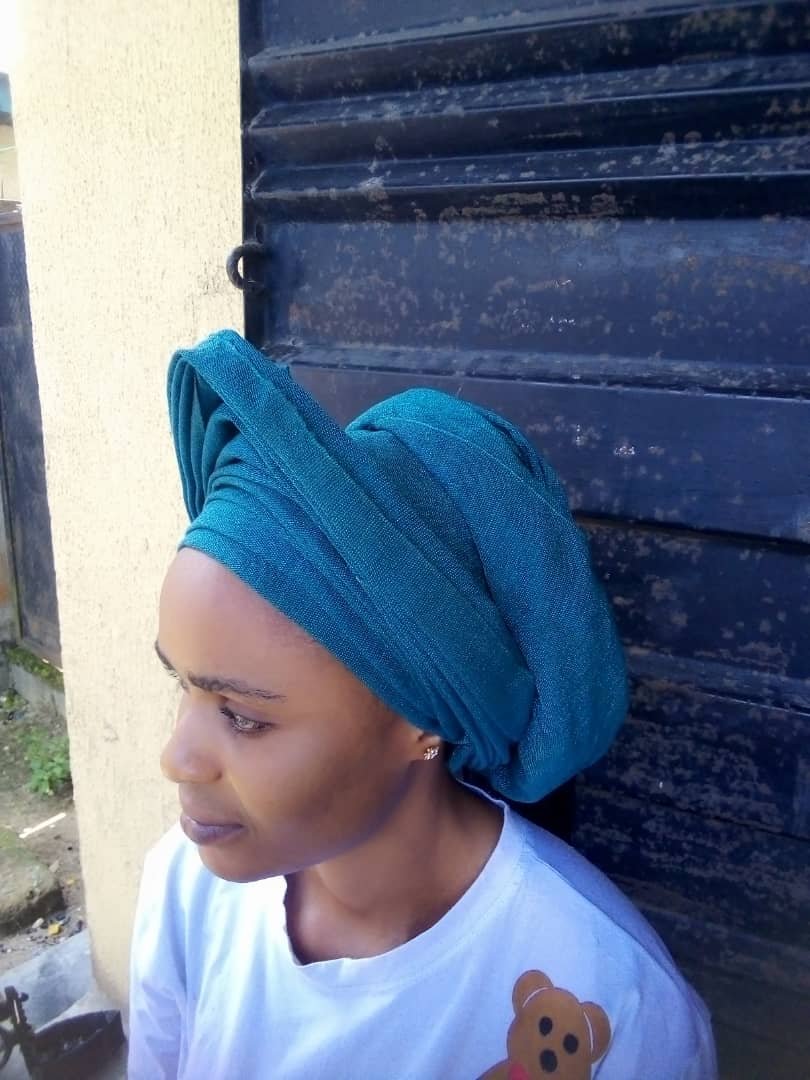
I invite @udylicioz @okere-blessing @meehu to join this contest
Comments