SLC21/WK4 | Stabilizing Fractures- Comprehensive First Aid for Different Types of Breaks
7 comments
How are you all steemit friends! I am very happy to be able to participate in this contest again, which is the third contest that I have participated in. Thank you very much to @abdu.navi03 who has organized this lesson. Hopefully what we have learned can be useful and further strengthen the Steemit community. Keep up the enthusiasm and stay creative!
Q1: Apply a sling on the arm and a splint on the finger of a sibling, child, or peer. Attach a picture of the application and explain the procedure in detail, highlighting key points for immobilization and stabilization.

Placing a sling on the arm and splints on the fingers is an important first action in providing first aid to someone who has an injury, such as a broken bone or dislocation. The following are the procedures you need to pay attention to.
- Arm sling.. Preparation: Use a cloth or support that is long and strong enough, such as a large cloth or scarf.
Steps...
Place the injured arm in a comfortable and stable position.
Pull one end of the cloth under the injured arm and bring it up to the opposite shoulder.
Hook both ends of the fabric around the neck and make sure the arms are well supported.
Double check that the sling provides enough support without being too tight or too loose.
Important point...
Make sure the sling provides good mobilization of the arm without hampering blood circulation.
- Splint on the finger...
Preparation. Use a material that is stiff and long enough, such as wood or cardboard, as well as bandaging material to tie it.
Steps...
Place the splint on the injured side of the finger.
Make sure the splint covers most of the length of the finger to provide stability.
Gently tie a bandage or cloth around the finger and splint.
Make sure the splint is not too tight so that blood circulation remains smooth.
Important point... Stability of the finger to prevent movement that could worsen the injury. This procedure aims to prevent further movement of the injured area, thereby reducing the risk of further complications.

Q2: Research the process of helmet extraction in the context of head and neck injuries, and explain why it is important to avoid removing the helmet immediately in the case of suspected spinal injuries. Include the steps for safe helmet removal if necessary.
The helmet extraction process for head and neck injuries requires careful attention to prevent further spinal injury. If a spinal injury is suspected, removing the helmet immediately can support the injury, as incorrect movements can cause displacement of the spine and damage nerves. Therefore, it is important not to remove the helmet except in emergency situations, such as difficulty breathing or fire.
If it is necessary to remove the helmet, the first step is to ensure the victim's head and neck remain stable, using two trained people if possible. One person should carefully hold the head and neck to keep it in a neutral position, while the other unfastens the helmet strap. Once the strap is removed, the helmet should be lifted slowly and carefully, keeping the head stable throughout the process. This action is important to avoid displacement or additional injury to the spine.
Q3: How is C-spine stabilization done? Explain the procedure in detail, ensuring you include when and how to use head blocks or manual stabilization. Attach a photo or video of yourself demonstrating proper C-spine stabilization techniques.
C-spine stabilization of the cervical spine, is performed to prevent further injury in patients with potential injuries in the neck area. The procedure begins by assessing the patient's consciousness and ensuring that the airway is open. After that, menual stabilization is carried out using the technique, head block. This involves placing both hands on either side of the patient's head, keeping the neck in a neutral and stable position. The patient's head and neck should not be moved and the hands should be placed gently but firmly. This stabilization is performed until the patient is transferred or further medical assistance is available. Usually menual stabilization is carried out until the medical team arrives and equipment such as a neck collar can be used.
Q4: Consider you encounter an unconscious person with a compound fracture on the arm, massive bleeding, no pulse at the distal radius, and restricted breathing. How will you prioritize and manage the situation? Describe each step in detail, including how you would control bleeding, stabilize the fracture, and address the breathing issue.
In this situation, the first priority is to ensure the airway is open and treat breathing problems. Check breathing and perform respiratory resuscitation if necessary, such as providing artificial respiration or respiratory assistance if the victim is not breathing or has limited breathing.
The second step is to control heavy bleeding. Use direct pressure on the wound with a clean cloth or bandage to stop bleeding. If bleeding does not stop, consider using a pressure dressing or tourniguet over the wound site, especially if bleeding is uncontrolled in the extremity.
The third step is to stabilize the fracture. If the arm is broken, be sure to immobilize it with a splint or existing device, without moving the injured area, to prevent further injury. Finally check the distal circulation, especially the pulse and pay attention to signs of shock. Call emergency medical services immediately for transportation and follow-up care.
Q5: Create an infographic (visual illustration) on managing fractures. Your design should highlight key steps such as how to immobilize the injured limb, apply a splint, and stabilize the spine. Ensure the infographic is easy to understand and visually guides users through the process.
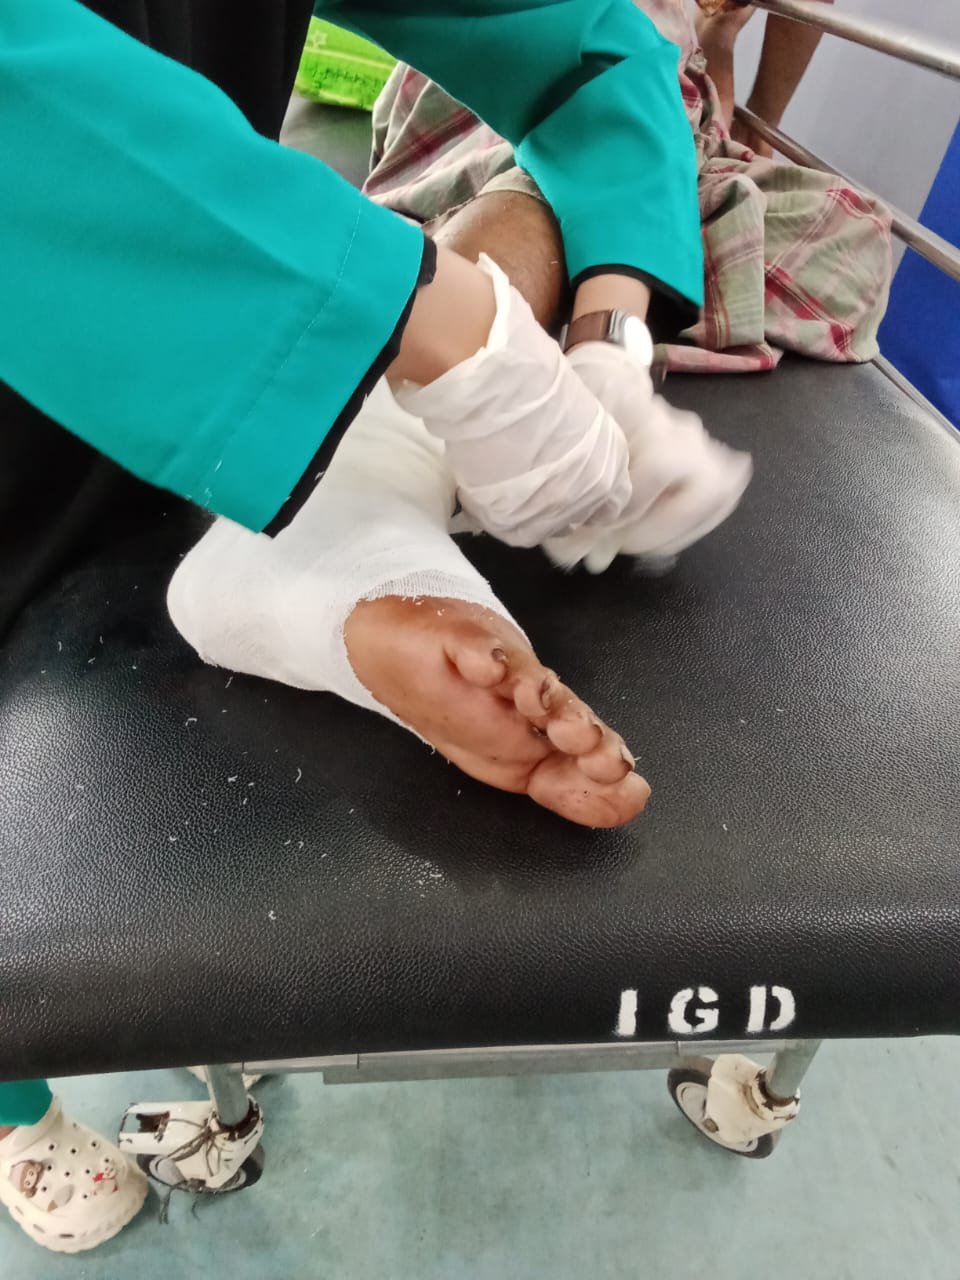
Fracture management infographics must be clear and easy to understand. The first step is to immobilize the injured limb to avoid movement that could worsen the condition. Use available materials, such as cloth or wood, to create a splint that supports the broken area. Make sure the splint is stable and not too tight so as not to disrupt blood circulation.
For spinal fractures, do not try to move the victim. Stabilize the body carefully using appropriate handling techniques, such as keeping the head and neck straight. After that, immediately take the victim to a medical facility with safe transportation. Focus on recovery and avoid unnecessary movements during the first aid process.
I also didn't forget to invite three friends again so they could also take part. @fajrulakmal99 @humaidi @patjewell
 Click Here
greetings @aril.hatake
Comments