SLC21/WK4: Introduction To House Wiring And Load Handling.
4 comments
Hello dear steemian friends, welcome to the fourth week of steemit learning challenge season 21. Enjoy and learn week four organized by the Basic Electricity Teaching Team. We will be giving ideas about house Wiring this week. As an electrician we should know how house wiring is done. At the same time the details will not be possible but we will try to give you accurate knowledge about house wiring this week. Hope this week will teach you something new. I am discussing some wiring below.
House wiring is one of the topics of electrical. As an electrician it is very important for us to know house wiring. We will be happy to complete any small task on our own responsibility. That's why we need to know about house wiring. What do we do with house wiring before? We will know about it.
Electrical arrangement through wires, control devices, protection devices, switch boards, circuit breakers to supply power to electrical appliances is called wiring. For house wiring we definitely need some overhead. The necessary equipment includes, switch board, cables, protection devices, control devices, neon testers and switches according to the load. We will complete the supply to switch board connections and electrical load handling this week. Before this we will know about the types of waring. Below I have discussed some wiring.
Batten wiring: Batten wiring is done by placing a wooden batten on the wall and fixing the cable with a clip on it.
Conduit wiring : The wiring done by carrying the wire through the plastic or GI pipe is called conduit wiring.Generally, conduit wiring is done in workshops, factories, auditoriums etc. Conduit wiring has advantages such as, it is durable, maintenance is very easy, there is no chance of injury to the cable.
Wiring immersed in plaster: This wiring is basically done by cutting a groove in the wall of the building and placing the cable with insulation inside the groove. It is placed and plastered over it. But it is difficult to repair again. Its advantages are low cost, easy operation. However, it is difficult to identify line problems.
Channel wiring: Channel wiring is done by attaching the plastic channel to the wall and placing the cable inside it and covering it with plastic parts. Note the channel wiring in the adjacent figure.
The mentioned wiring usually refers to the installation of cables. Basically how you install the cable. The customer chooses their wiring based on their needs and finances.
| Earthing / Grounding |
|---|
Earthing is an important issue during electrical wiring. Earthing is very useful for safety. Earthing plays a very important role in transferring high voltages to the ground when unexpected events or lightning strikes occur in the circuit. Besides, earthing is necessary to protect appliances used in homes from unwanted electricity. With the help of earthing, the voltage of the electrical loads is balanced, so the loads are good.
| Necessary materials of house waring. |
|---|
Students have already gained an understanding of electrical instruments in our previous lessons. I will learn about the use of your electrical instruments this week. Below are the minimum devices that our students will need for house wiring.
| Switch board. | 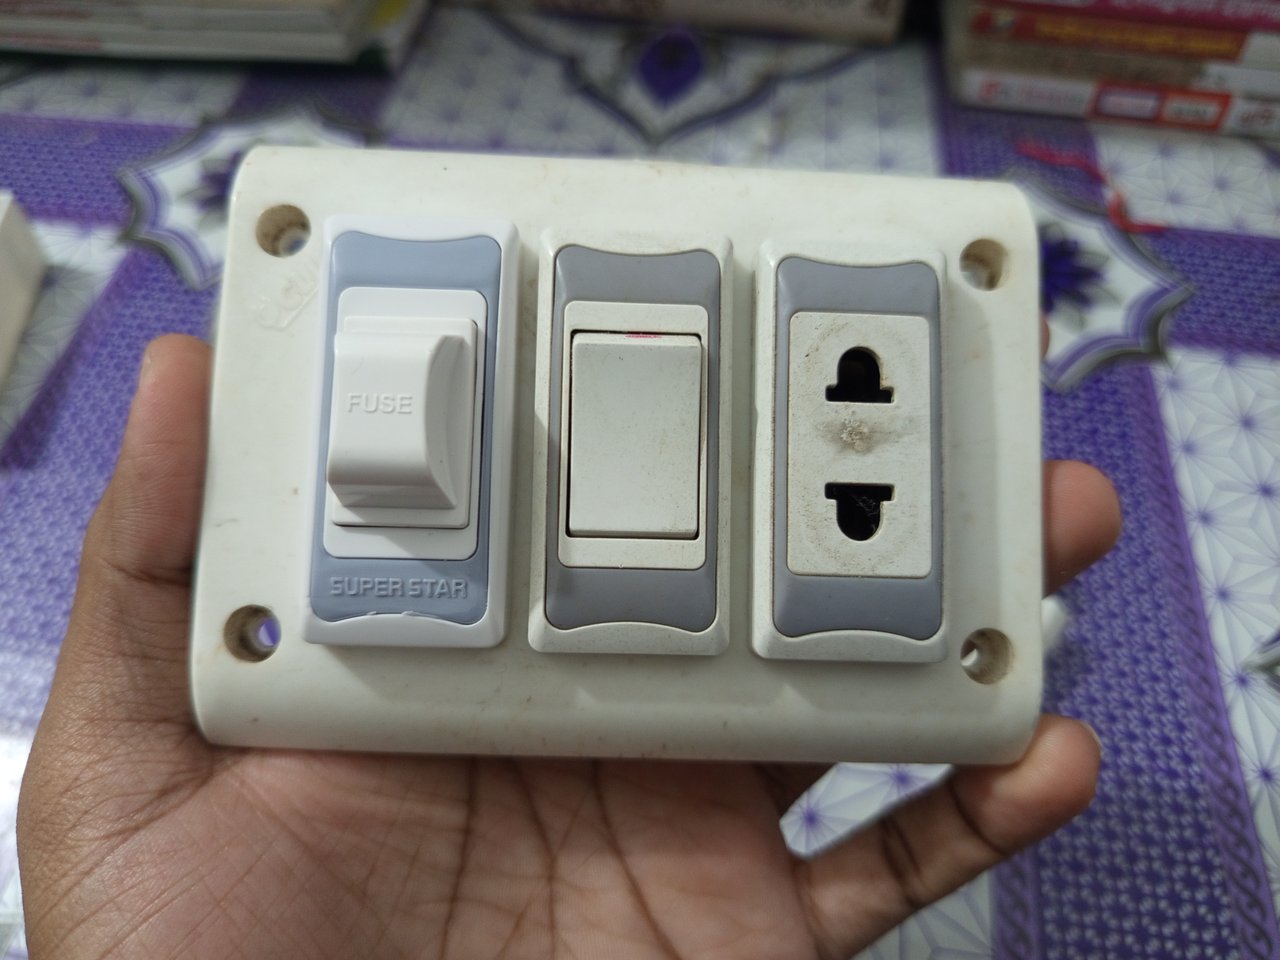 |
|---|---|
| Electric bulb. | 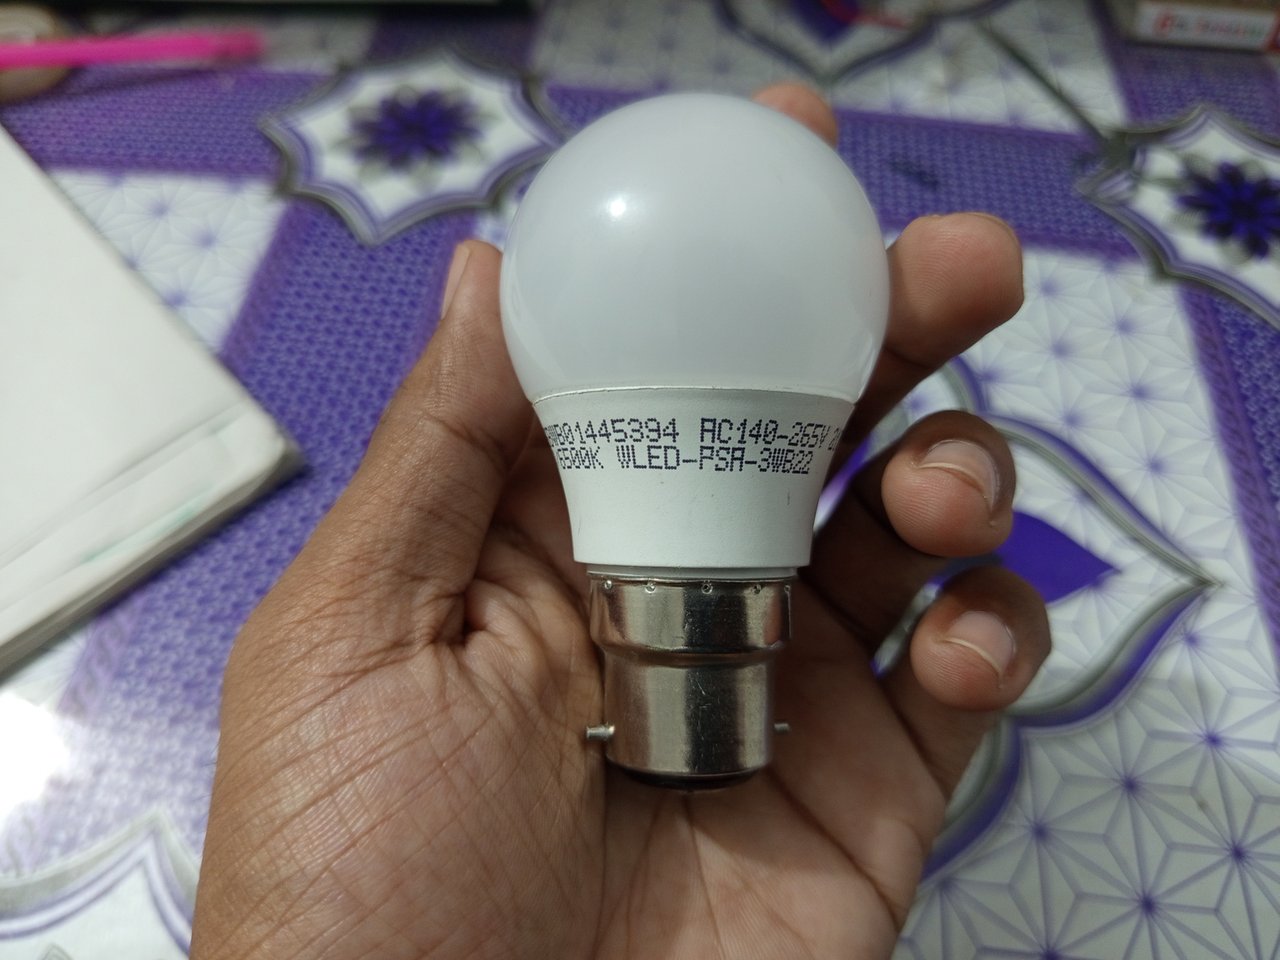 |
| Holder | 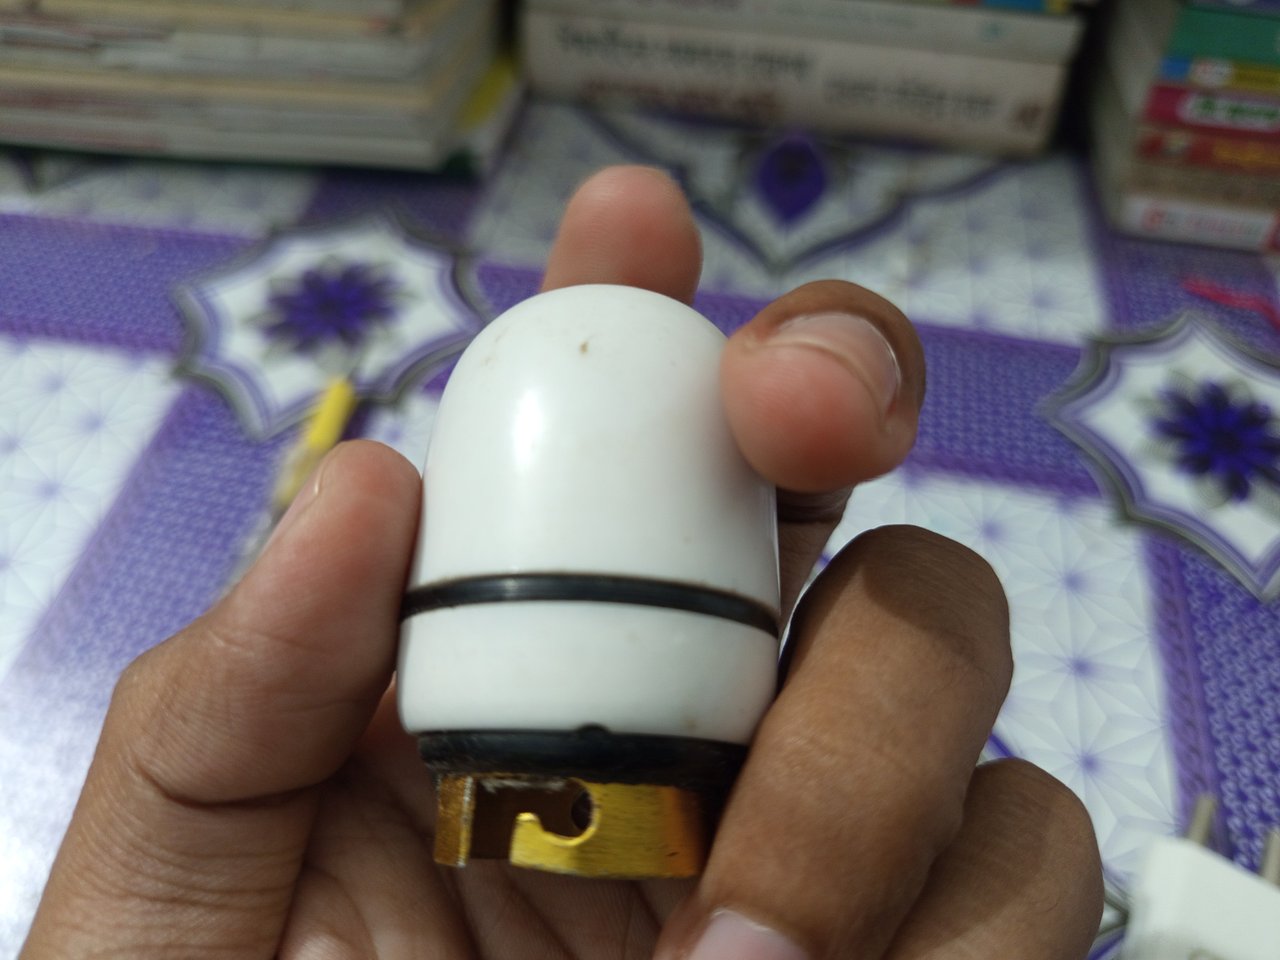 |
| Neon tester/screwdriver | 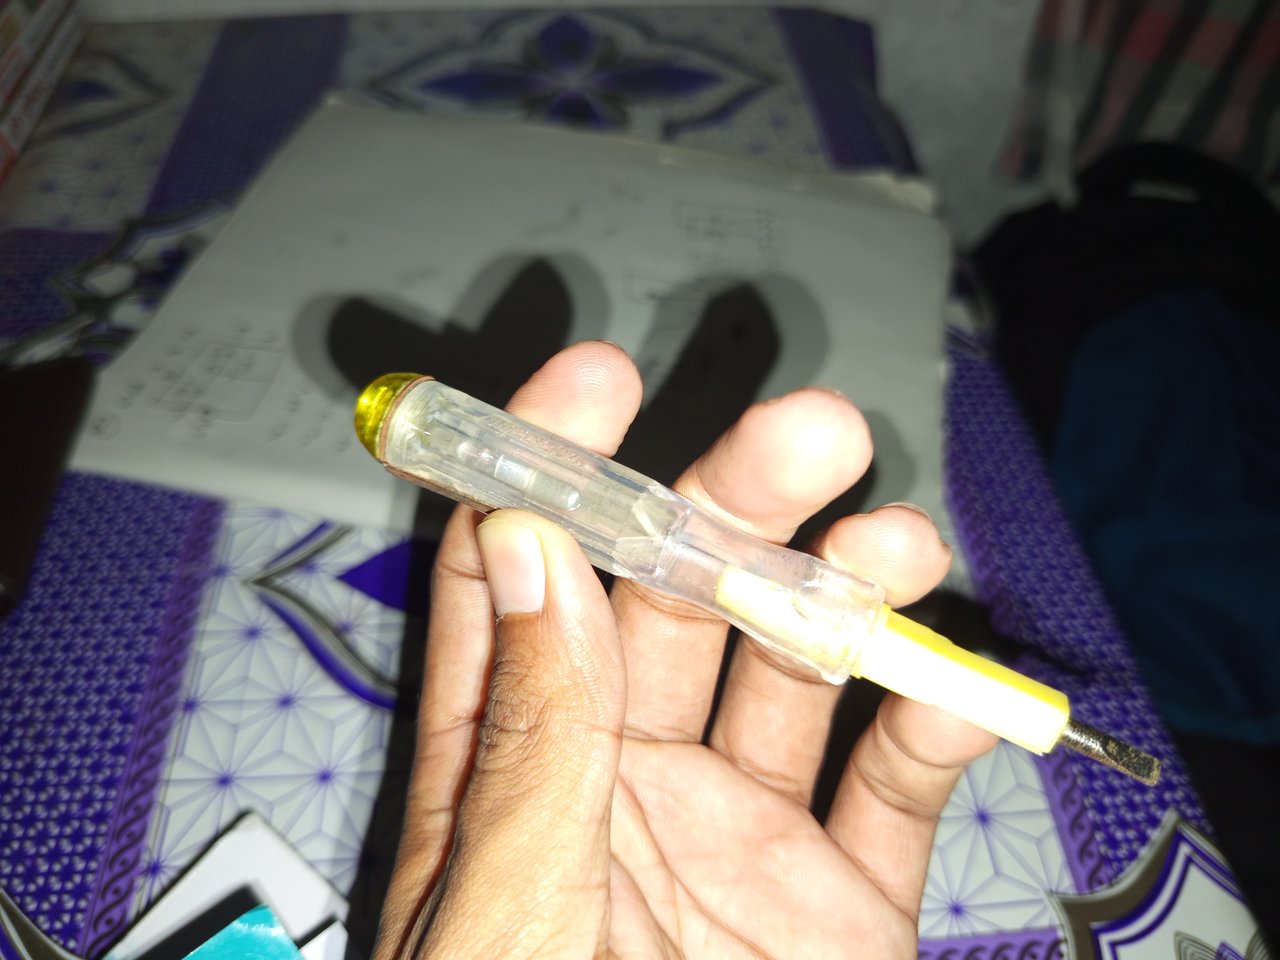 |
| Switch | 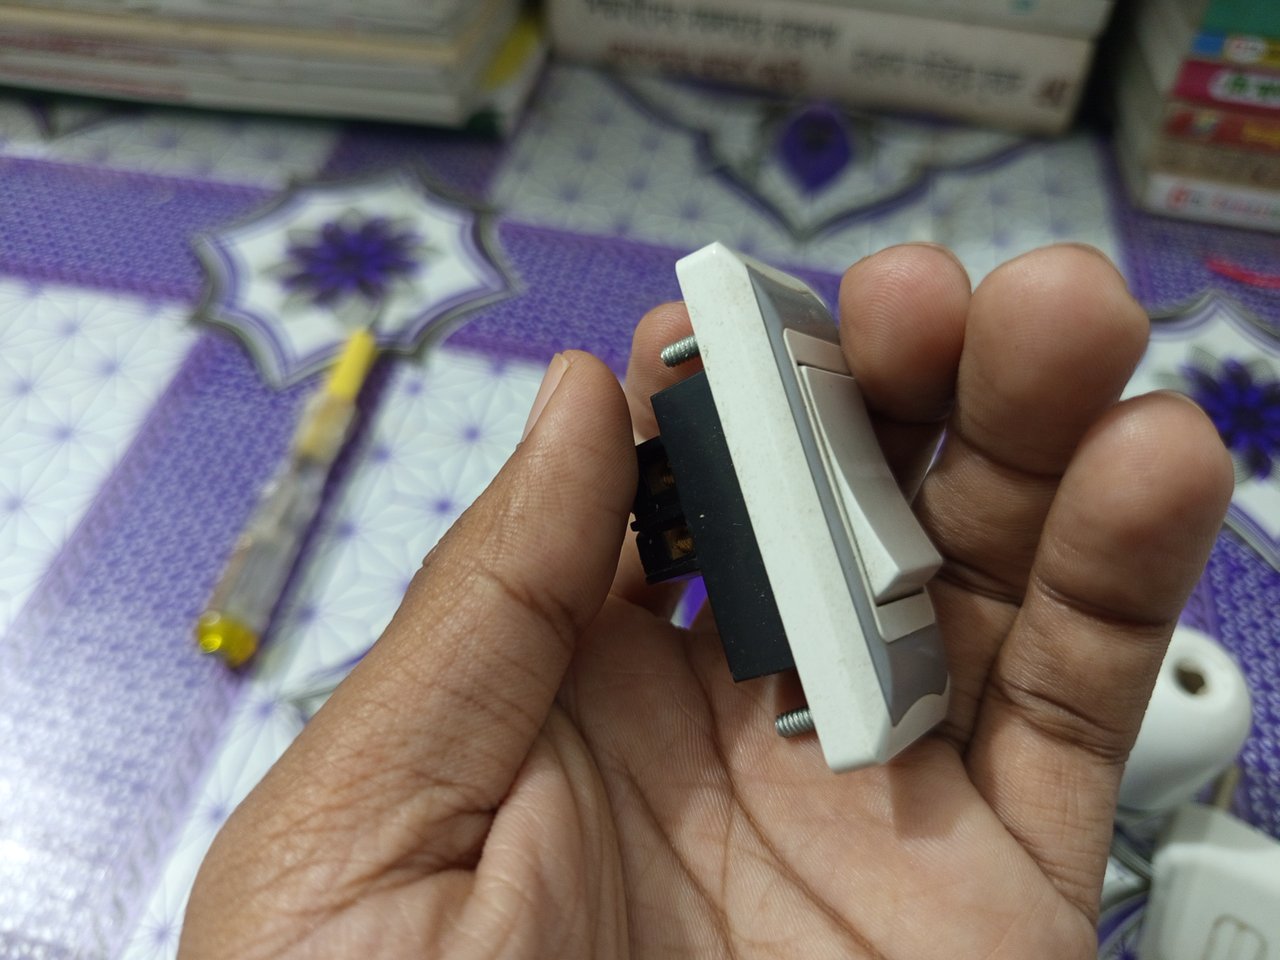 |
| Fuse | 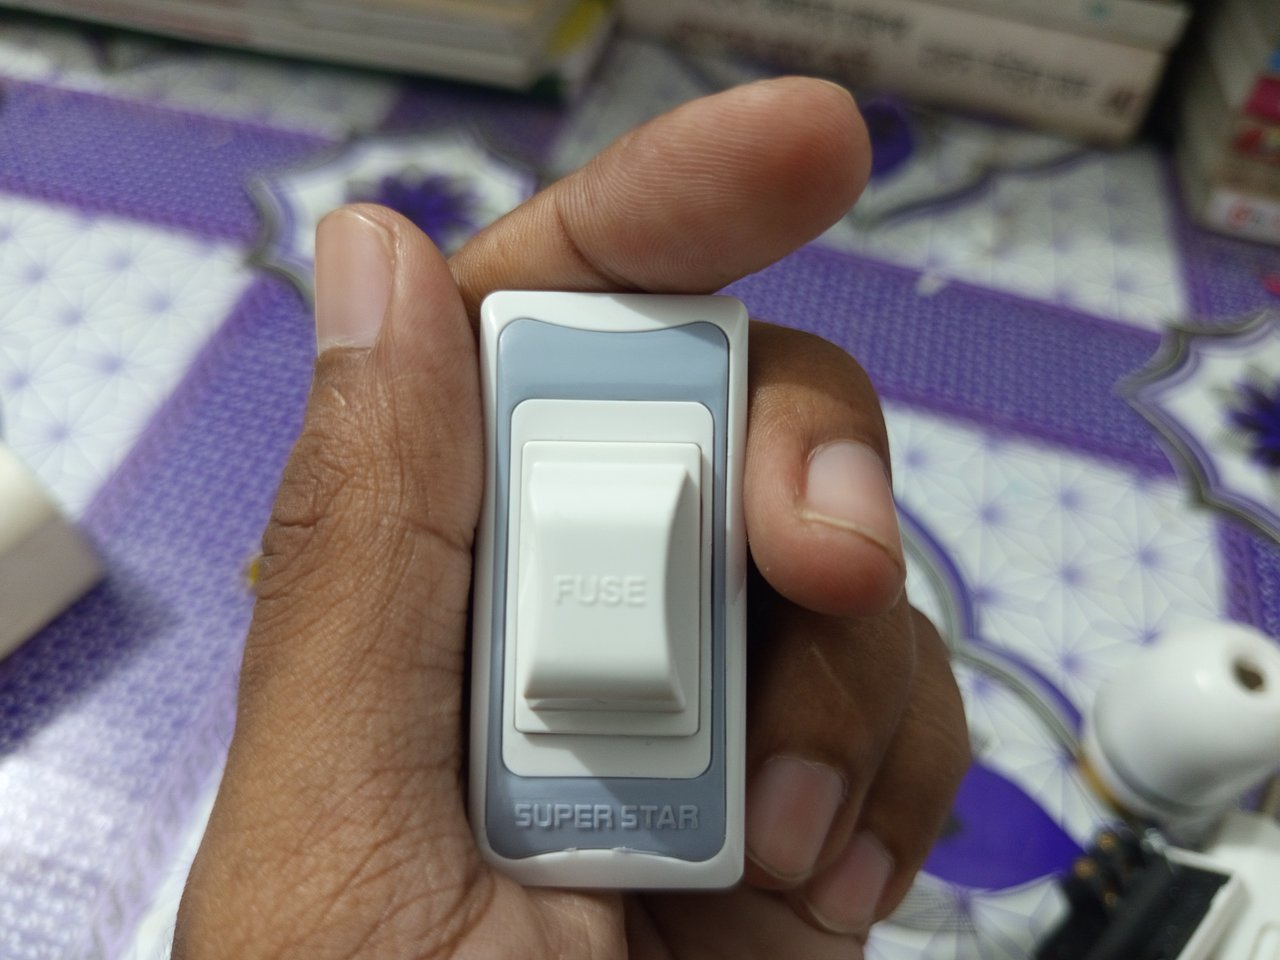 |
| Plug | 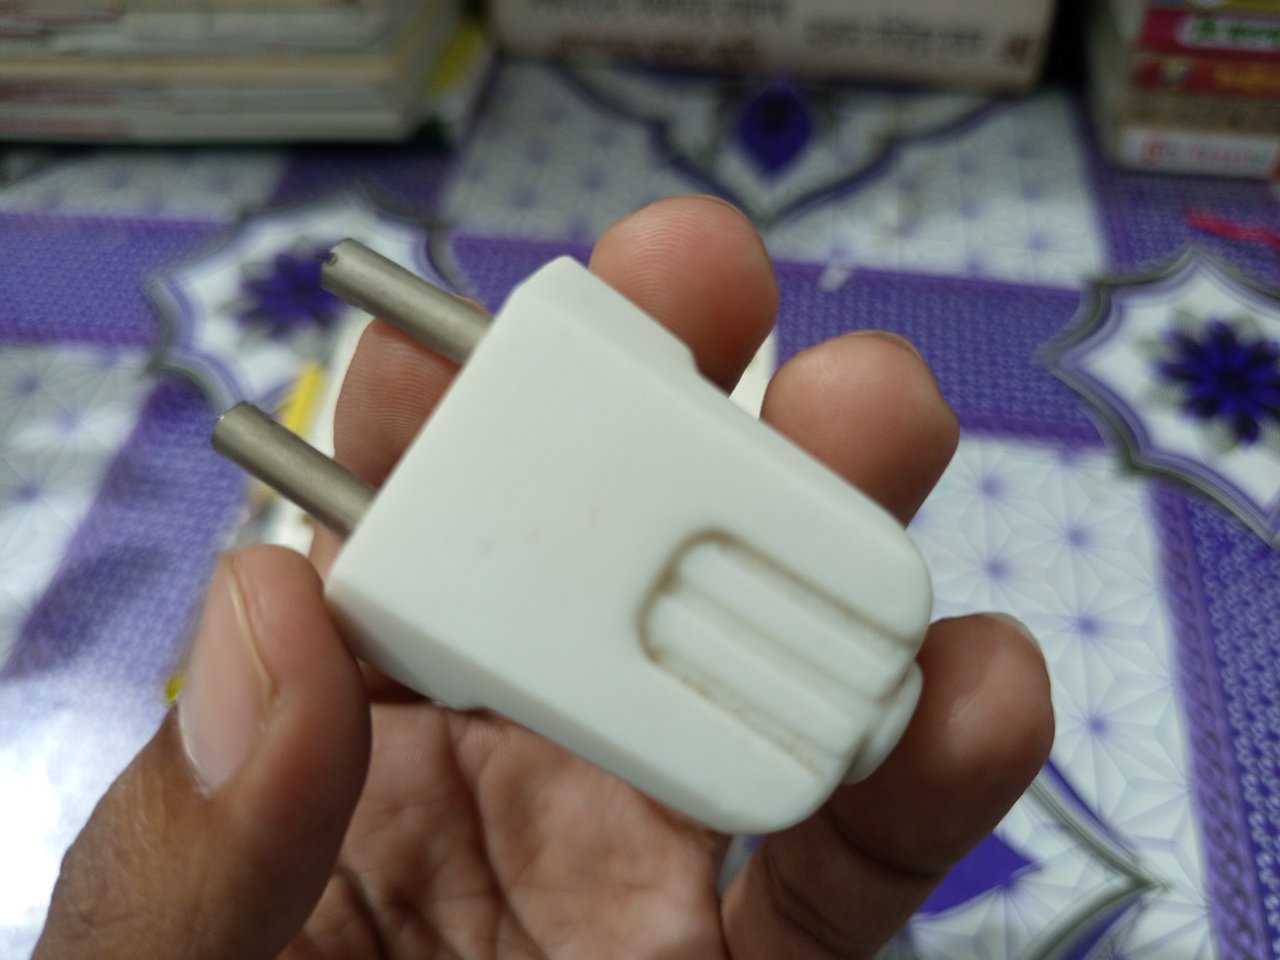 |
| Required cable | Take as much as you need. |
Each of the mentioned tools you will need to complete the house wiring. For house wiring you will be able to easily collect the devices and manage a load of house wiring concept. Initially students will learn to complete house wiring with simple circuits and a load. You can use a circuit breaker if you want otherwise you can take the line from a two pin source.
| Conducting electrical loads. |
|---|
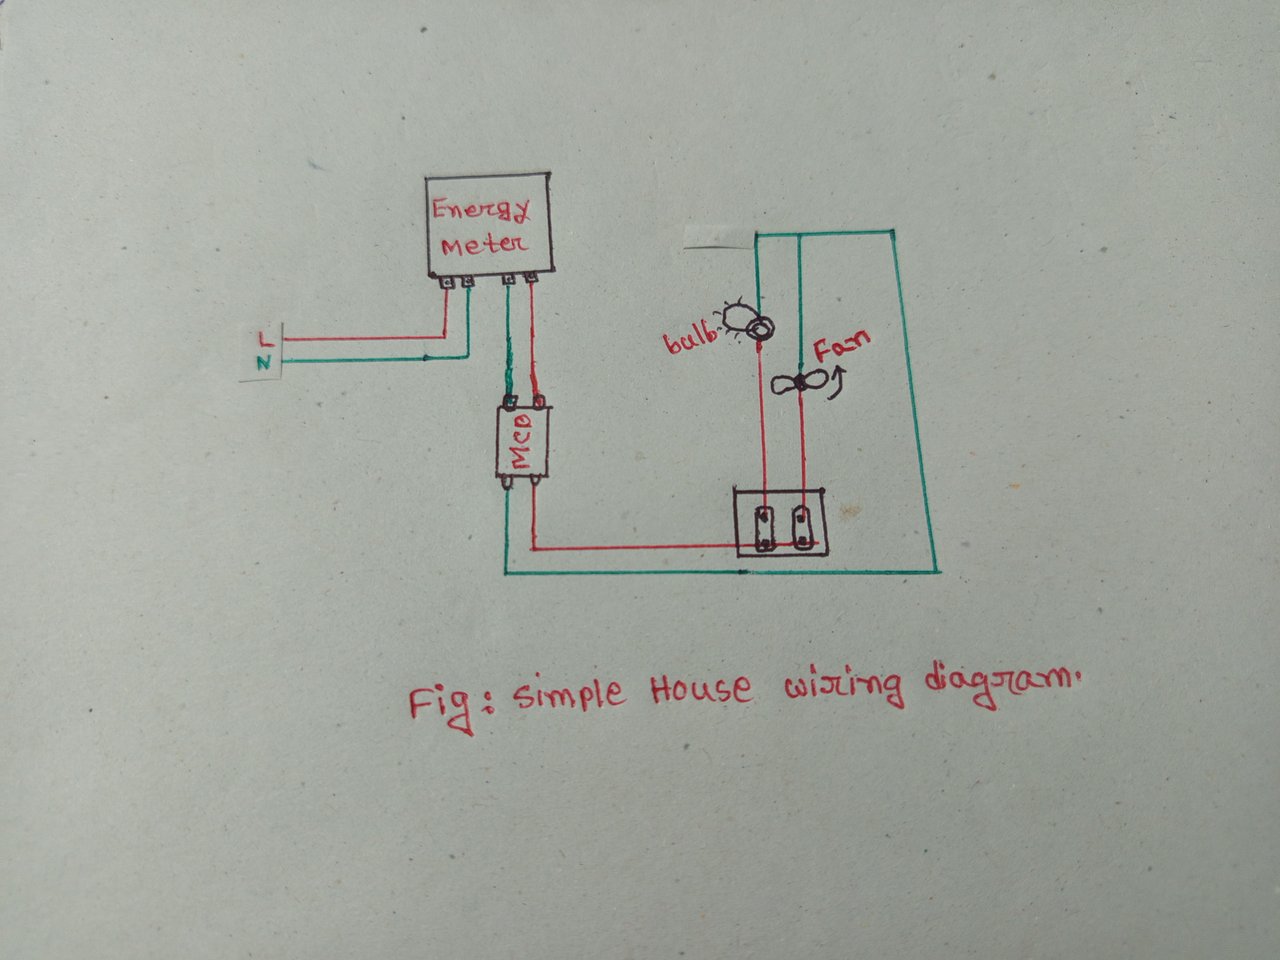
Notice the above diagram here I am describing the sequence.
First the electric line will come to the house's energy meter. Line and neutral should be connected to the two terminals on the left side of the wire. Then the output end of the energy meter will come out through the remaining two ends. Two wires from the Output end will be connected to the upper end of the MCB. Then the line from the other two ends of the MCB should be connected to a switch board. Below I have presented the connections of the switch board sequentially.
Here students will learn how to light an electric bulb by connecting a switch board. Here I took a switch board with three points. Here I took a fuse, a switch, a socket. Feel free to use sockets if you want. Basically just connections for a fuse and a switch will suffice. Below I have mentioned a diagram of the required materials. A wiring will be done by these materials. House wiring generally requires these materials. A circuit breaker is also required. Below I present a house wiring diagram. You can easily complete wiring from the given diagram.
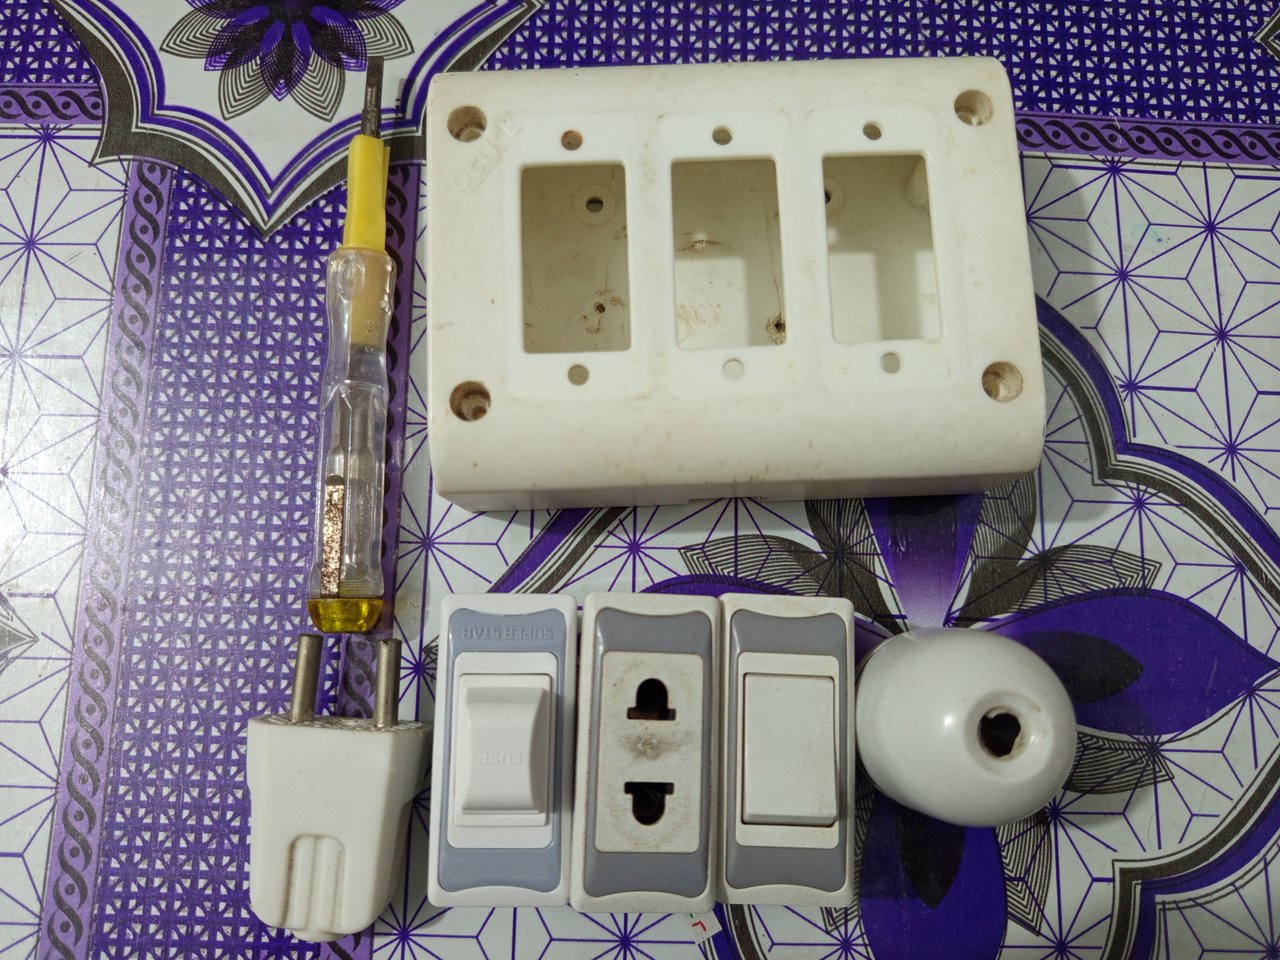
 |  |
|---|
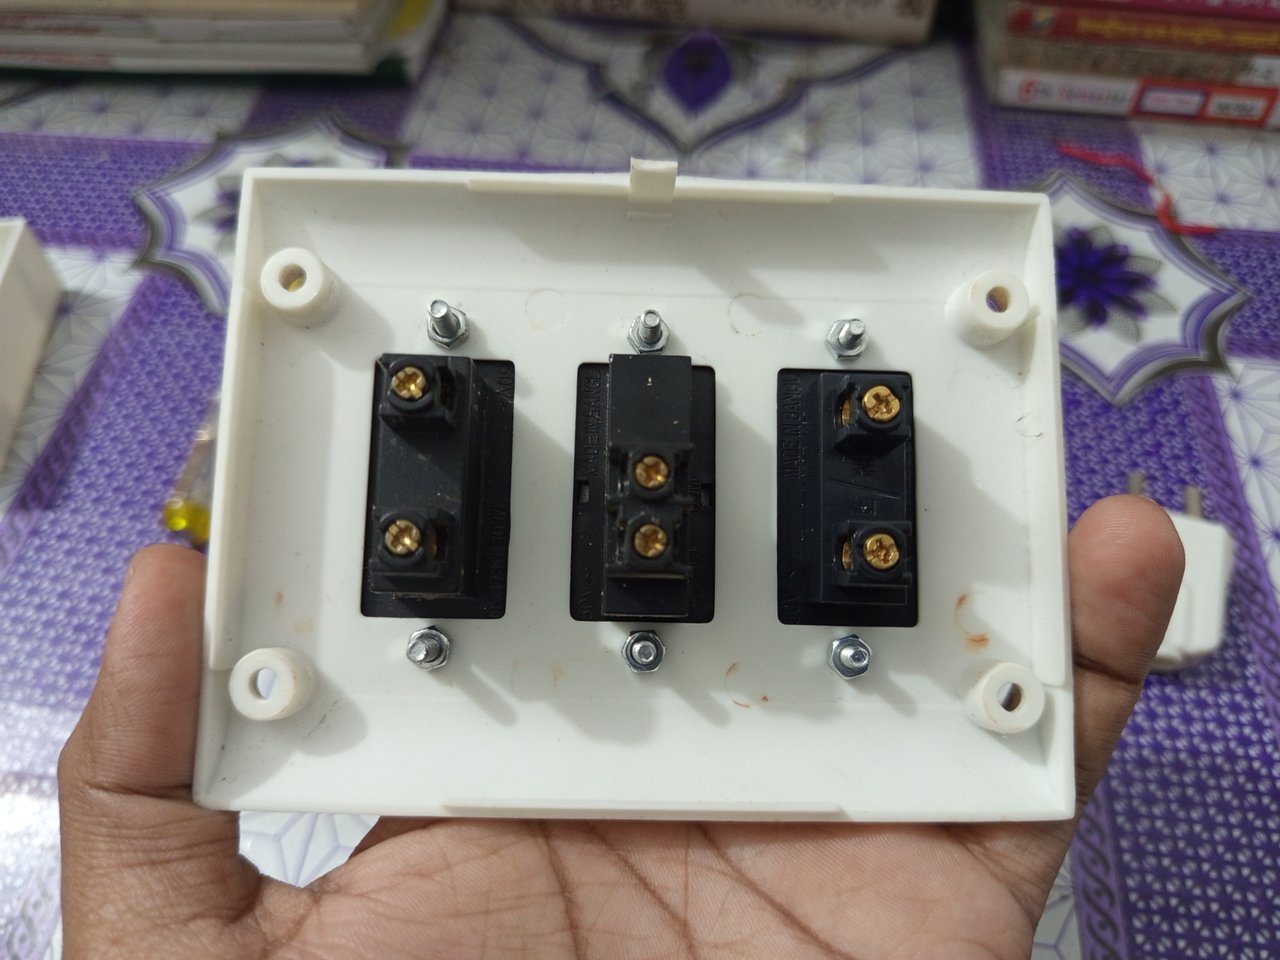
First I attached fuse, switch, socket with screw to a switch board. Here you can use one or more switches depending on your load. After placing the switches on the board, the screws should be tightened well by the tester.
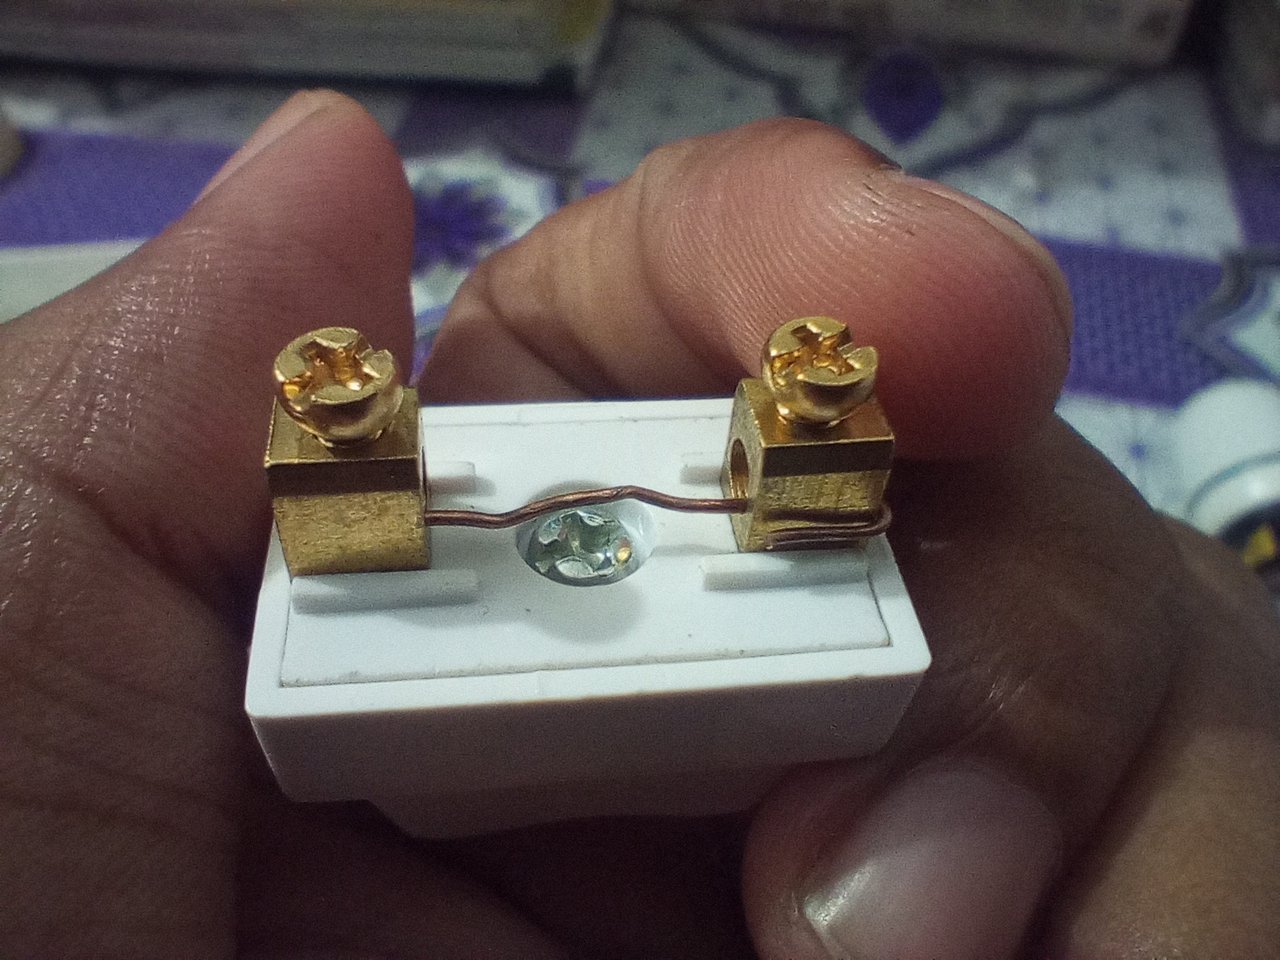
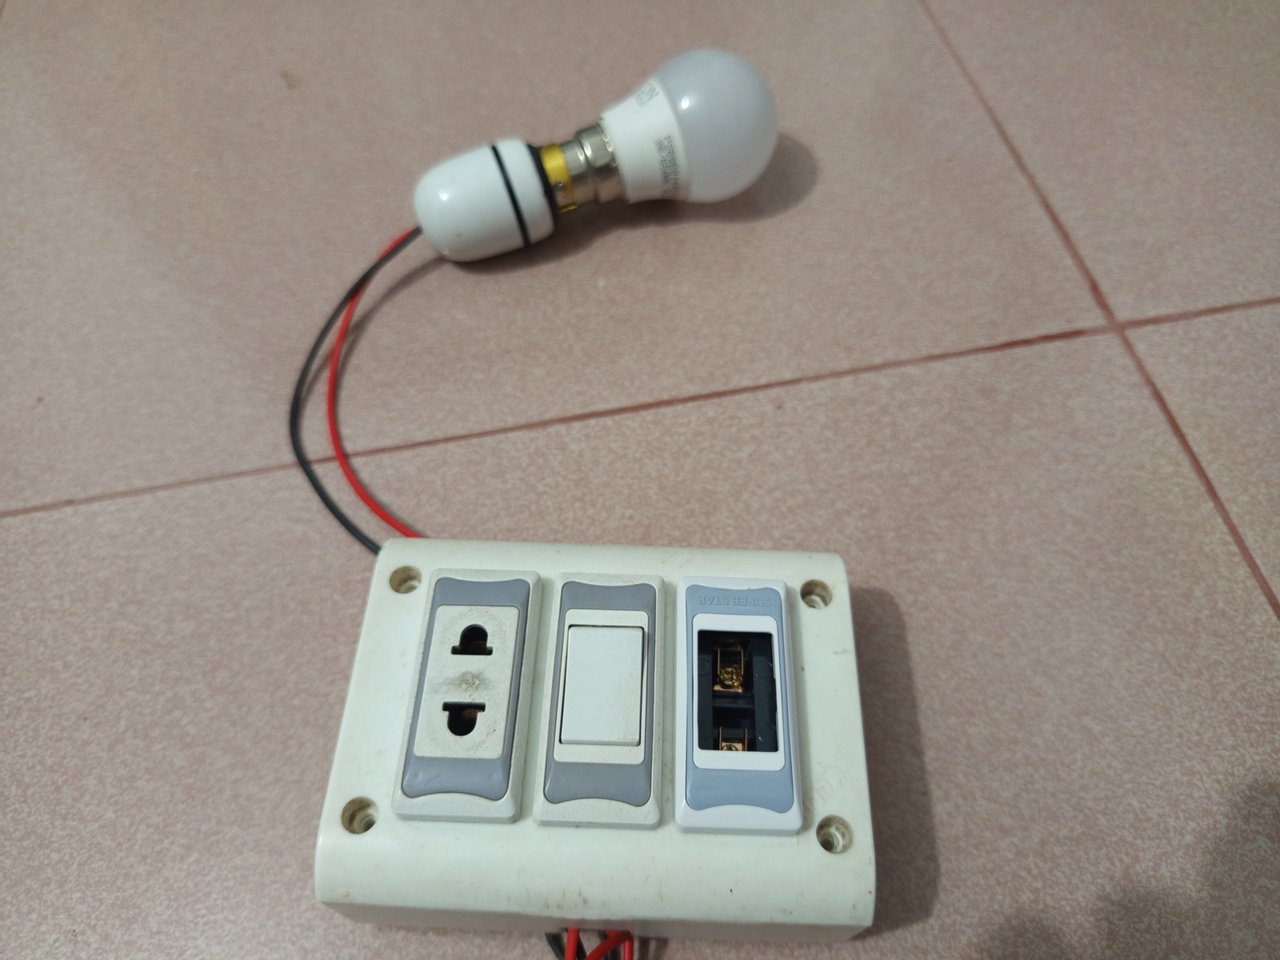
Next I will make the fuse connection. The top button of the fuse should be opened by pulling lightly. Then the two ends should be shortened. Since it is a defense device, it should be quite focused on connection. A relatively thin resistor can be used here, so that unwanted current is isolated before it flows into the circuit.
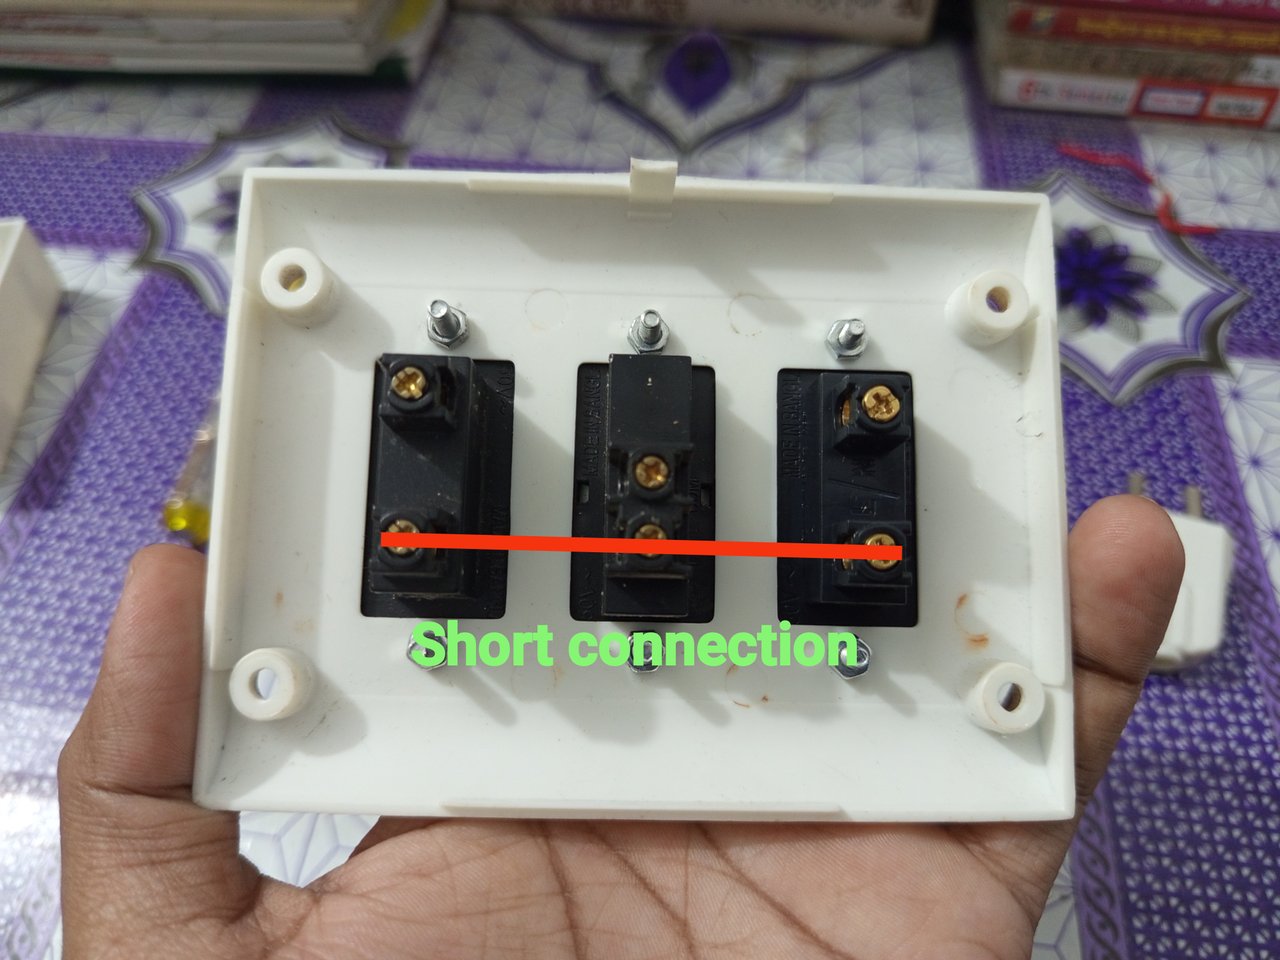
After placing the fuse, switch on the switch board, the lower ends should be short circuited. After shortening the lower ends, the screws should be tightened accordingly.
 |  |
|---|
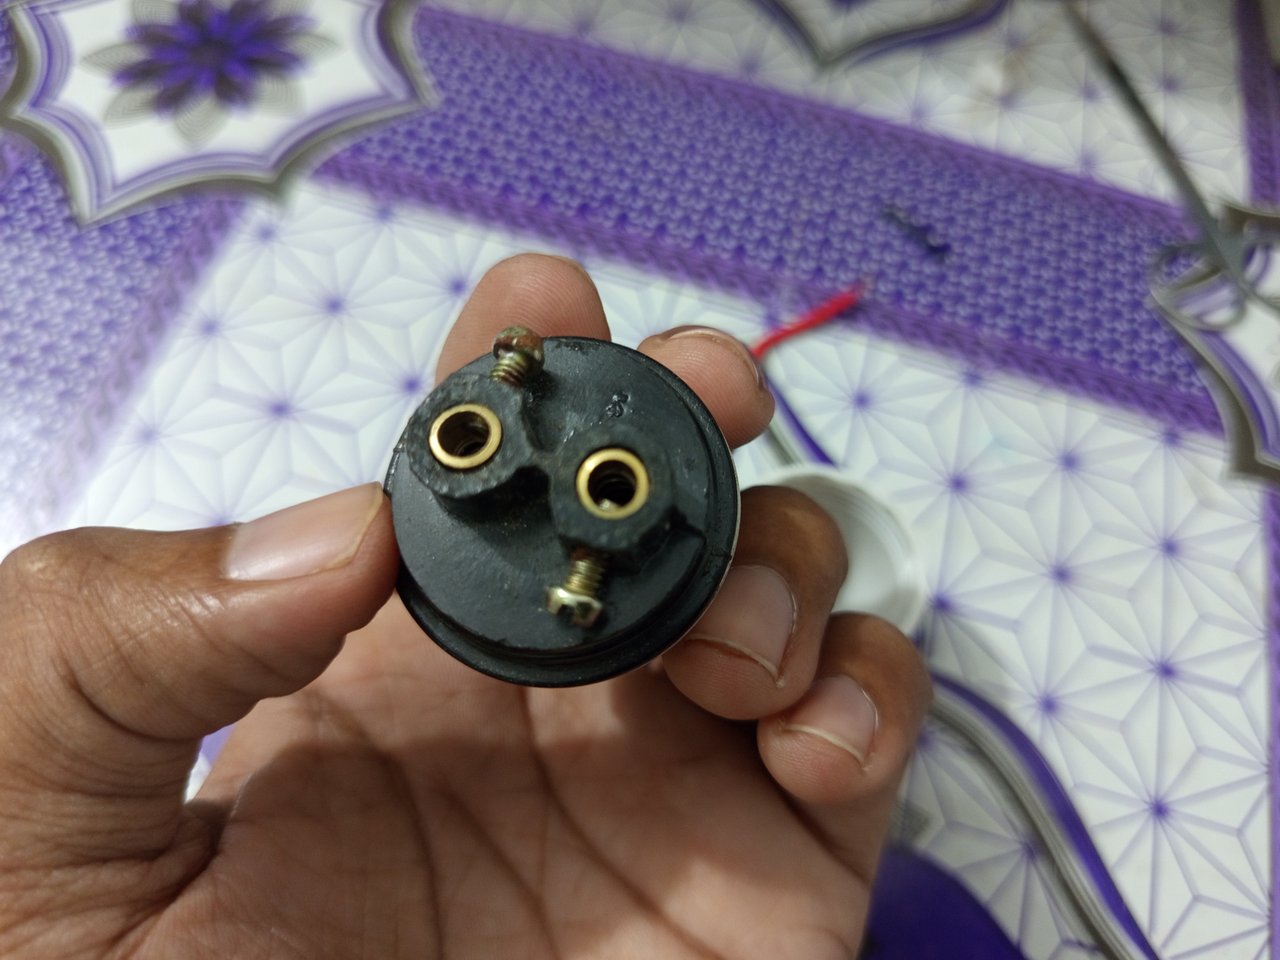
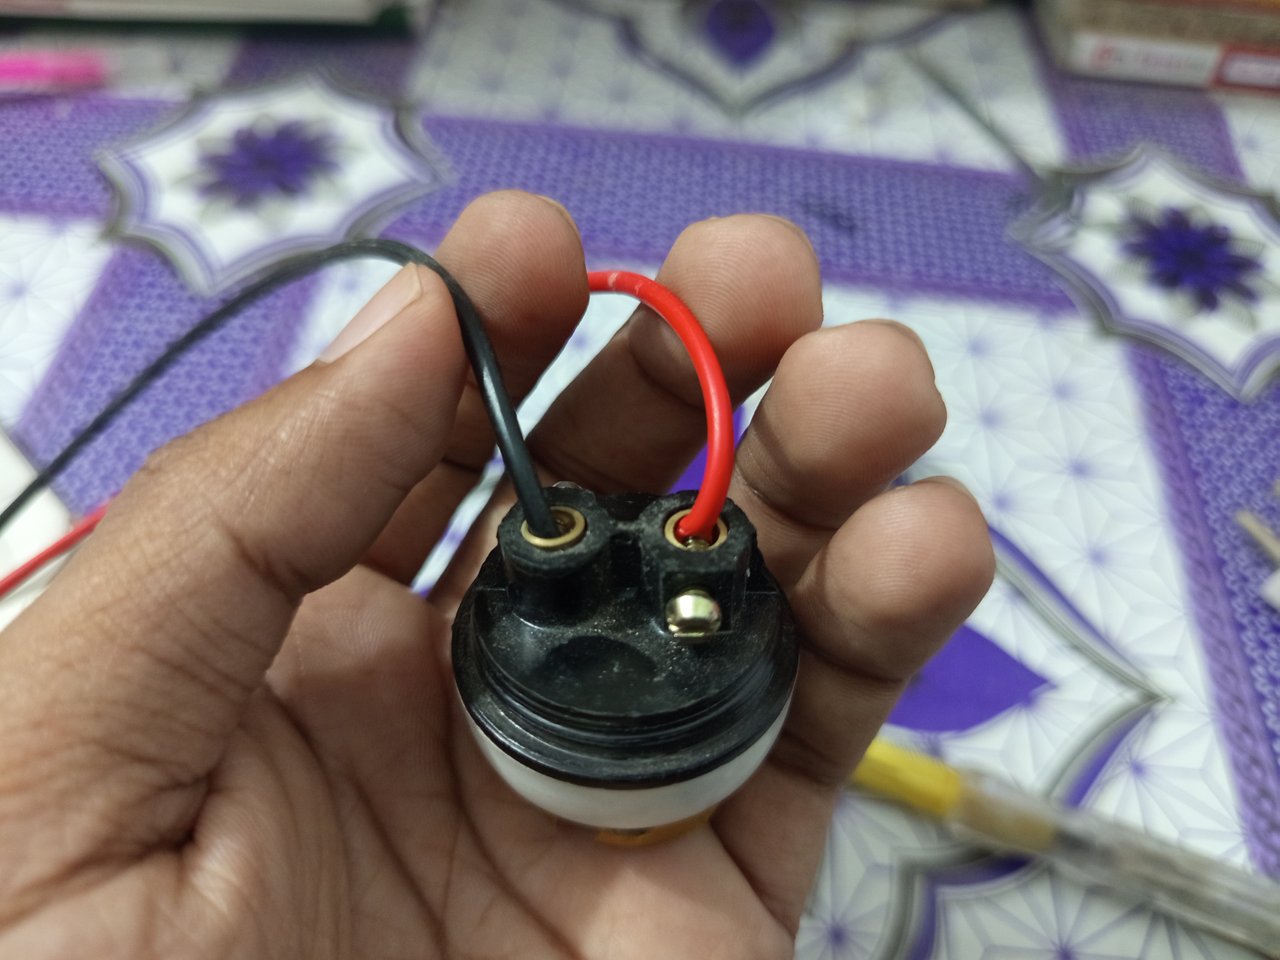
Then a holder connection should be made to connect the bulb. Then open the holder cap and take out the two connecting knobs. Then connect the line and neutral at any end. Notice the two pictures above.
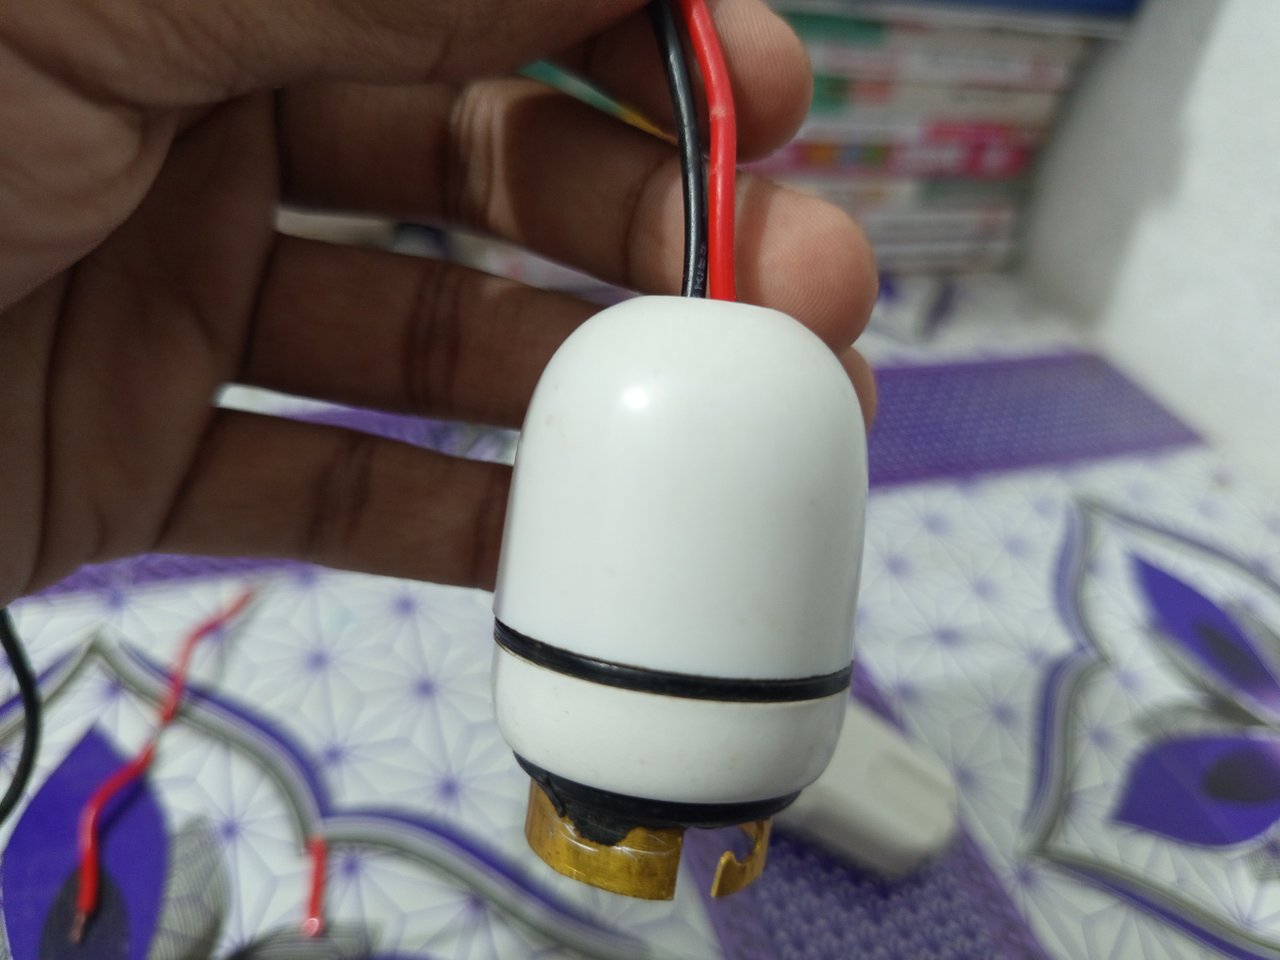
The cap should be fitted after the holder connection is completed. After fitting the cap the bulb is ready for connection. Now we need to connect the two ends of the bulb to the switch board.
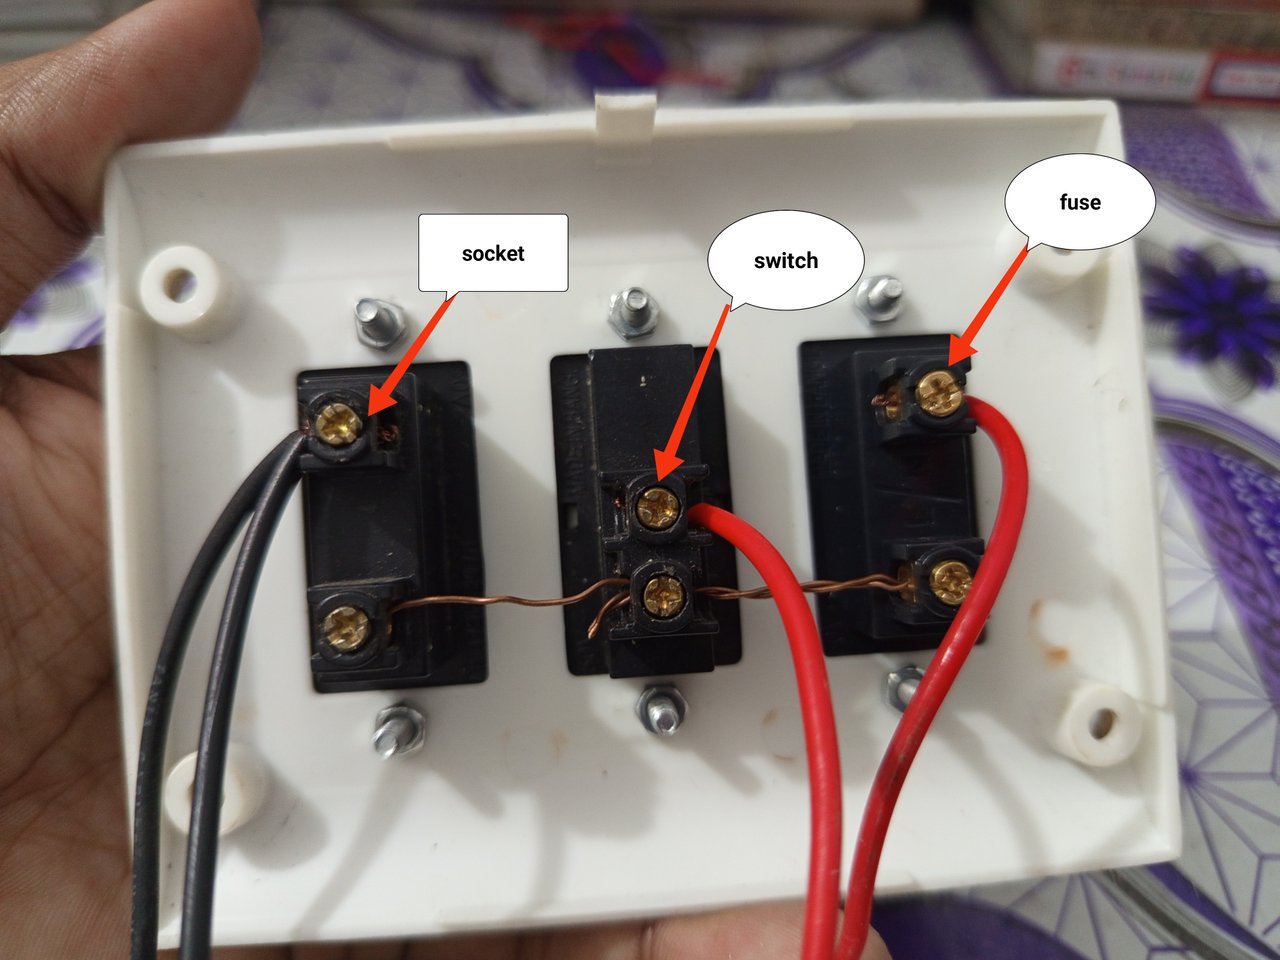
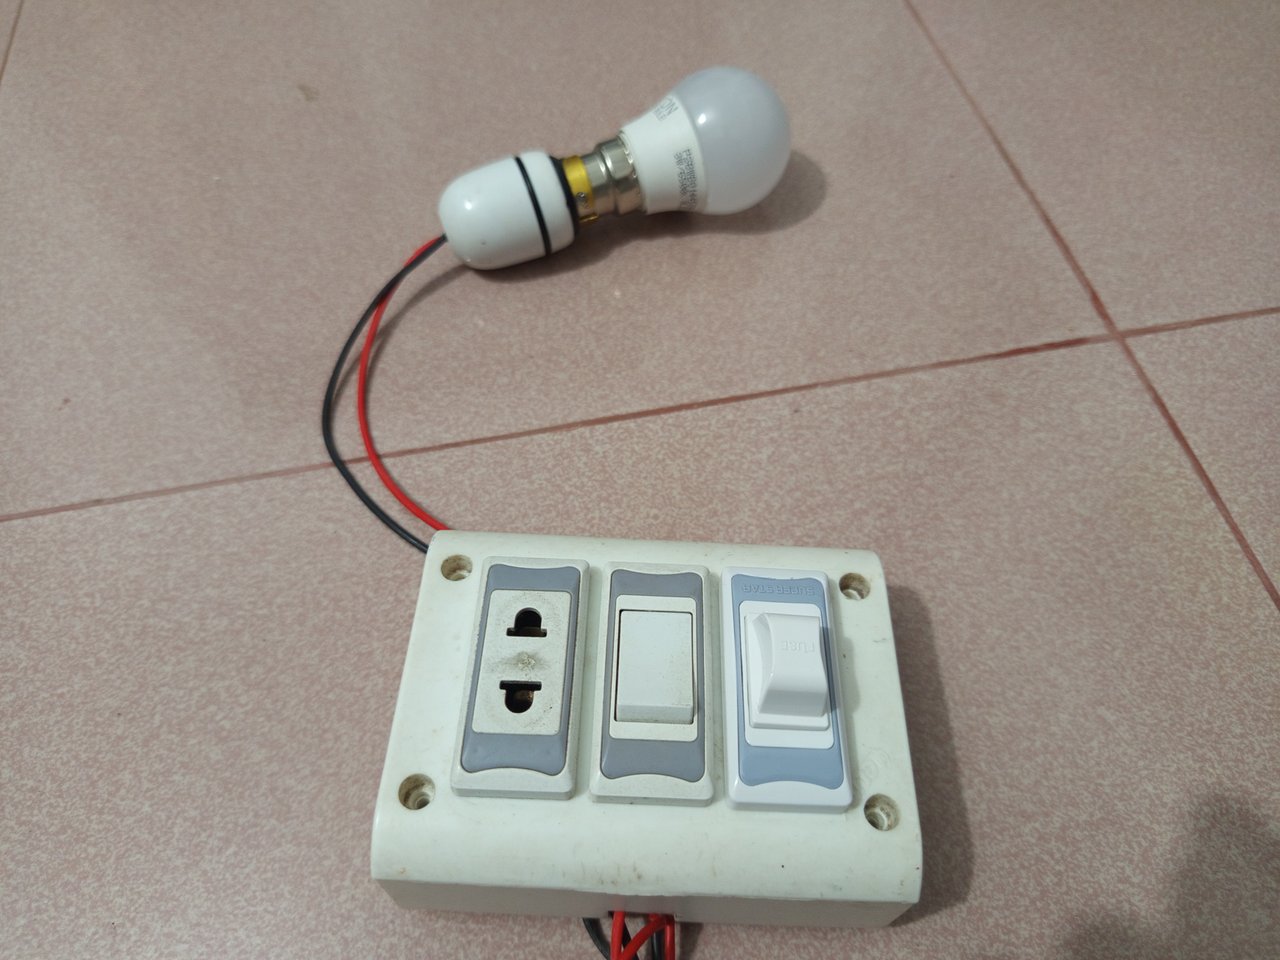
Here first from right side is fuse, second is switch, third is socket. The line from the source will connect directly to the upper end of the fuse. Connect the neutral of the bulb and the neutral of the socket and reconnect the socket.
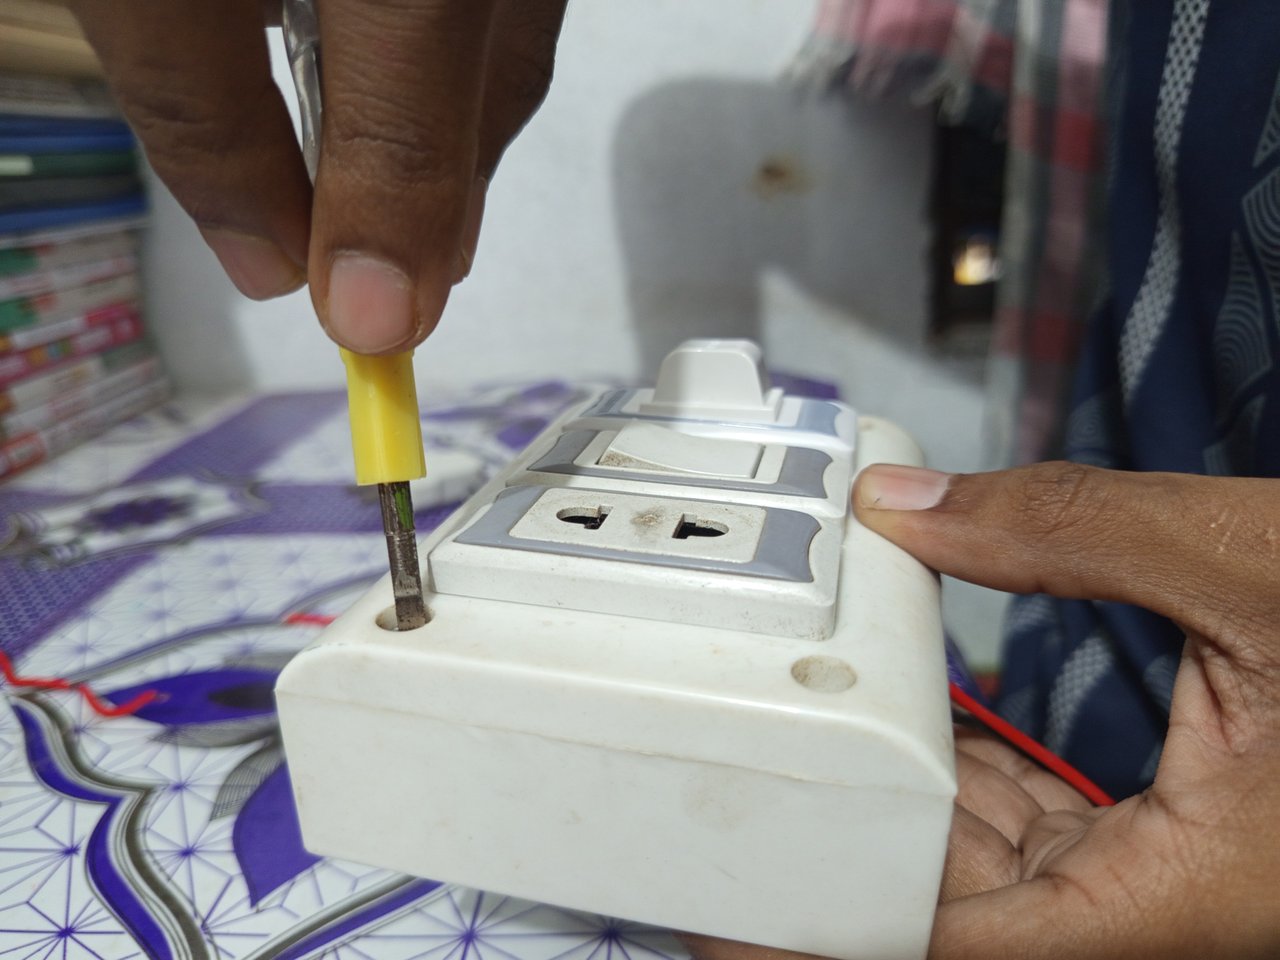
After all the connections on the switch board are done, the board should be fixed well with screws. Of course it must be clamped very well otherwise the wiring may be short circuited.
 |  |
|---|
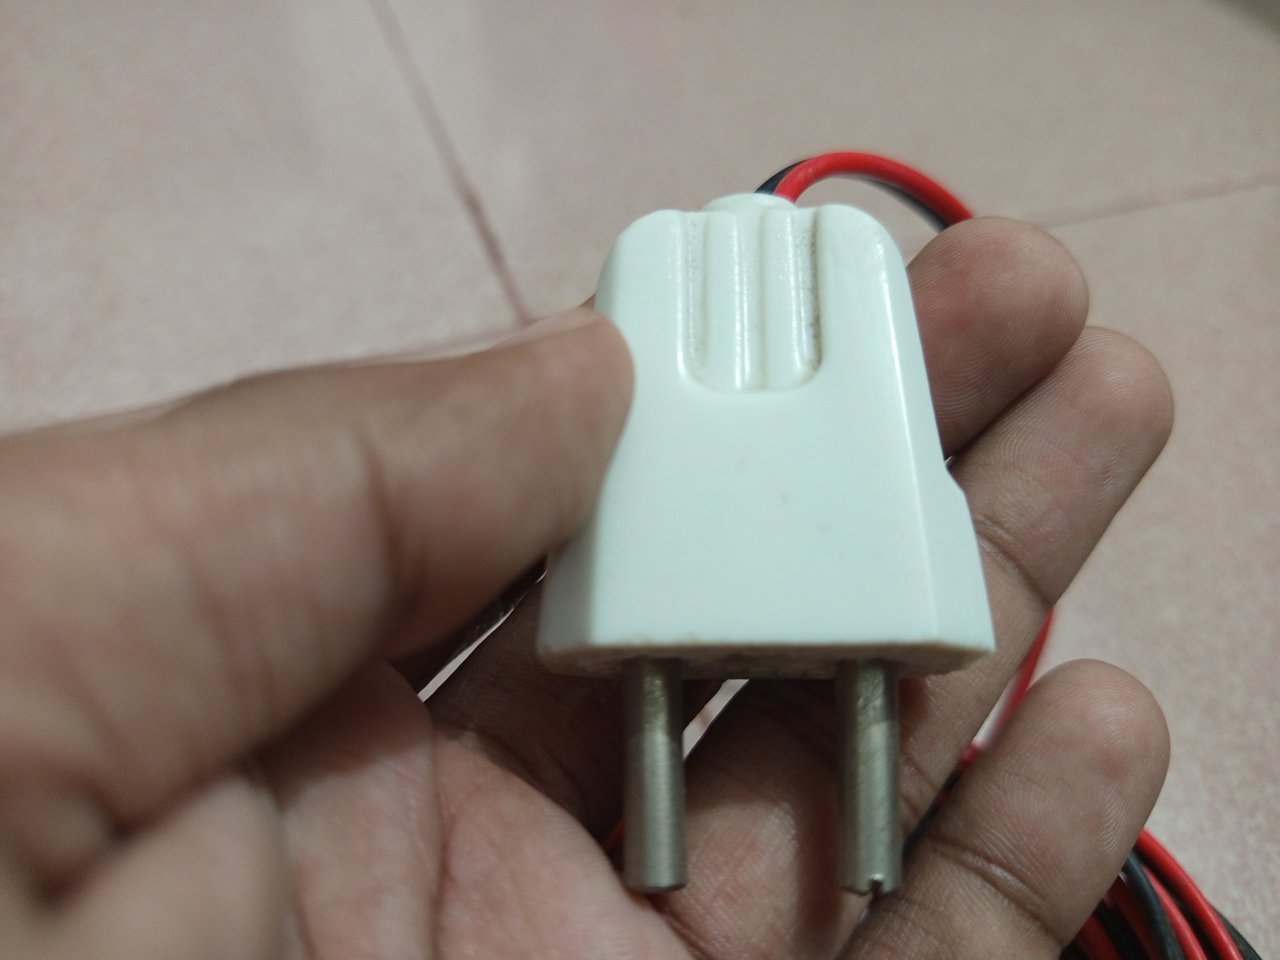
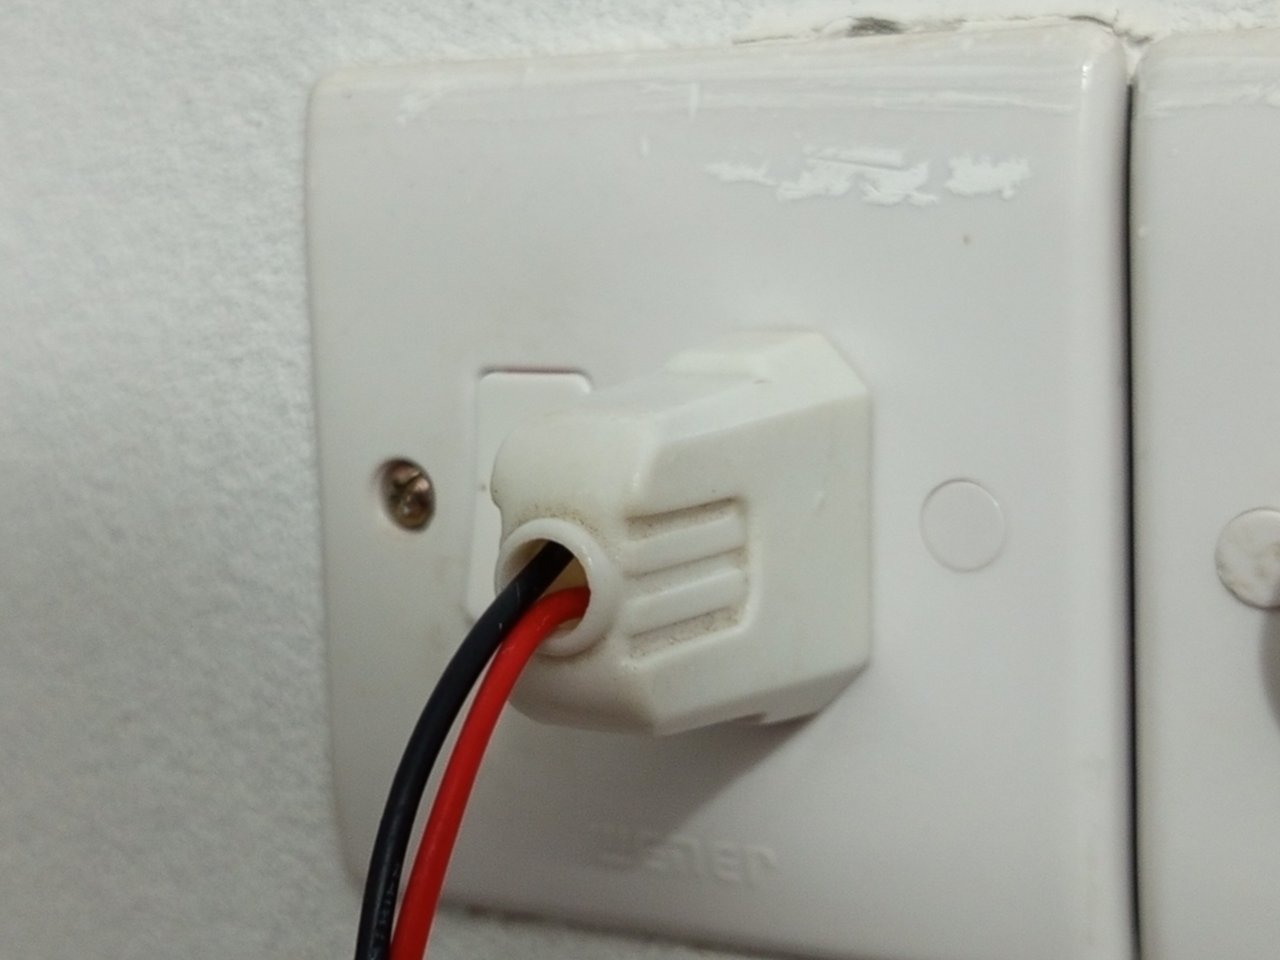
The switch board can then use a plug to connect to the source. Otherwise you can source using an energy meter and circuit breaker as per diagram.
 |  |
|---|
 |  |
|---|
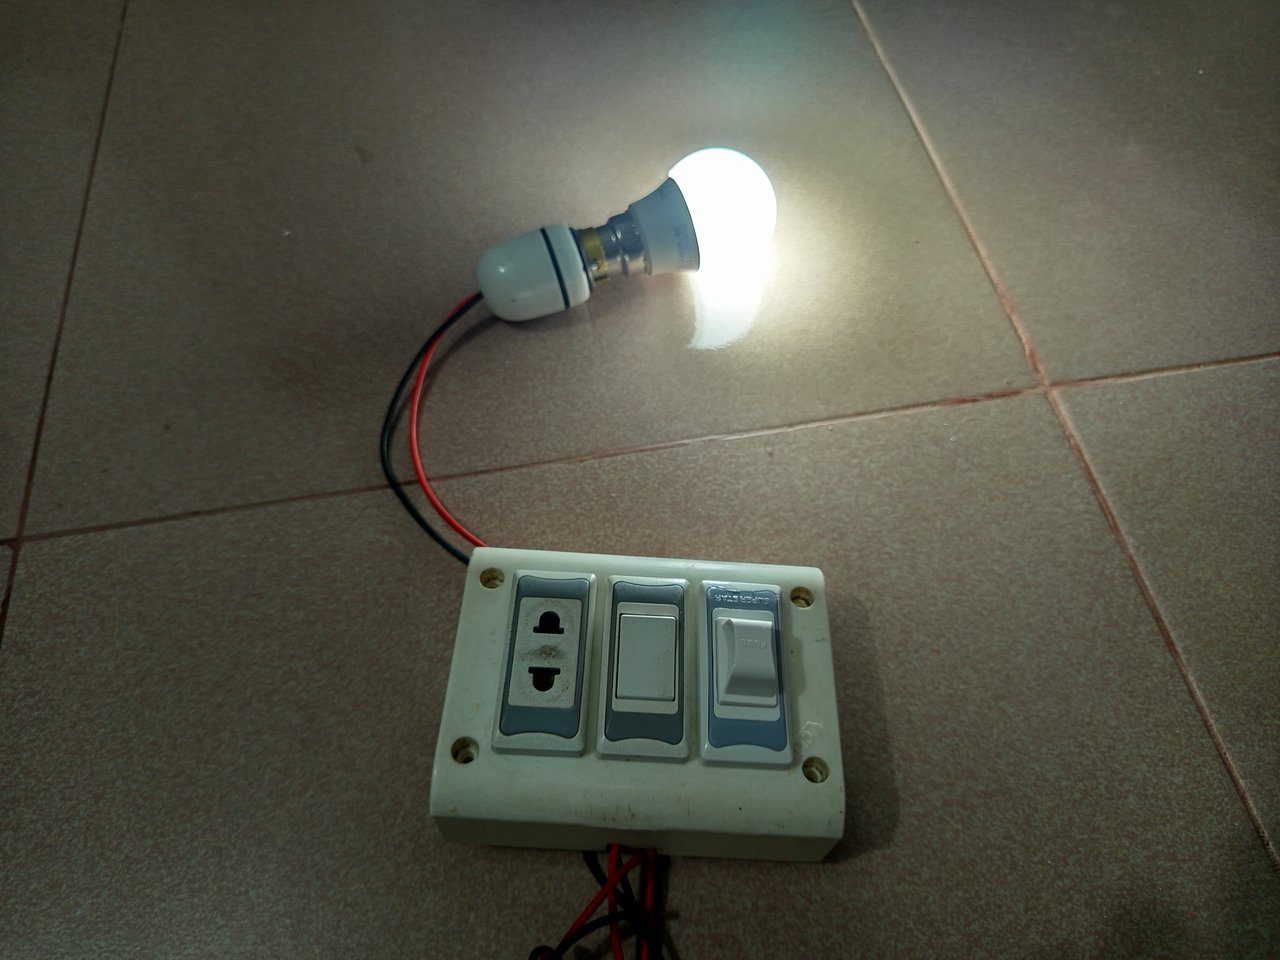
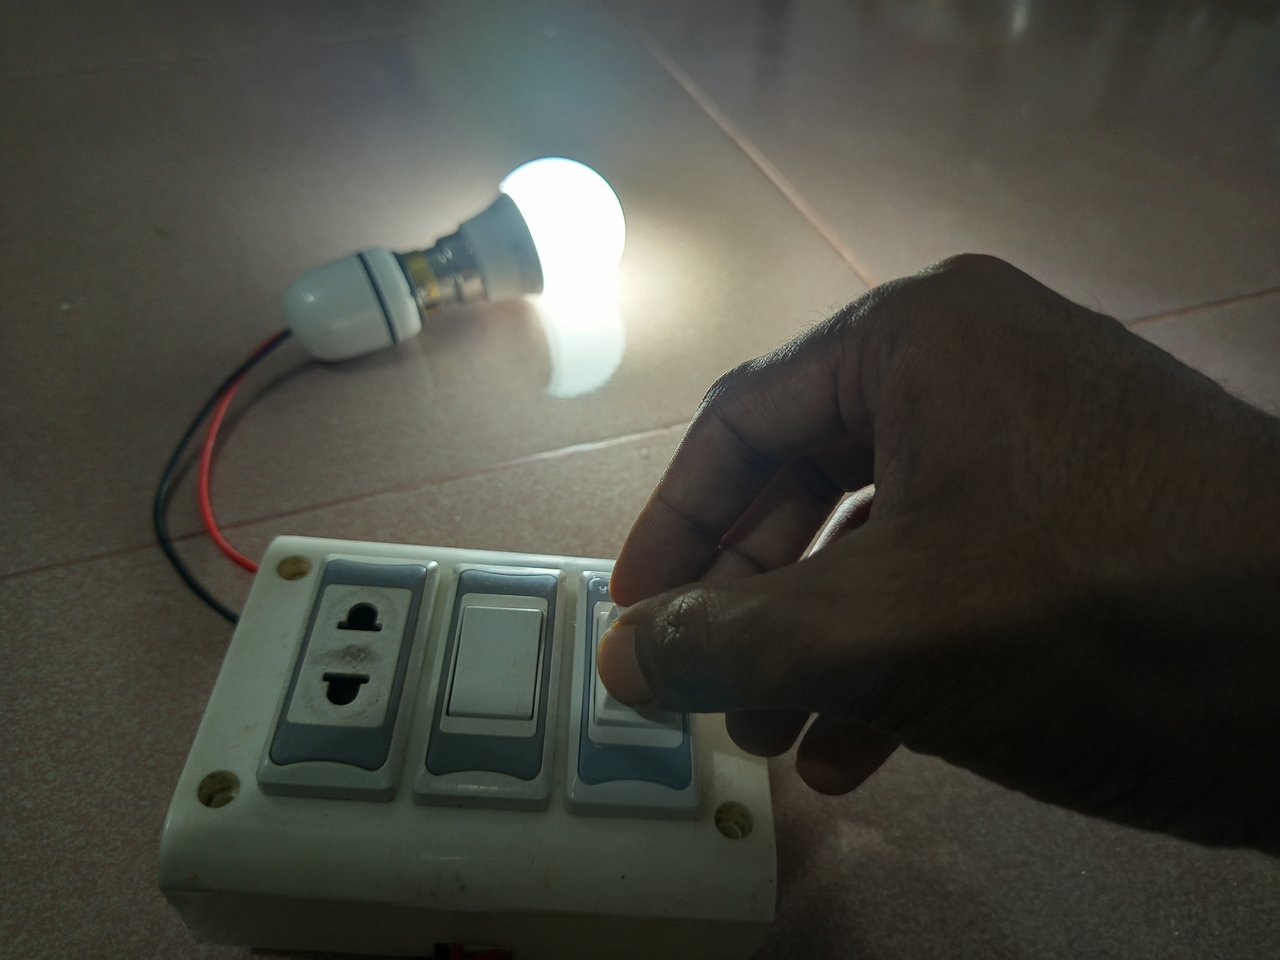
Circuit wiring is done now it's time to test. Before supplying the line must be checked thoroughly. Now the bulb lights up as soon as I switch it on. Now I am trying to control the load through switch.
You can remove the fuse to protect the circuit. Or any unwanted current will flow and the fuse will automatically blow and the circuit will break.
By completing the circuit in this way, you can complete the work of house wiring in a house. Since simple parallel circuits are used in homes, you can drive multiple loads in the same manner if you wish.
| A• |
|---|
- What do you mean by house wiring?

- Mention the name and function of the materials mentioned in the picture. Mention their requirements in house wiring.
| B• |
|---|
- What kind of wiring has been done in your home? Mention five advantages of this wiring.
- Write the advantages of earthing or grounding. At least three.
| C• |
|---|

- Connect the switchboard as per the given diagram and show a load handling (Lamp/Fan). Consistent clear details should be mentioned.
| D• |
|---|
- Mention the precautions you take while doing electrical wiring. Why is it important to be careful in electrical work? (Write in your own language)
| Note: We will review the mentioned task and give marks out of 10 to the students. So you pay attention to make your entry properly attractive and clear. |
|---|
| Sl. No | Marks |
|---|---|
| A | 2 Marks |
| B | 2 Marks |
| C | 4 Marks |
| D | 2 Marks |
- Your title should be "SLC21/WK4: Introduction to house wiring and load handling."
- The content must be #steemexclusive.
- The article must contain the tag #electricity-s21w4.
- Plagiarism is not allowed.
- The link of your task must be added in the comments of this publication.
- Use the burnsteem25 tag only if you have set the 25% payout to @null.
- You can publish homework in any community and in any language. But don't forget to use the original tag.
- Invite three of your active Steemian friends.
- The participation schedule is 18 November to November 24, 2024, at 23:59 UTC.
SC01/SC02 would check on the entire 17 participating Teaching Teams and Challengers and upvote outstanding content. Upvotes are not guaranteed for all articles.
At the end of the week, we would nominate the top 4 users who had performed well in the contest and would be eligible for votes from SC01/SC02.
Best Regards,
Basic Electricity Teaching Team
@mahadisalim
@solaymann
Comments