SLC22 -W1Baking Course: History of Bread and Fermentation Process
8 comments
Hello dear Friends....!
I hope you are doing well...
.png)
I love baking so much, and It's a great opportunity to learn it from scratch. I enjoyed taking part in the first lesson of the baking course. and I'm excited about the upcoming lessons. I'm thankful to both teachers, yenny47 and katherine012, for sharing their knowledge of baking with us.
Very recently, I tried making a pizza at home. Since it turned out well, I became even more excited to try making similar bread and buns. So, I believe this is the best place for me to learn and expand my knowledge of baking. 😊
🥐 Do you think it's important to ferment yeast before using it? What can happen to our bread if we do not activate the yeast and apply it directly to the dough? (1 point)
Yes, it is essential to activate the yeast before adding it to the dough. If we do not activate the yeast, we will not get the desired texture, and mainly the dough will not rise. Our dough will not be as light as the ones with yeast, and the yeasty flavor and aroma will be reduced. The dough will be overly compact, giving it a gummy texture.
🥐Name and explain the types of yeast and which one is available in your country. (1 point)
In our country, active dry yeast is most commonly used because it is convenient and easily available for home bakers. Osmotolerant yeast and instant yeast are also commonly used by commercial bakers for high-sugar doughs like stuffed and plain buns. Instant yeast does not need to be fermented it can be directly added to the dough, making it the preferred choice for commercial bakers.
🥐Go through the step-by-step of how to ferment yeast. And tell us if it fermented or not. Bubbles observed? (2 points)
.png)
I have used instant yeast here in my recipe, but I went through the fermenting process to ensure that the yeast is active. For that, I have used:
1 tsp of instant yeast
2 tsp of sugar
180 ml of mild hot water
I added water to the yeast and sugar and mixed them slightly. Then, I covered the mixture with a kitchen towel and set it aside for 10 minutes.
.png)
After 10 mins, I observed foam and bubbles which means the yeast is active and good to use.
.png)
🥐With the following recipe make a bread without yeast and tell us how its texture is its flavor, did you like it? Give your bread a creative shape without yeast (3 points)
Water 110 milliliters, equals 1/3 cup of water plus one tablespoon
Oil 1 tablespoon
Will a pinch
1 cup all-purpose flour, unleavened
When you add the water, this step should be done little by little since some flours require more moisture than others, you may have to use 110 milliliters of water or less.
.png)
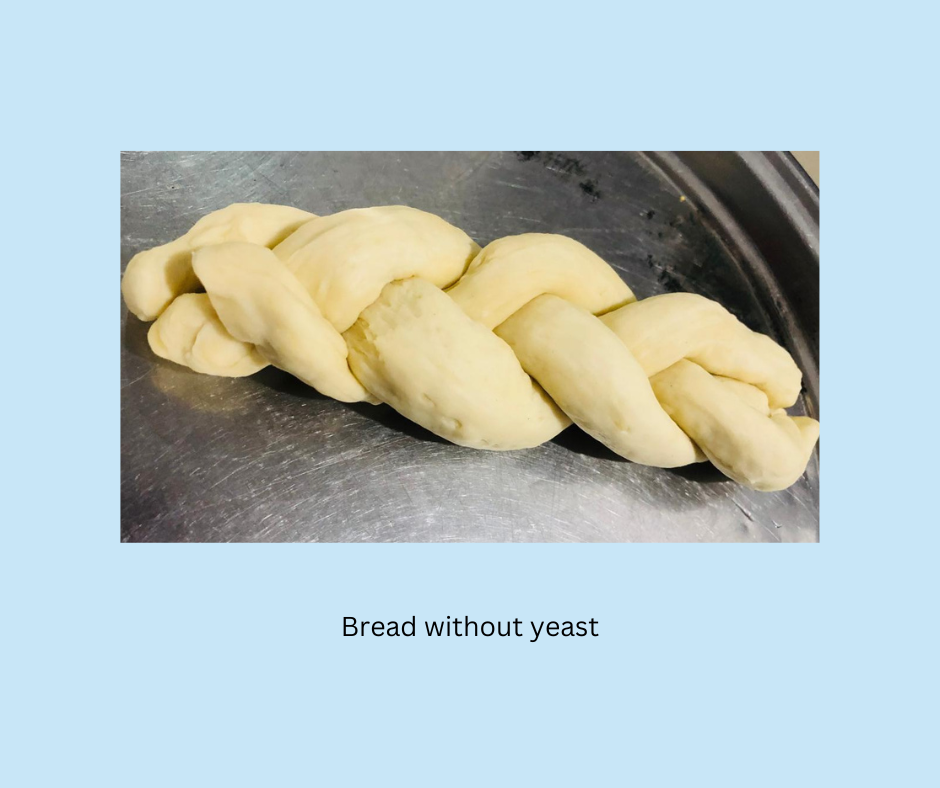
I followed the recipe above for the no-yeast bread and started kneading the dough, adding water little by little as advised by the teacher. I kneaded the dough until it became less sticky.
.png)
I made three long stripes, to give it a creative shape.

I baked it at 220 Celsius for 20 mins and this was the outcome.
.png)
🥐Now with what you have learned about yeast, make a creative bread with the yeast used for the test, that way you will take advantage of it and document your potty step by step, showing at the end both breads (with and without yeast) with their respective poster indicating user, date, and baking-slc22w1 (3 points)
Ingredients for the dough:
300g Flour
2 tbsp Butter
1/2 tsp Salt
4 tbsp of Milk powder
For Sugar Syrup:
1/4 cup of water
4 tbsp Sugar
.png)
After adding the yeast mixture, I started making the dough with the help of my dough mixer, as it's quick and easy to achieve the proper texture. When the dough became soft and silky without sticking it to my hands, I applied some oil on top to prevent it from drying out and covered it with a kitchen towel for about two hours.
.png)
After two hours the dough has been doubled in size.
.png)
Using my hands I flatten the dough and cut them into eight parts.
.png)
It's better to use a rolling pin for this task. Since I didn't have a rolling pin at home, I shaped the dough into a triangle shape with my hands and then rolled it into the shape of a croissant.
.png)
Next, I applied sugar syrup on top of the bread and sprinkled some sugar to enhance the flavor. Then, I baked them at 220 Celsius for 10-12 mins
.png)
Here is the final outcome of the bread with yeast.
.png)
If we compare, there is a difference in texture, as you see in the image. The bread with yeast is softer and has a better color than the one without yeast. I did a taste test of both breads and I rated the bread with yeast 10/10 and the bread without yeast 7/10.
.png)
Ignore my tired face, Here is my homework for this week's lesson. 😊
.png)
.png)
I invite @abi24 @abisolami and @kyrie1234 to take on these amazing baking classes.

| Achievement - 1 |
Iphone 8 |
www.canva.com |
|
|---|
Comments