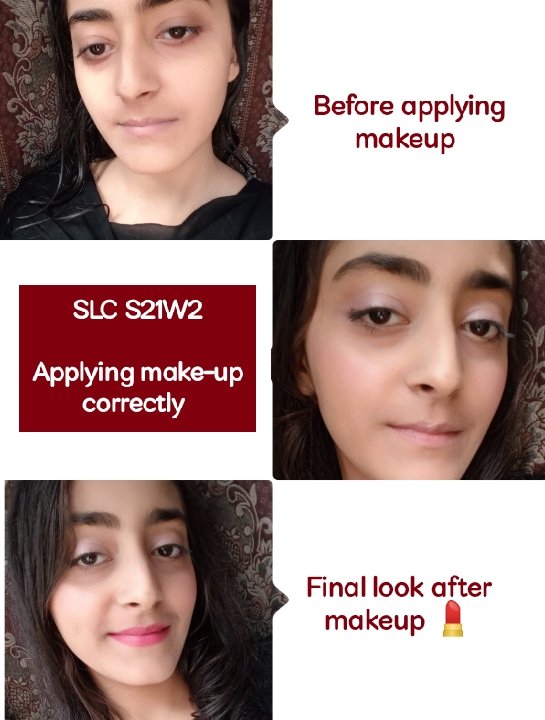
SLC S21W2 | Learn how to apply makeup to your skin correctly.
2 comments
| Color-Correcting Concealers |
|---|
• Purple concealer is used for neutralizing yellowish and oranges tones and as a result it makes the complexion bright.
• Peach coloured concealer neutralize blue undertones and dark circles.
• Yellow coloured concealer most probably used for covering if there is any swelling as or bruise present
• Champagne colour is used for brightening ,highlighting the face and adding warmth.
• Lavender concealers can be used for correcting yellow skin tone.
There are some of the special shade also present in which first of all there is Salmon which is used for concealing dark circles and for adding warmth, there is coral which is used for brightening mostly, Golden is used for adding warmth to complexion, at last there is cinnamon that gives a golden tone to medium skin.
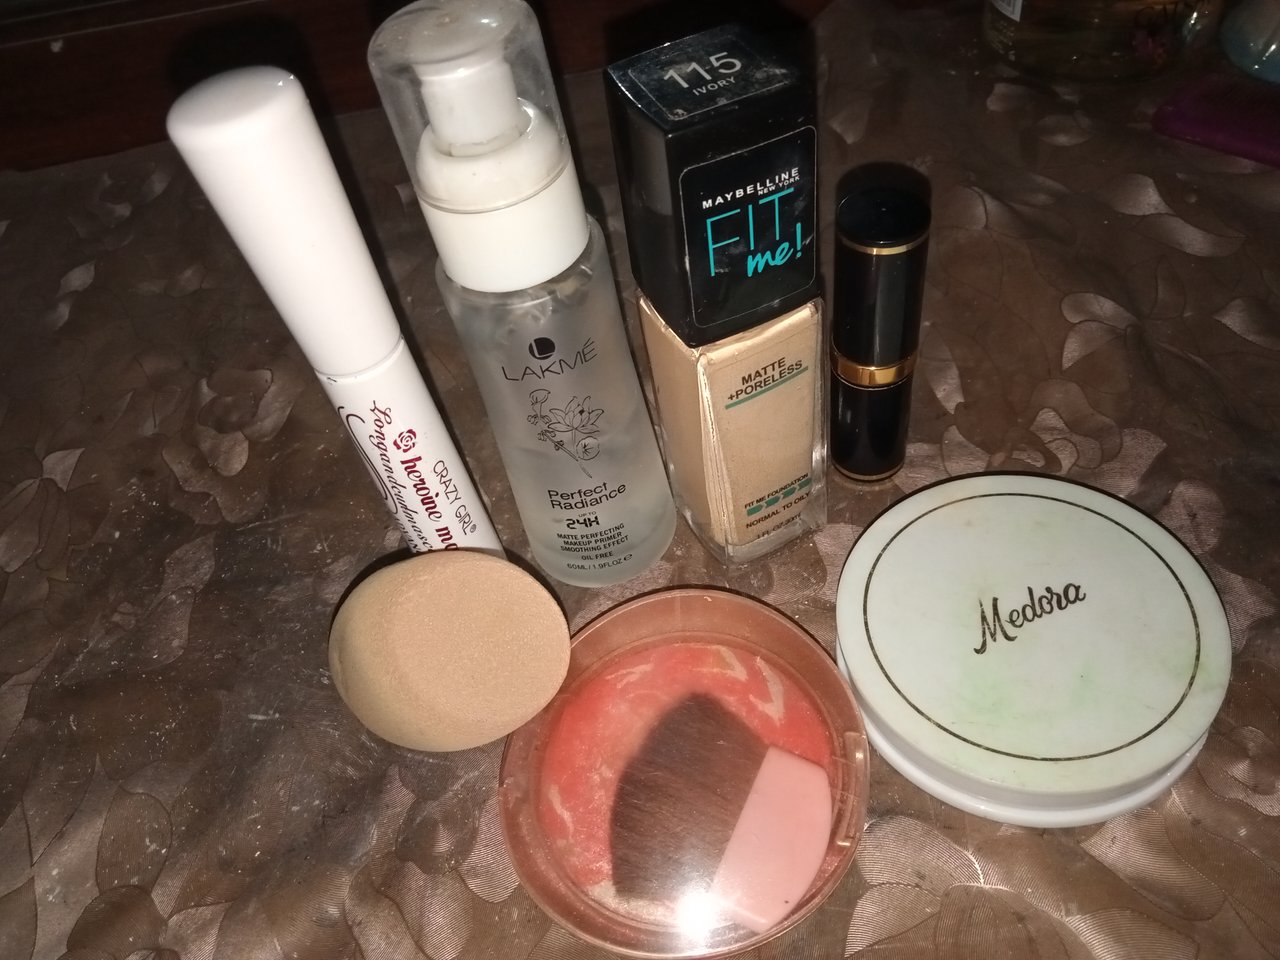
If I think for a minute then I think I have all the essential products and there is no need to purchase any extra product from market for carrying out this practice so essential products that I have are below;
• I have my Lakme primer for keeping my skin prepared before applying makeup.
• I have colour correcting concealer in orange colour which I don't use normally because I have very minor dark circles so normally I can cover them with my foundation but if I have to go to a grand party or grand event then I use concealer.
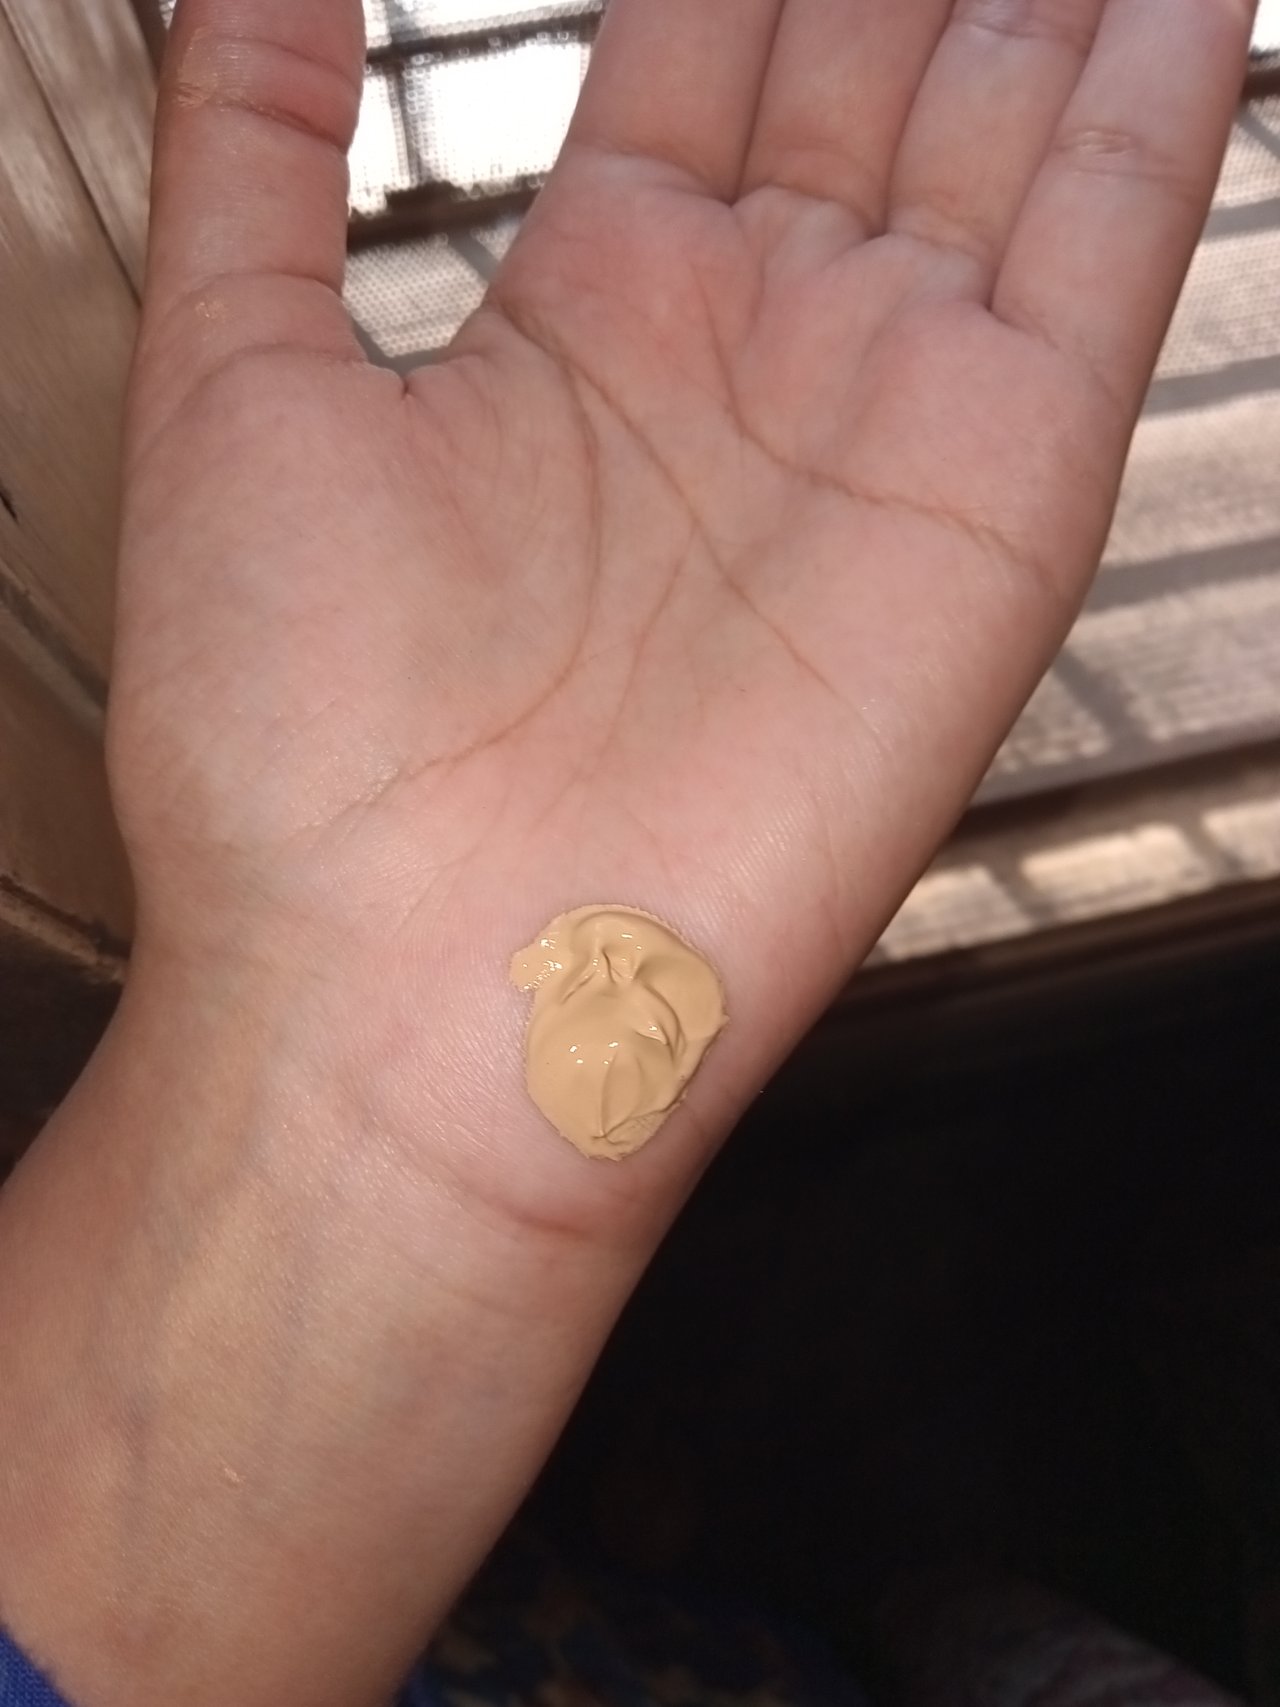
• After that I have my favourite foundation which is Maybelline Fit me foundation of ivory shade.It give me full and long lasting coverage.
• I also have my blush on shades and normally I use pink and peach.
• At last I also have my compact powder for locking my makeup and a lipstick with which I can give a finishing look to my makeup.
According to me definitely quality of makeup effect final result in a significant way so this is a brief explanation below regarding my perspective on it;
• Original products have more better pay of consistency and vibrancy than cheap products.
• After applying high quality makeup you can easily observe that there is a more smooth and blended texture they give you than cheap quality product.
• Original products have long lasting stay at your skin because they restrict fading, creasing and smudging but keep quality products don't stay longer.
• You feel your skin more natural and flawless if you have applied original products with proper techniques but it doesn't matter that with how much proper techniques you have applied makeup cheap products at your skin because it is not going to be flawless and natural results at all.
| My natural everyday look |
|---|
| Products Used |
|---|
- Primer: Lakme
- Foundation: Maybelline fit me (Ivory).
- Compact Powder: Medora
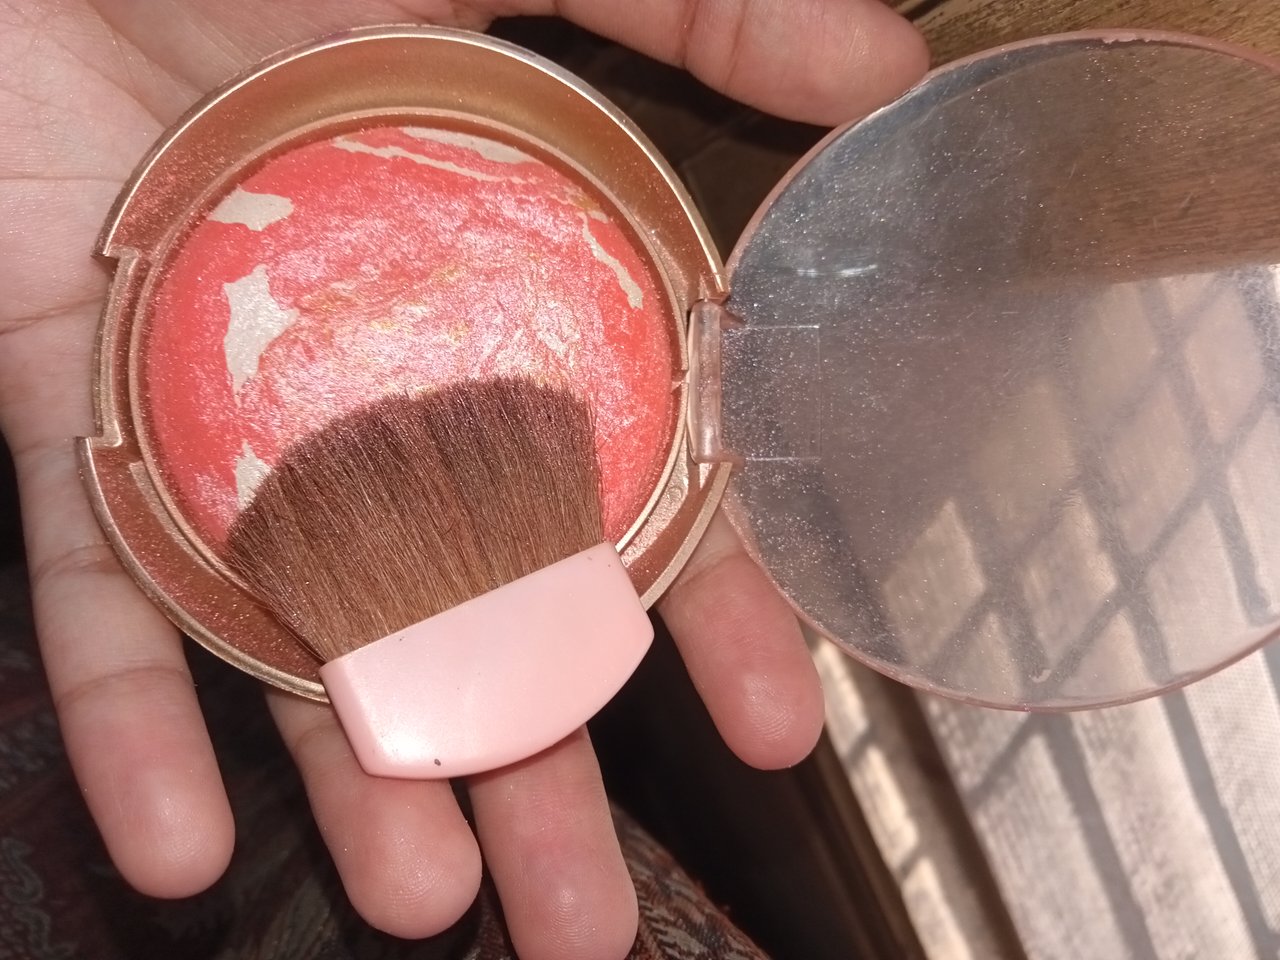
- Blush and Maskara : Huda beauty
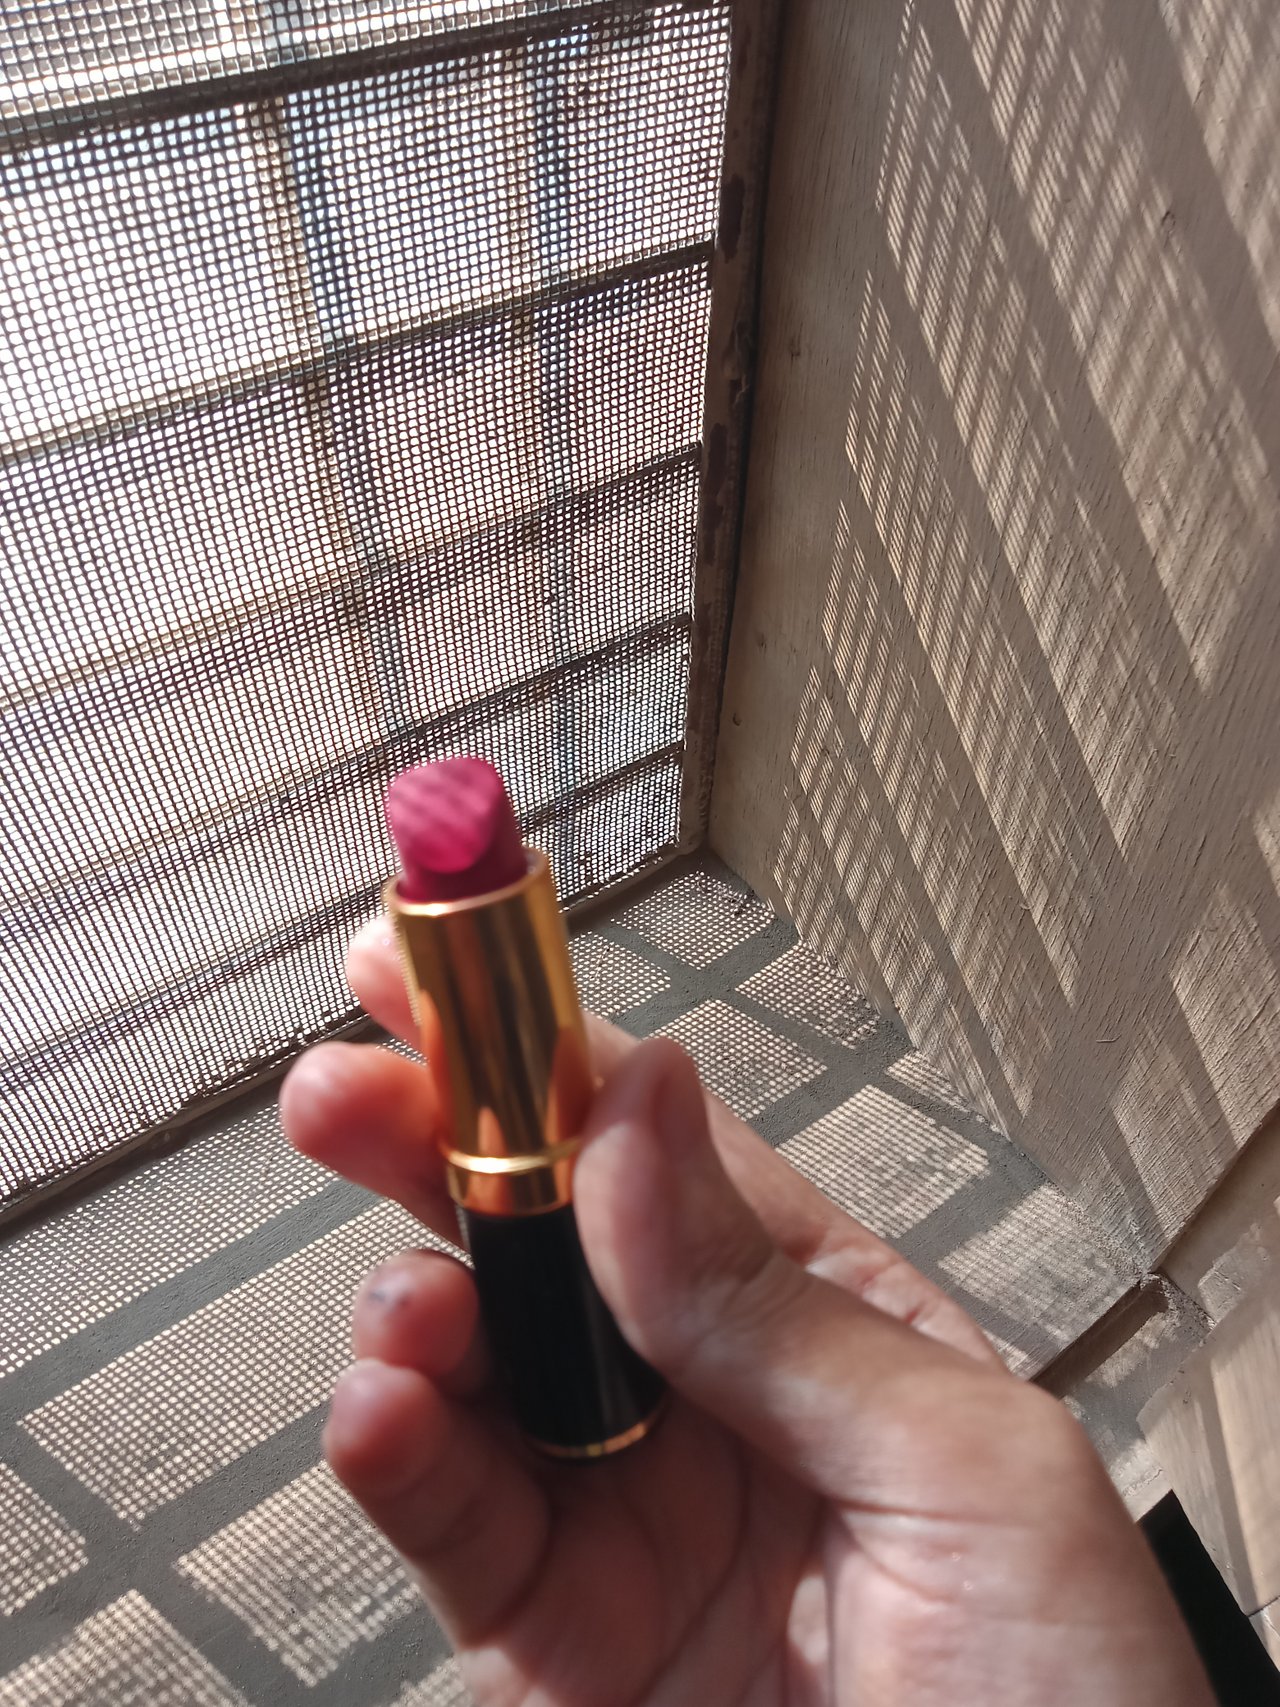
- Lipstick: Medora
| Step 1: Primer application |
|---|
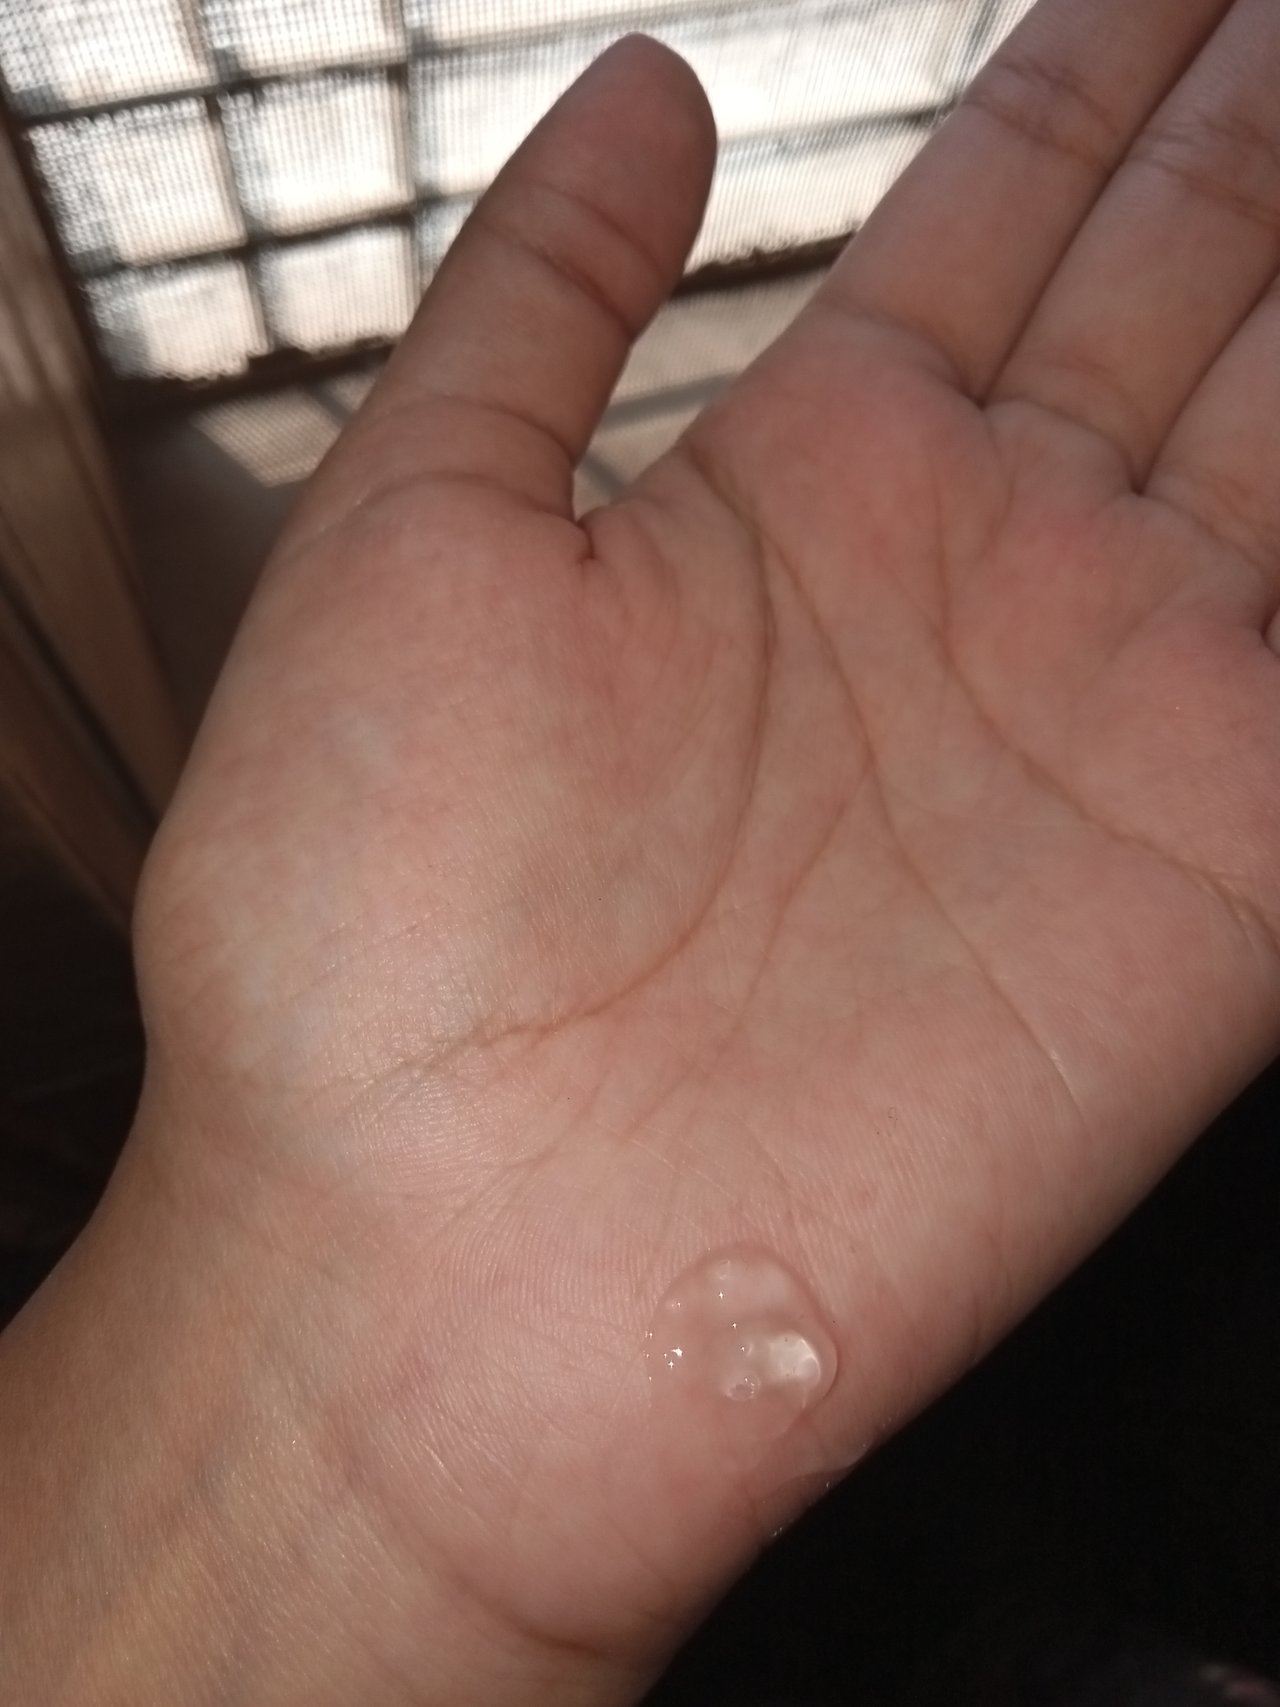
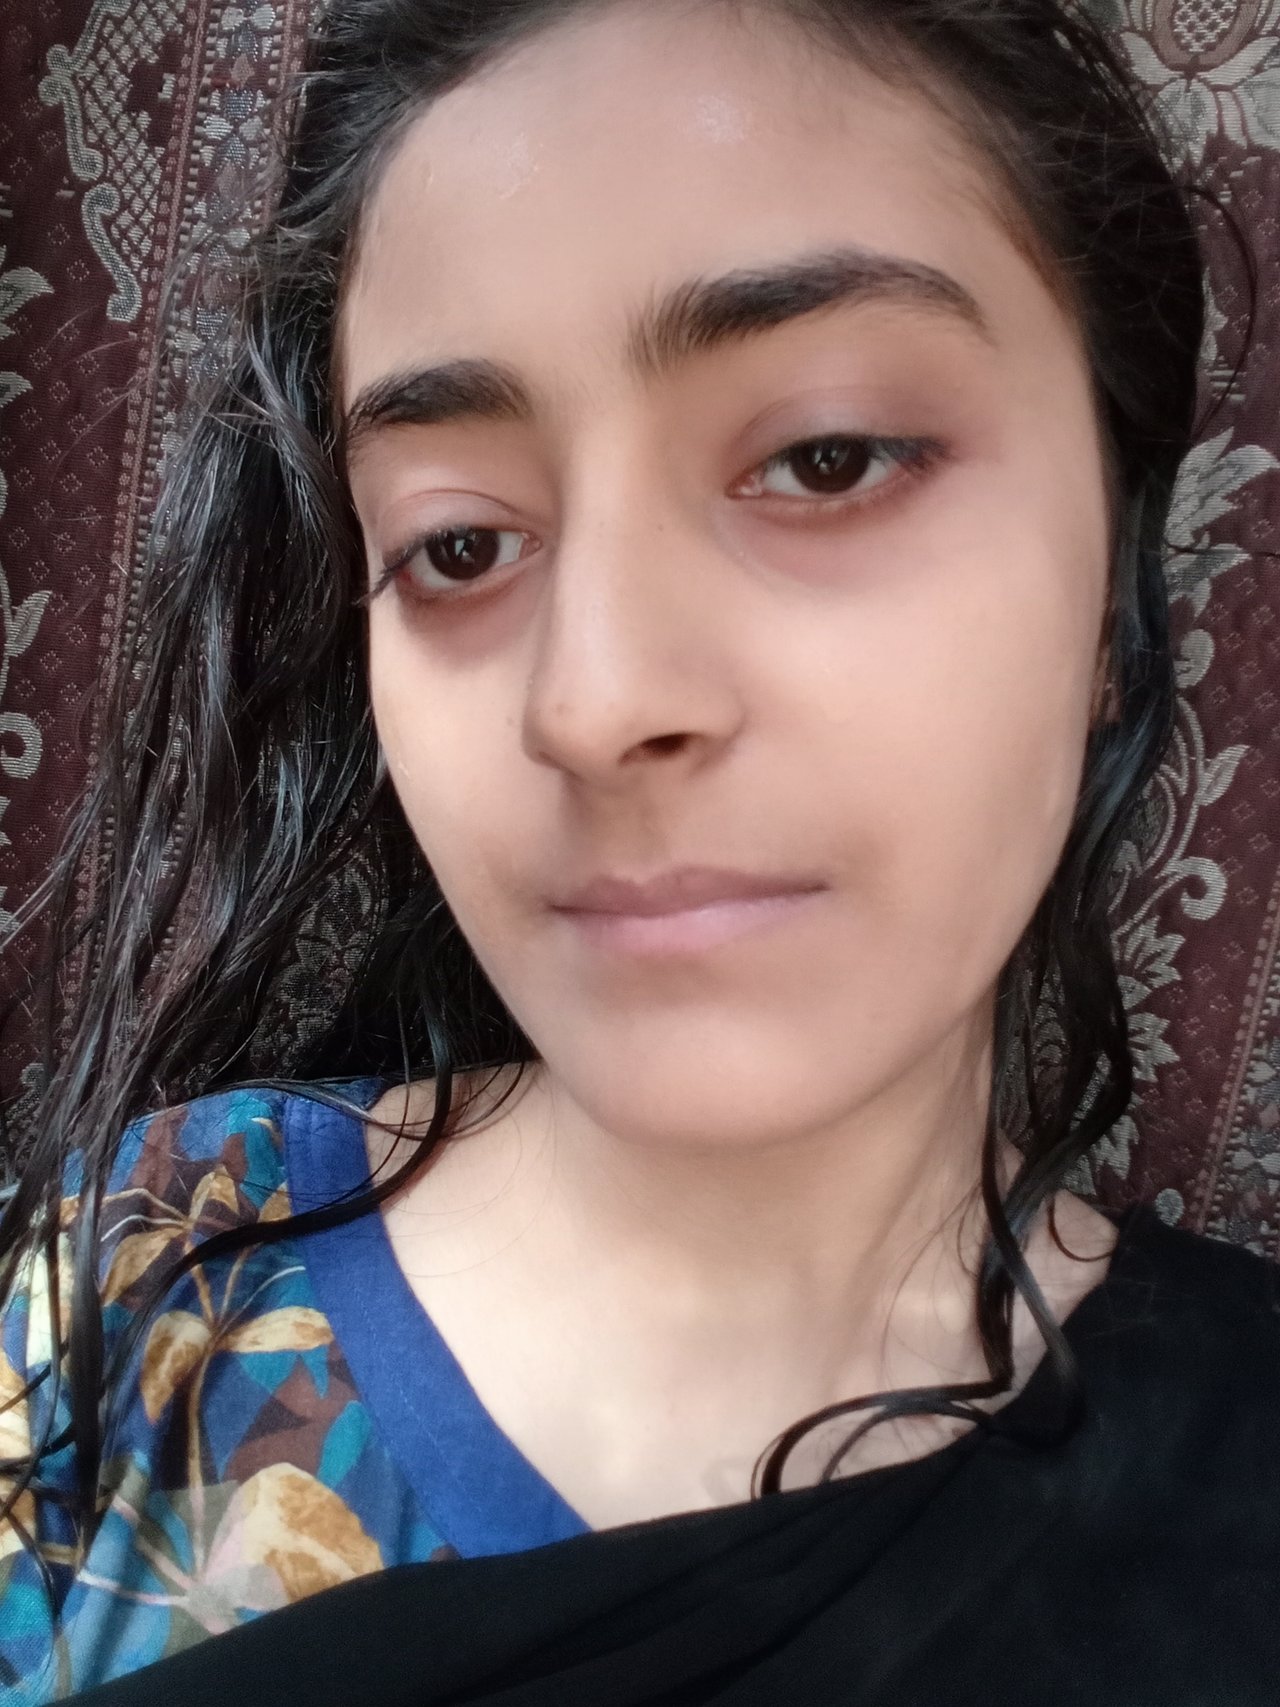
I have applied primer first of all at my face so that my makeup will stay longer as well as so that time I make my skin hydrated and I may tighten my skin by reducing my skin pores.
 |  |
|---|
| Quantity | 1 pump equal to 1 pea size |
|---|
| Step 2: Foundation application |
|---|
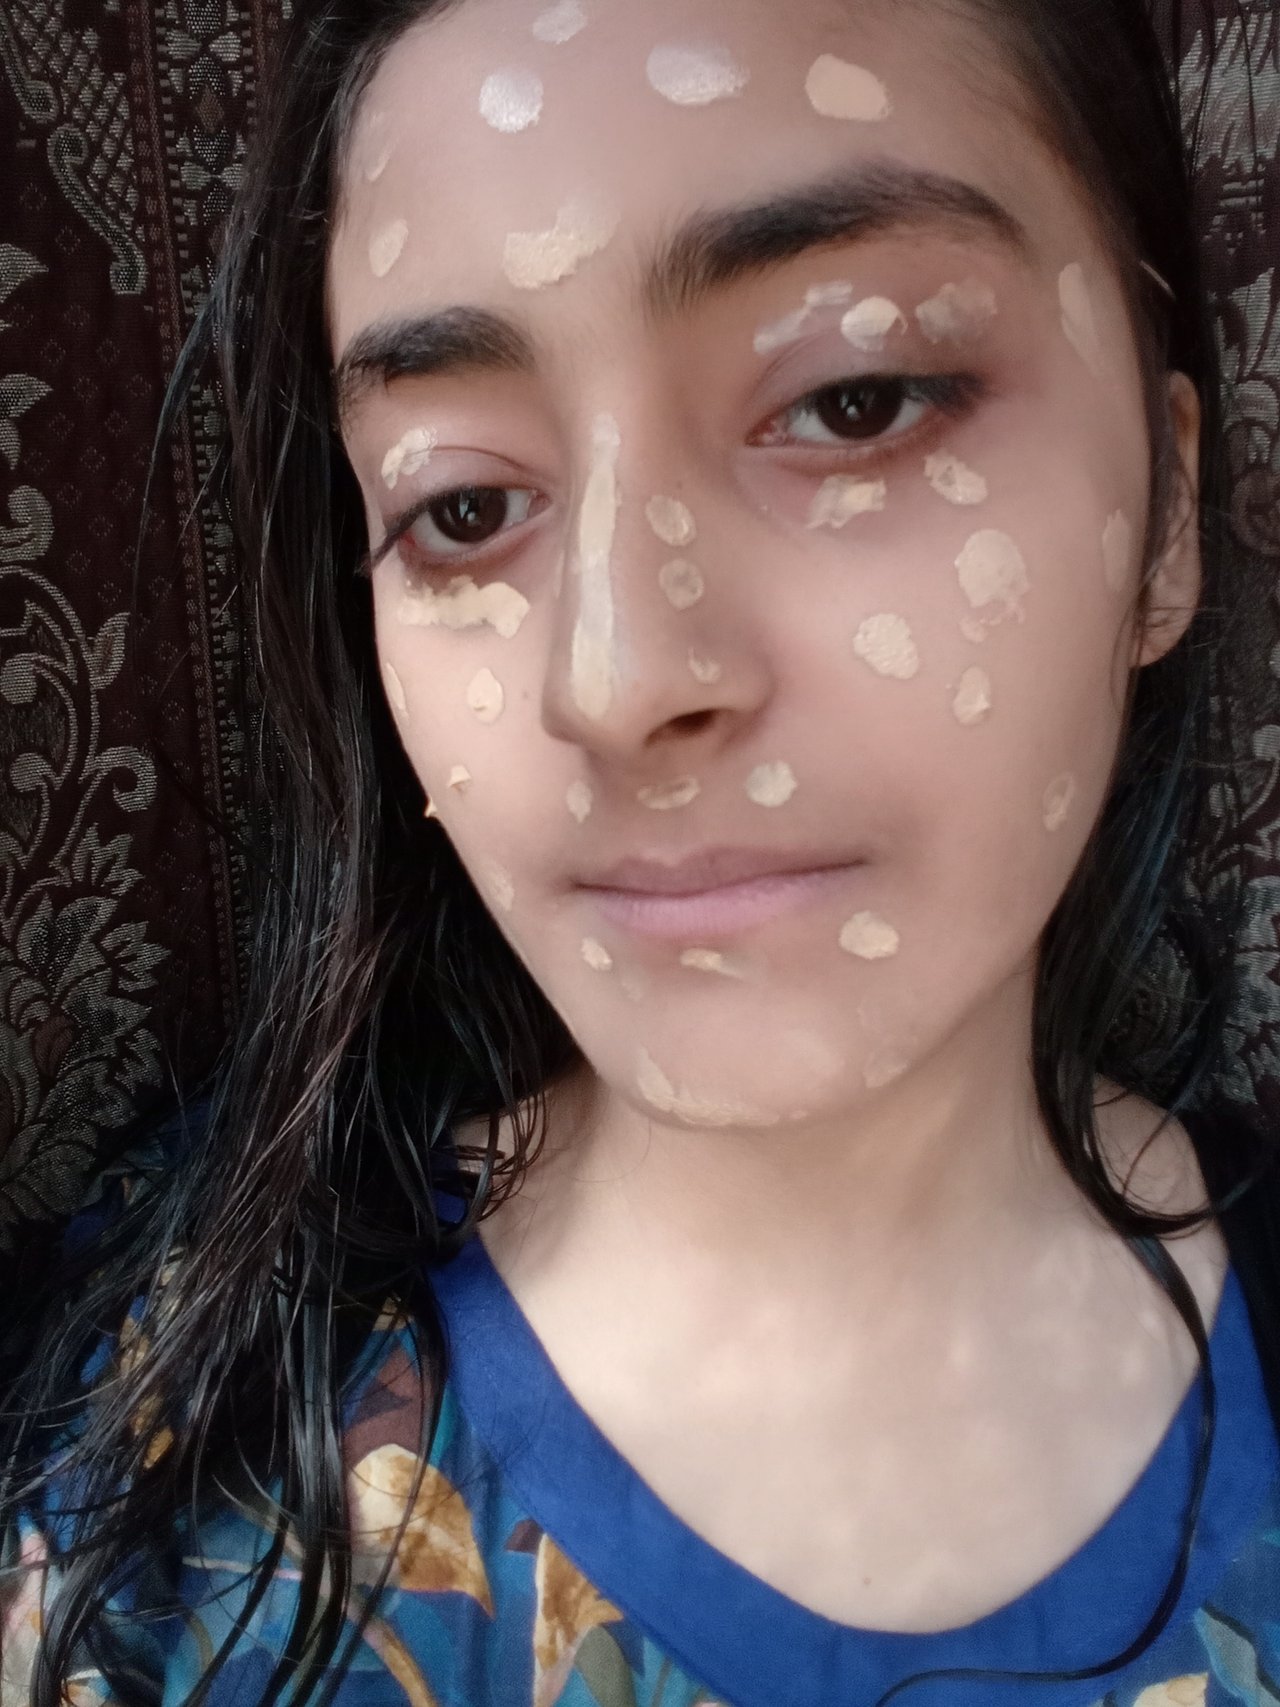
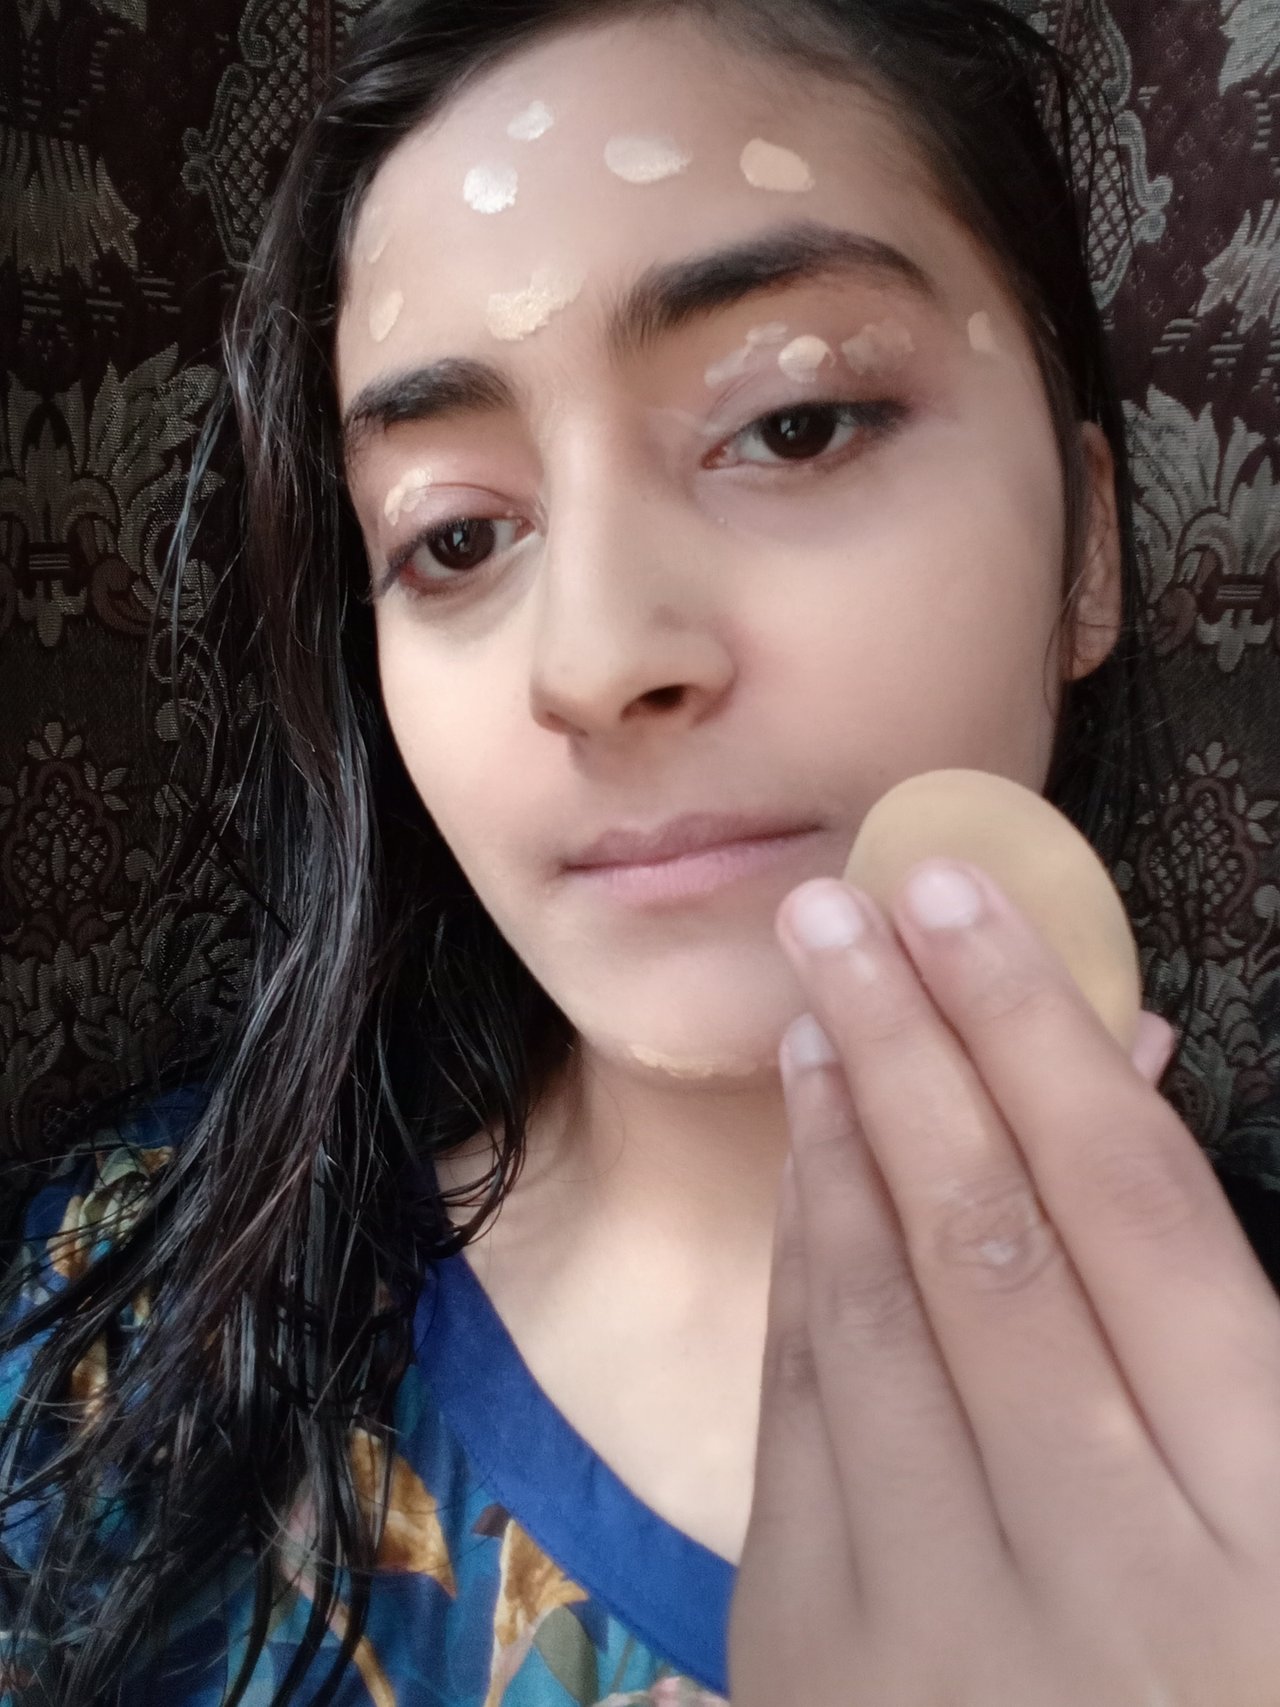
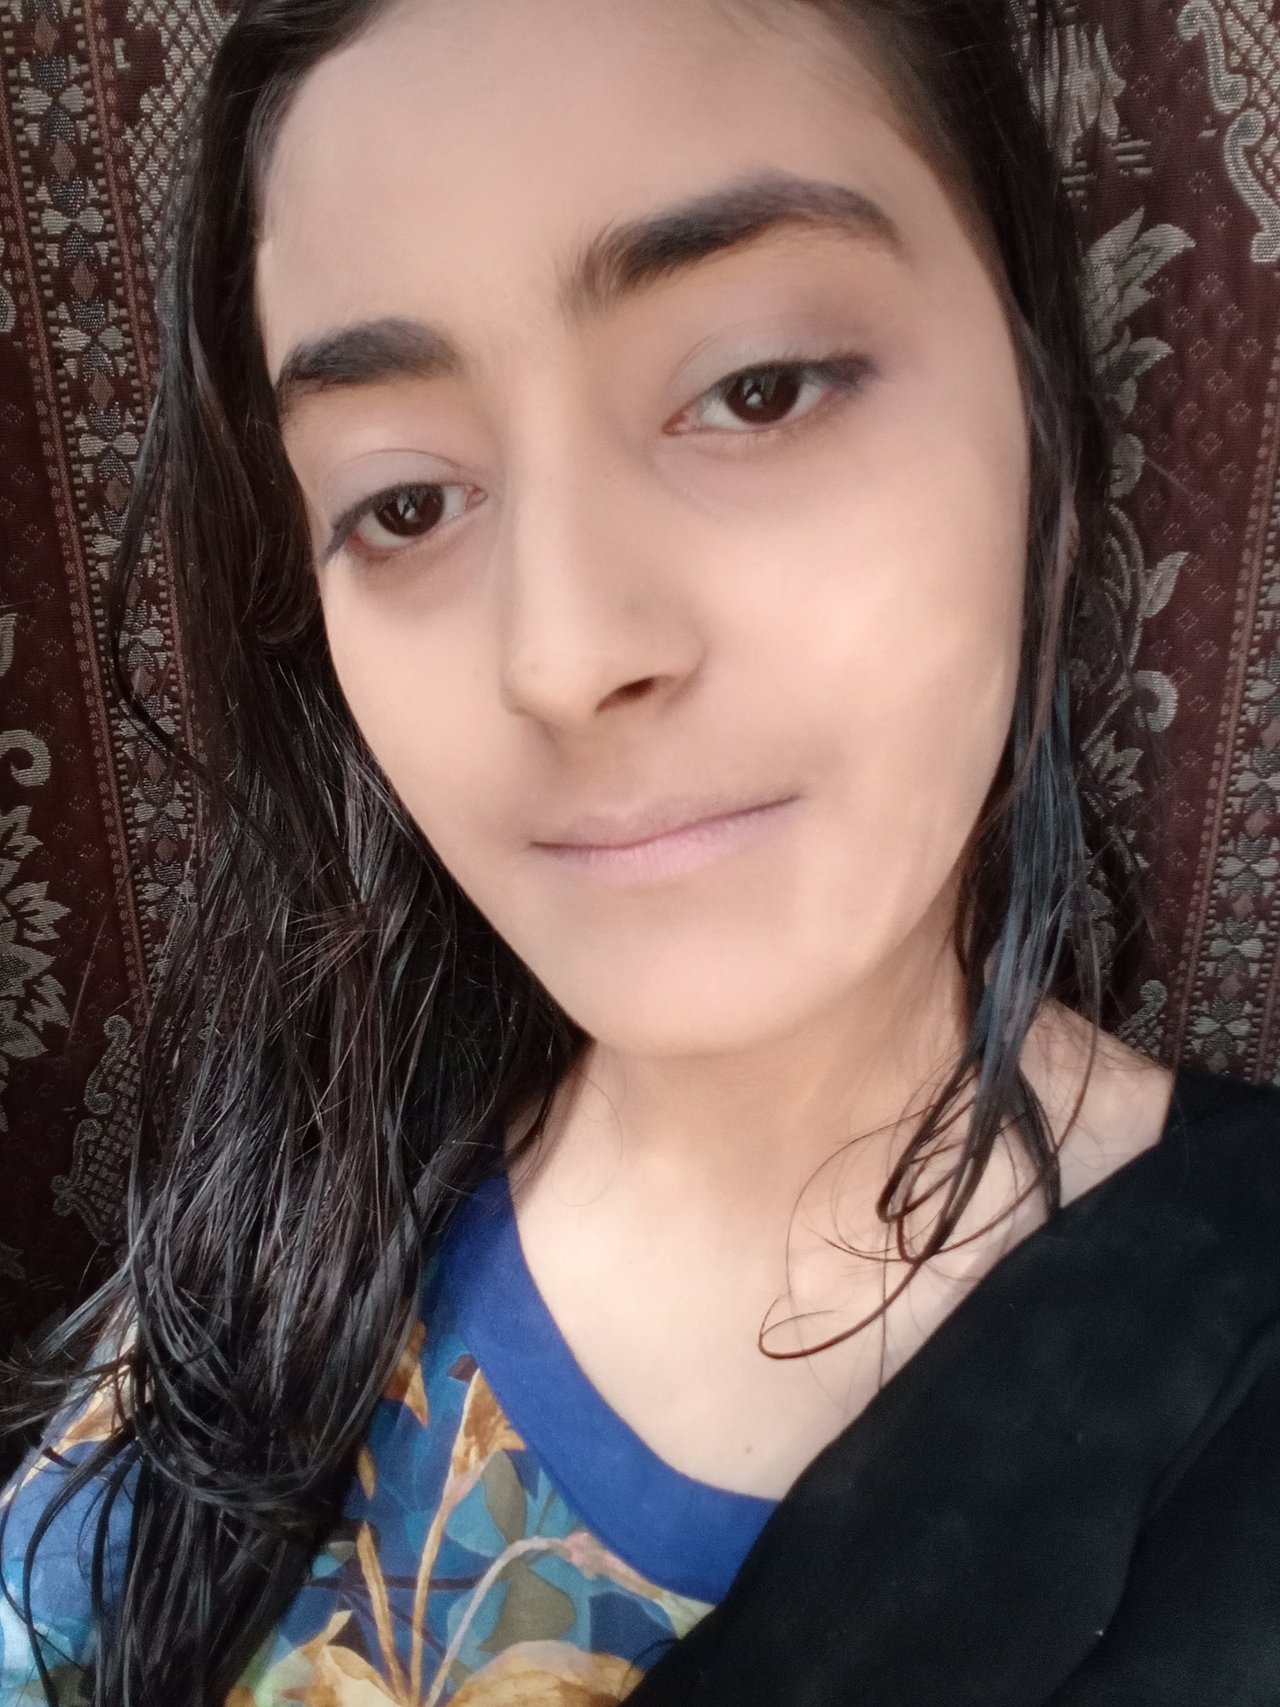
I take two pumps of foundation which were equal to two peas and applied them in dotted pattern at my whole face but I have not applied it at my neck so that in my final result I may show you that how much this foundation is similar to my original complexion so that you may know that how much lighter or darker foundation you should choose for yourself for giving you a natural look.
 |  |
|---|
 |  |
|---|
I take beauty blender or you can say a soft beauty sponge for making my foundation flawless while application at face. I don't try to drag foundation during application but I use tapping method for making it natural and flawless.
| Step 3: Blush and Maskara application |
|---|
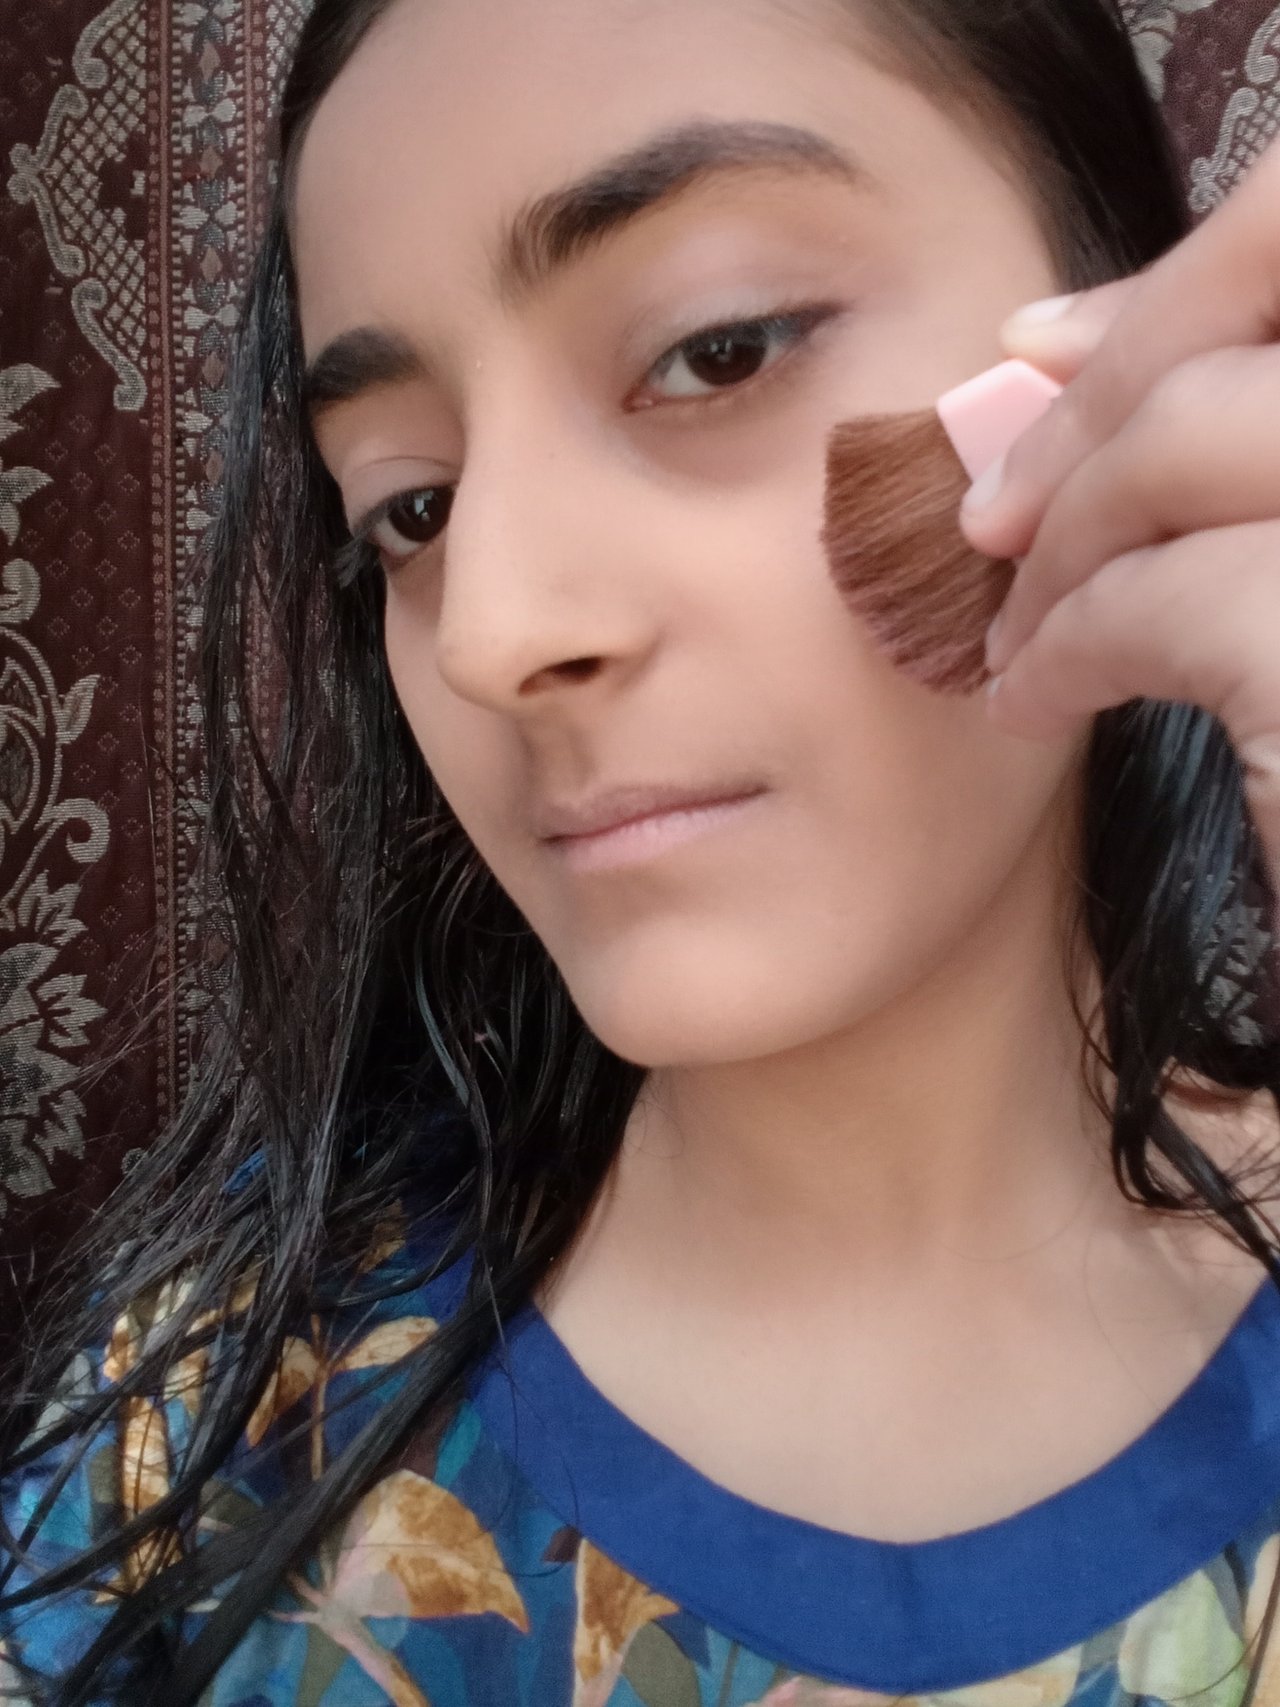
After that it was the time to apply blush at my cheeks so I take the brush for applying blush at my cheeks and I keep on applying by blending it in upward and outward direction.
 |  |  |
|---|
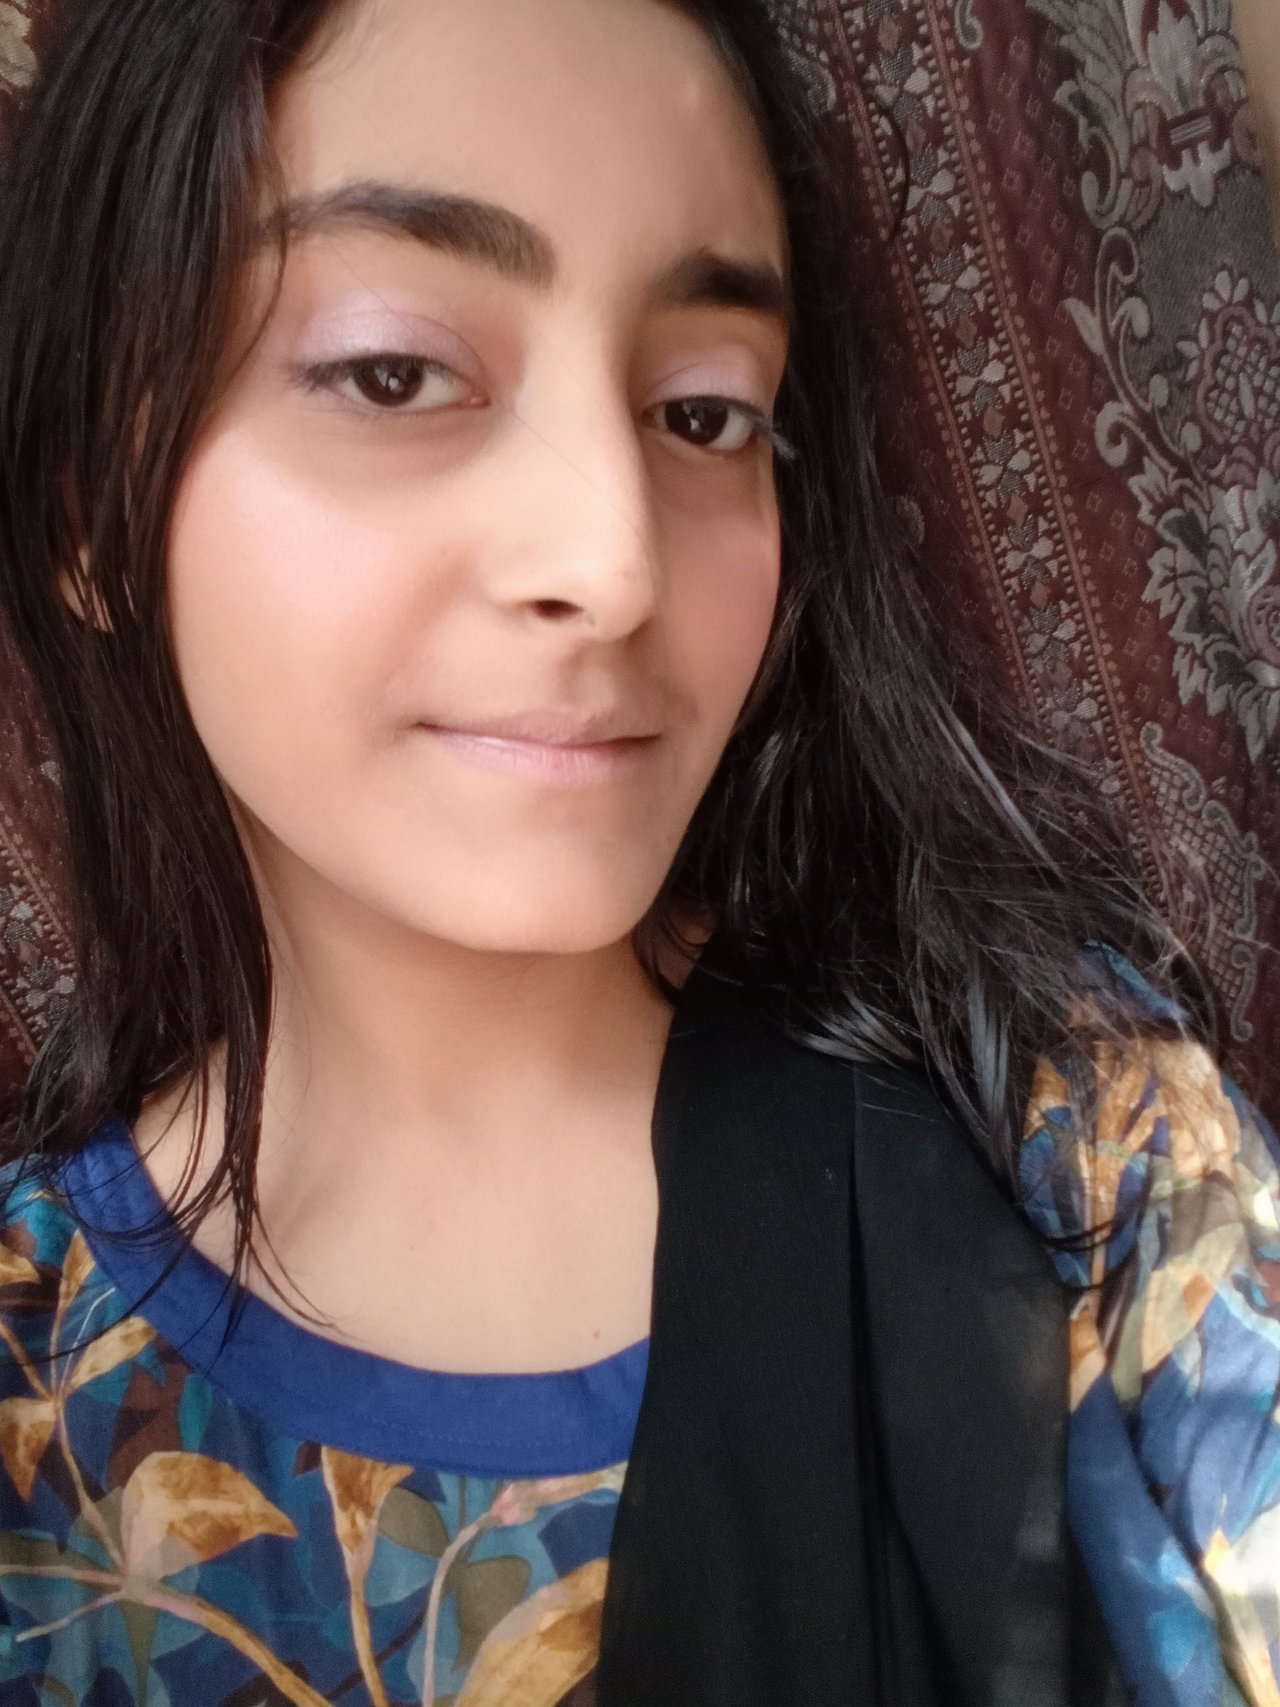
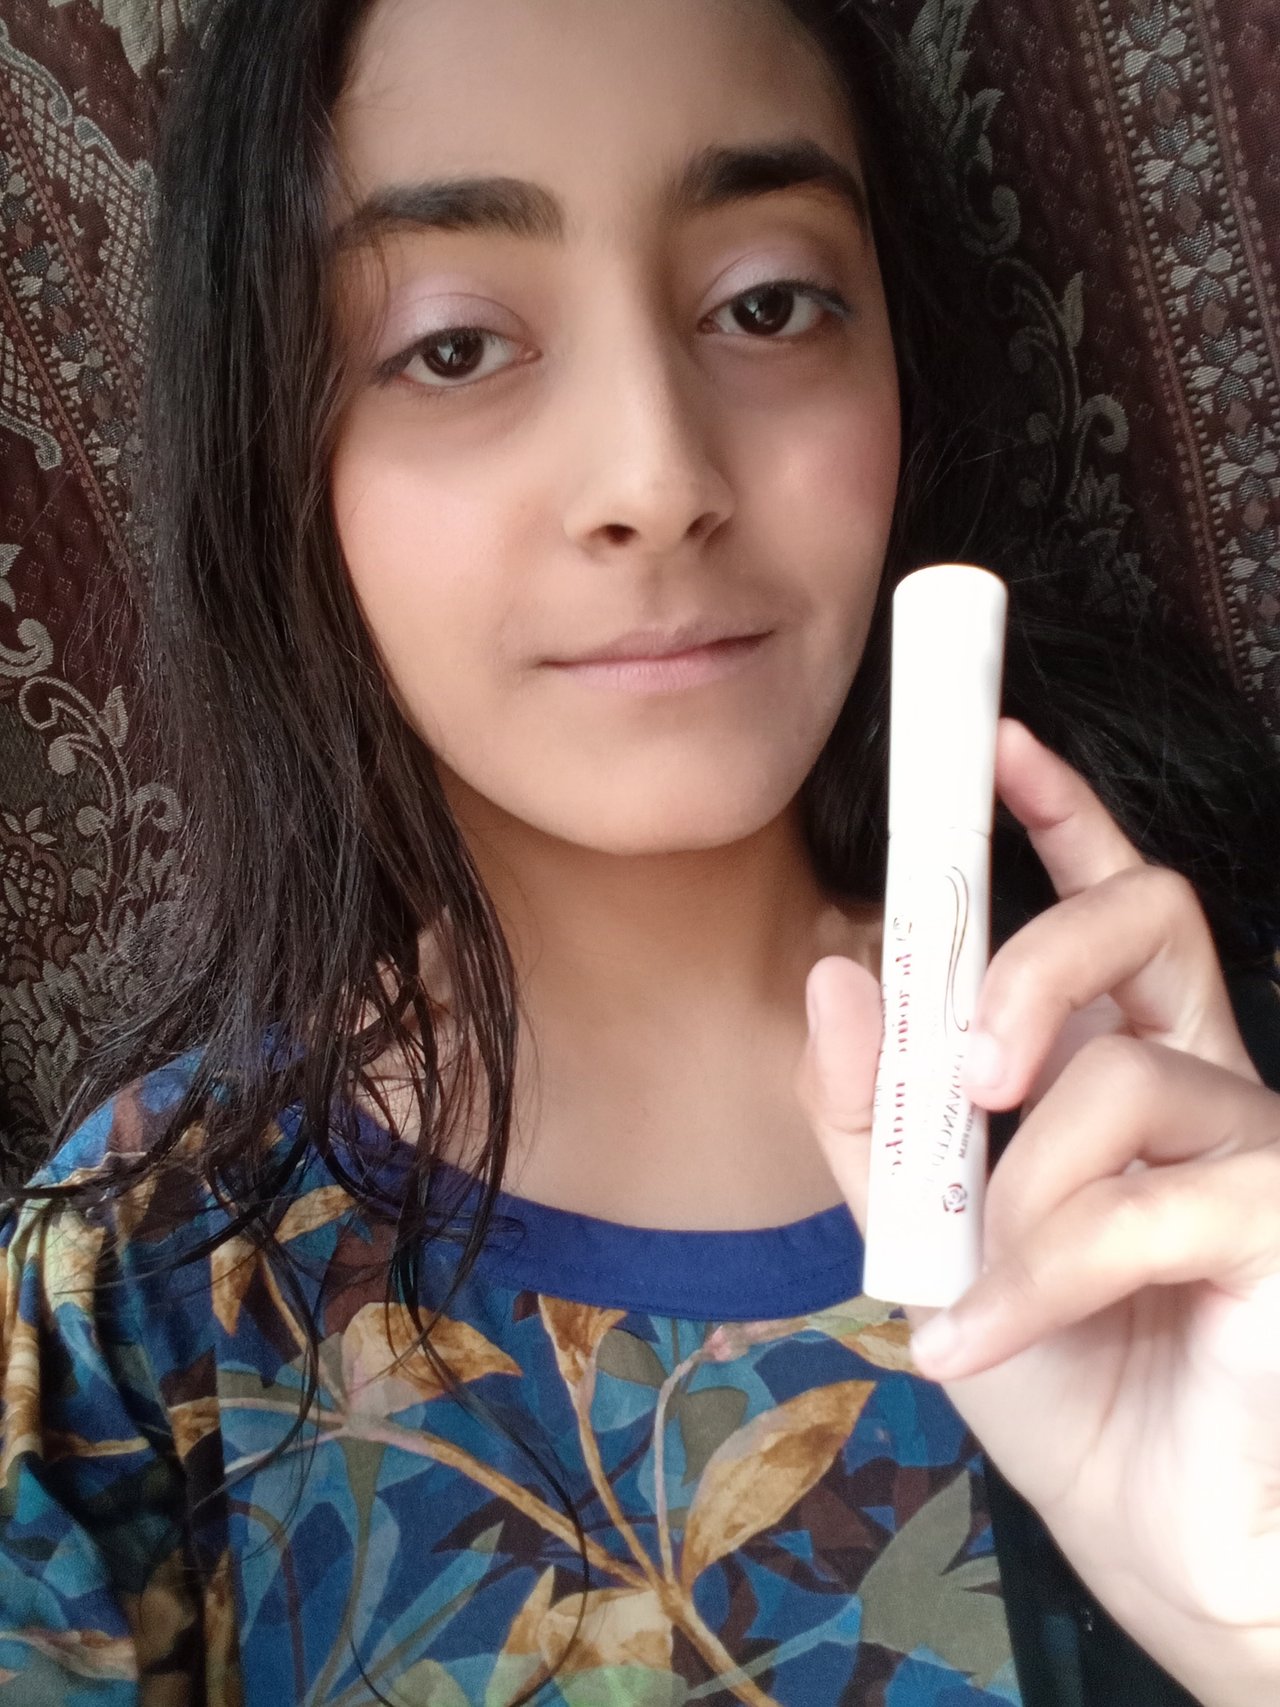
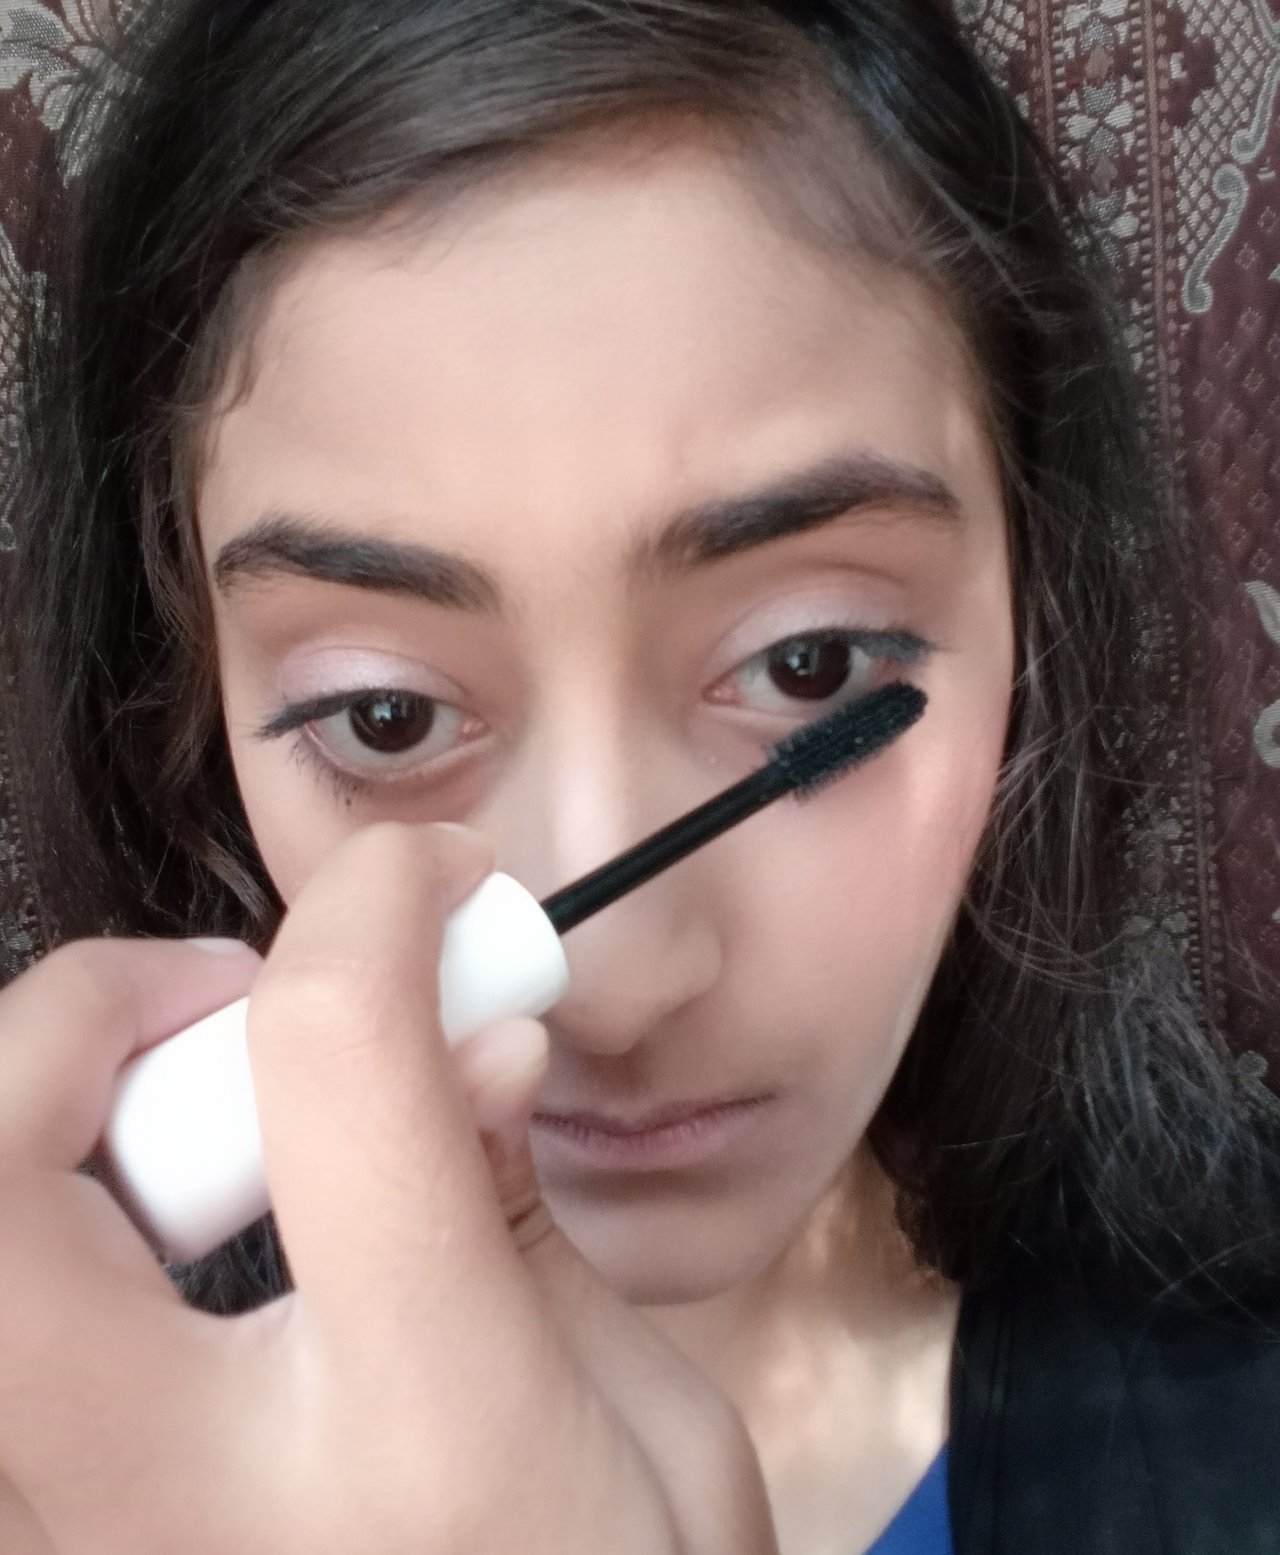
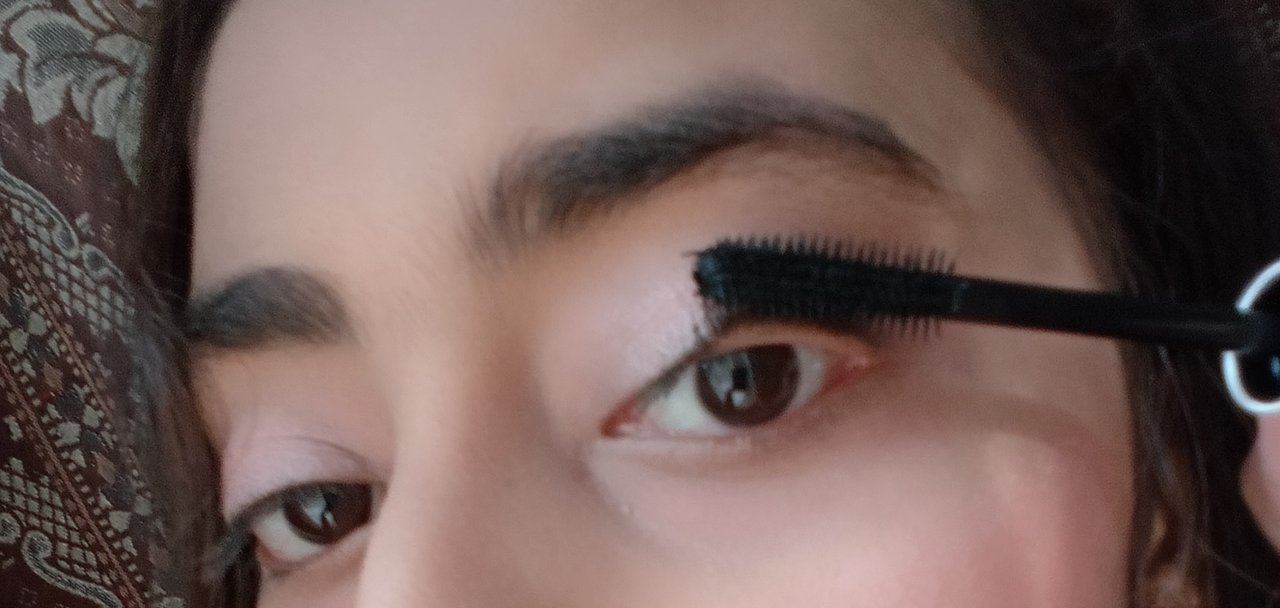
Now in the world you can see that how it add a natural pinkish look and how blush has defined my cheekbones. After that I have also applied mascara at my eyelashes for giving them a more beautiful and longer look so for this you need to curl this brush round as I have shown in the picture.
 |  |  |
|---|
| Step 4: Compact powder application |
|---|
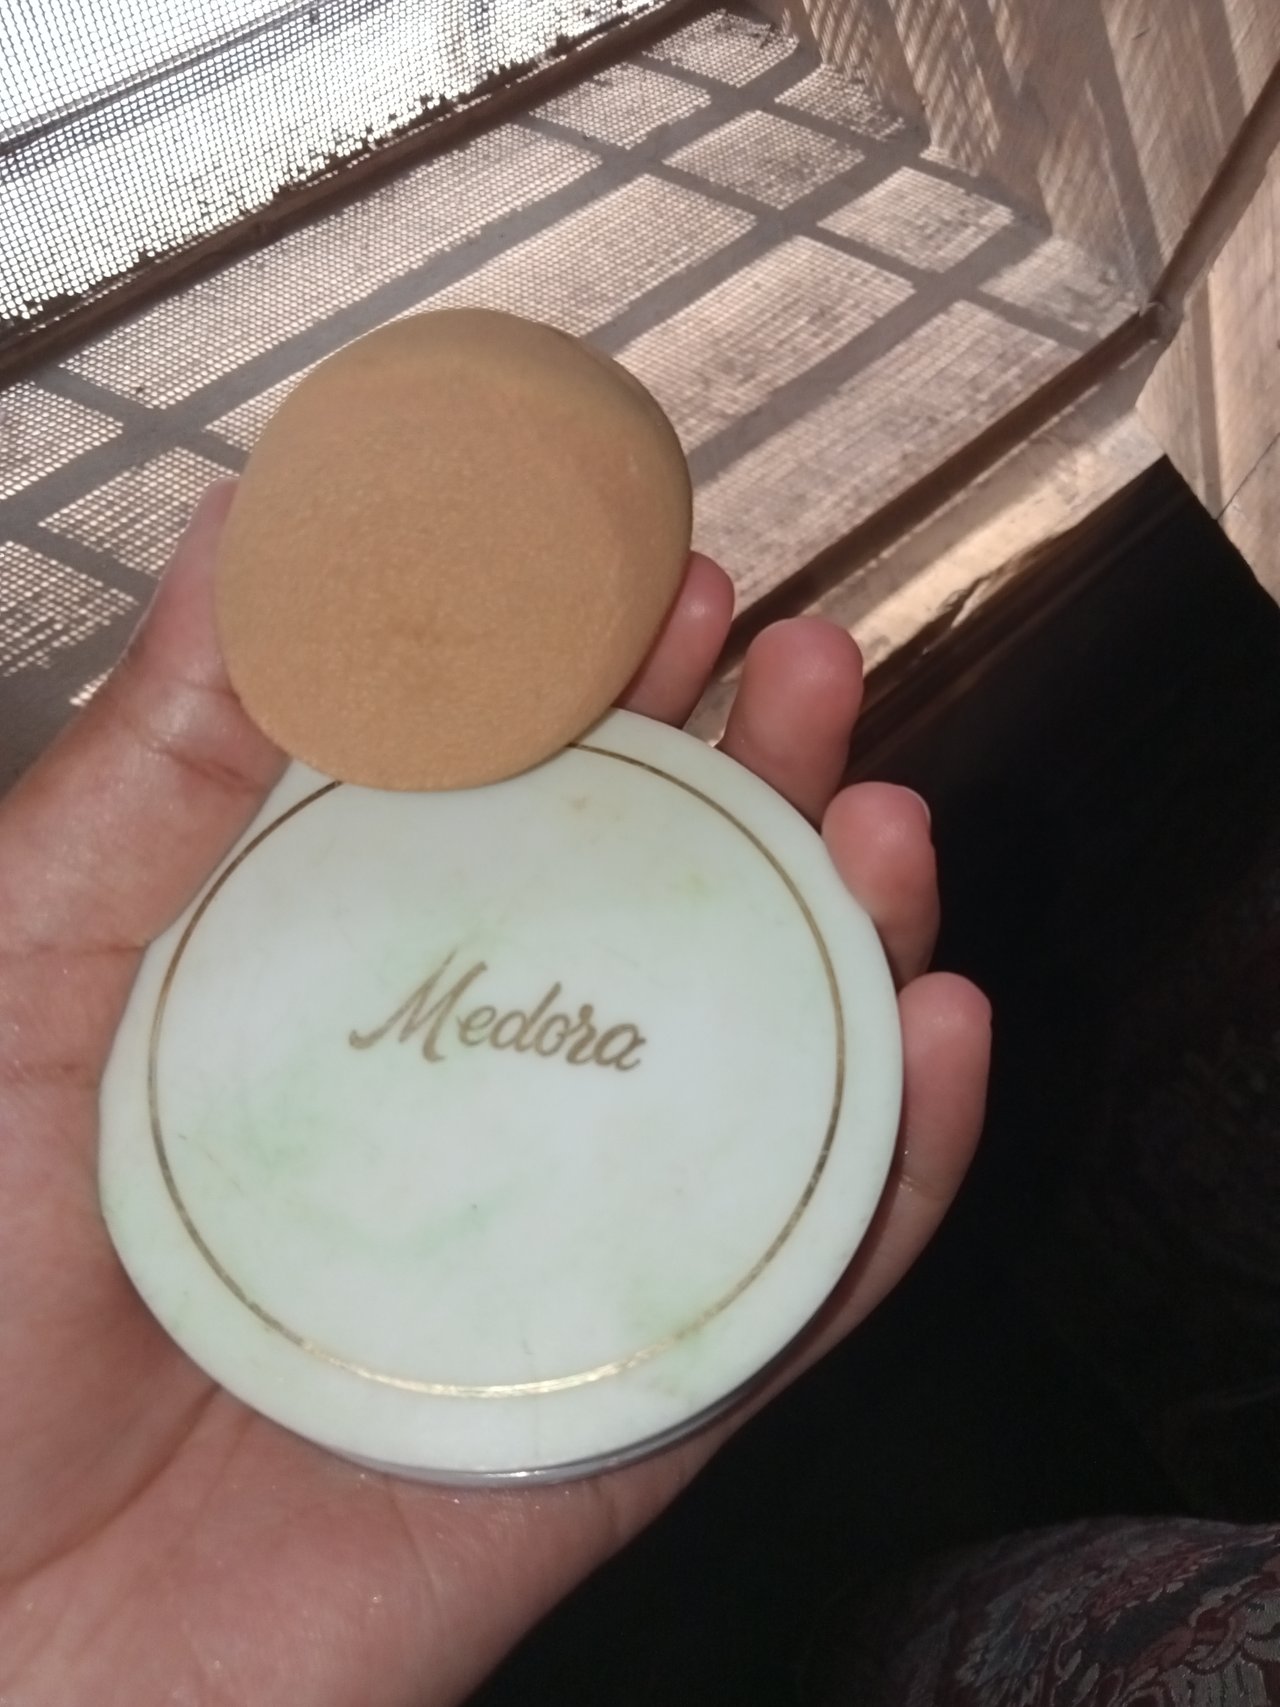
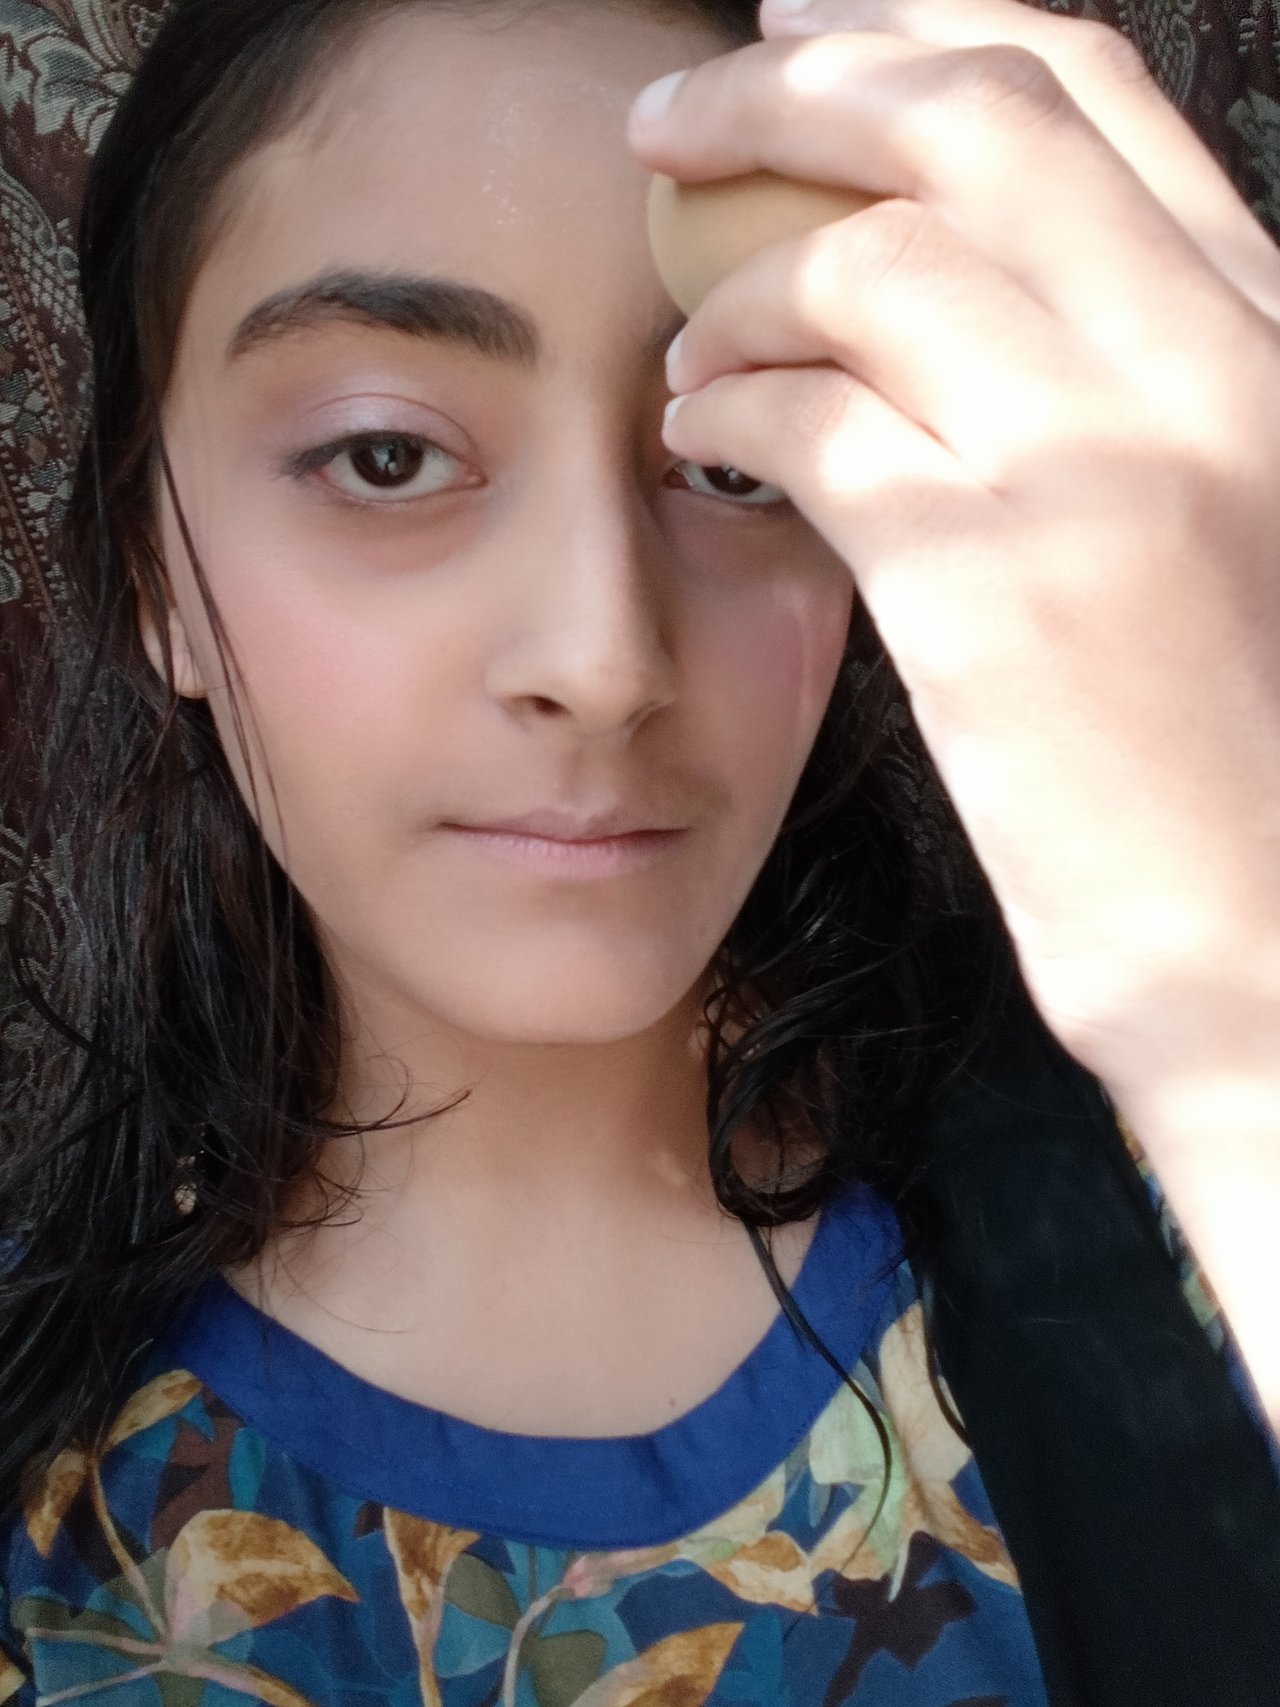
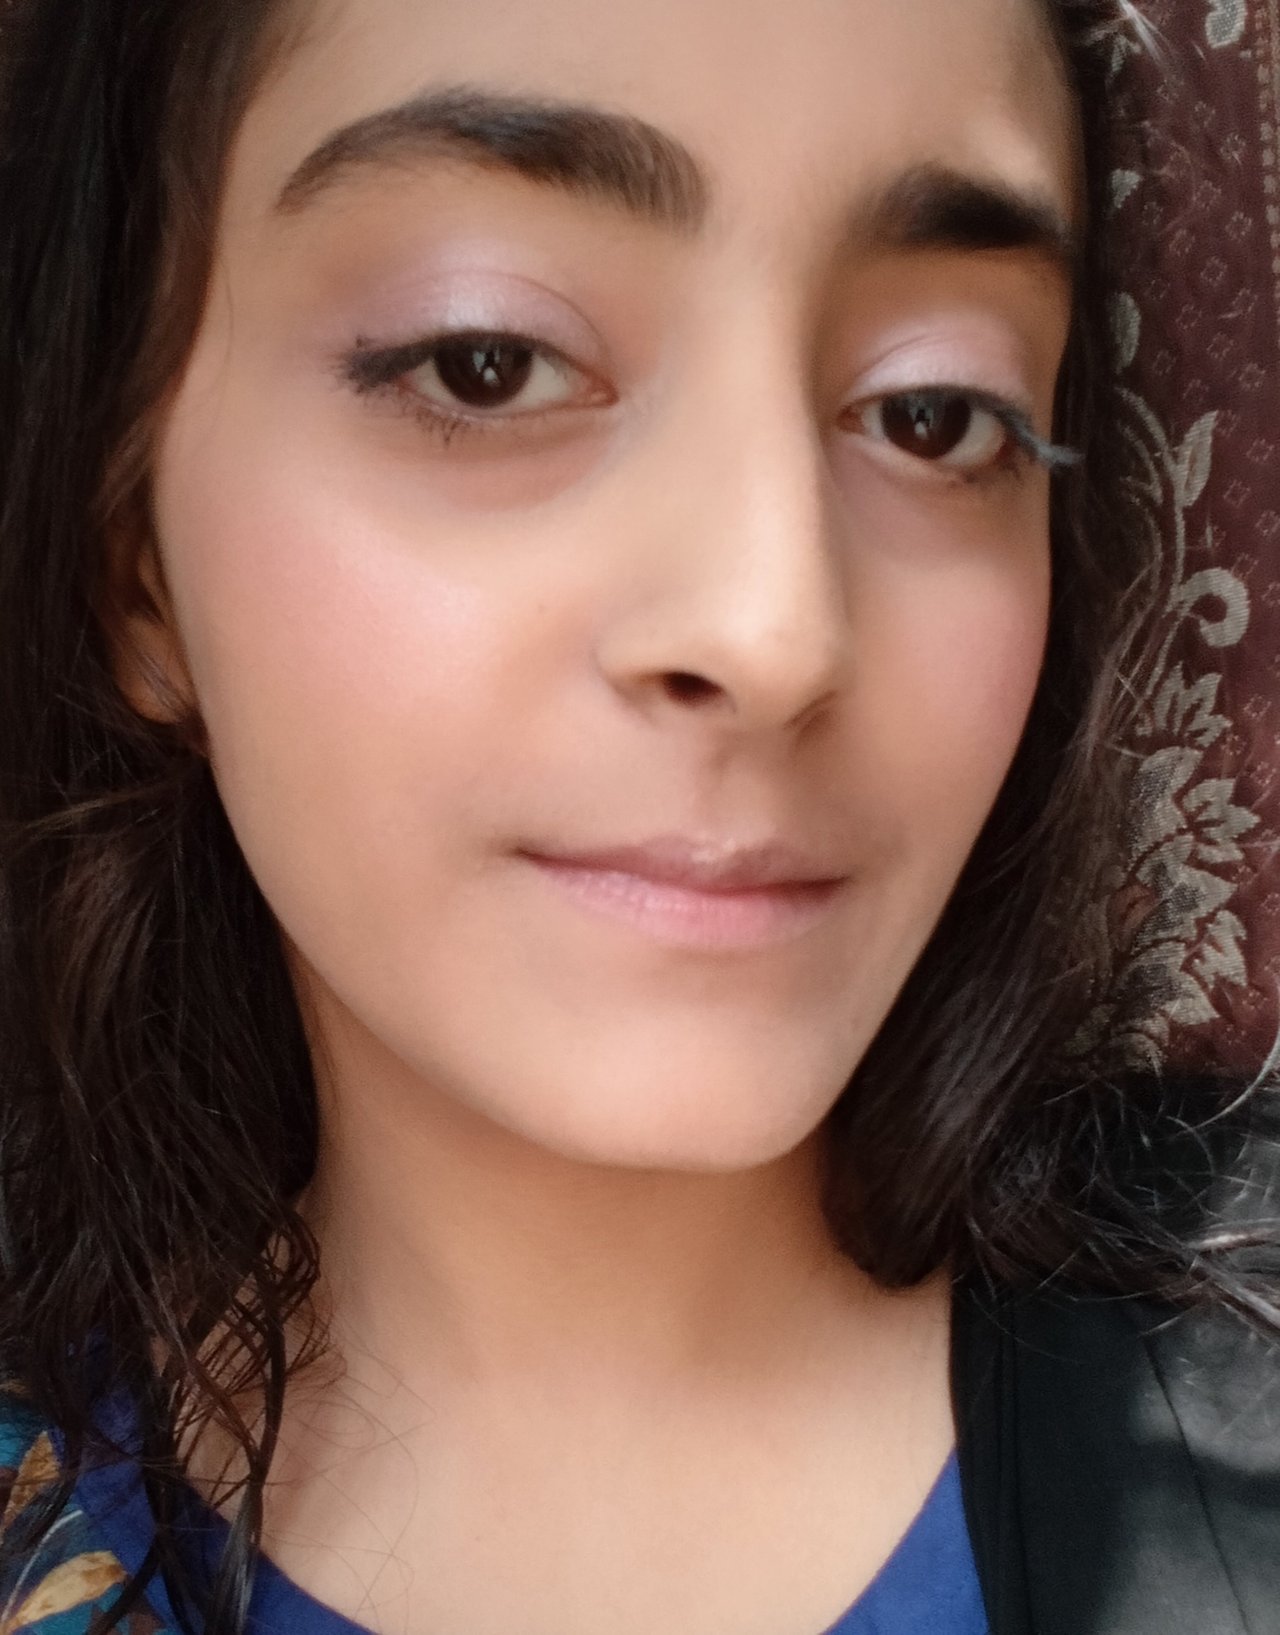
Now this is time to lock my base with the application of compact powder so this is you can see in the picture that I am using medora compact powder and for its application I again use this soft sponge or beauty blender.
 |  |  |
|---|
I mainly focus on T zone of my face while applying compact powder because normally this region get oily more rapidly that's why this is most important part of face at which we need to lock our makeup.
| Step 5: Lipstick application |
|---|
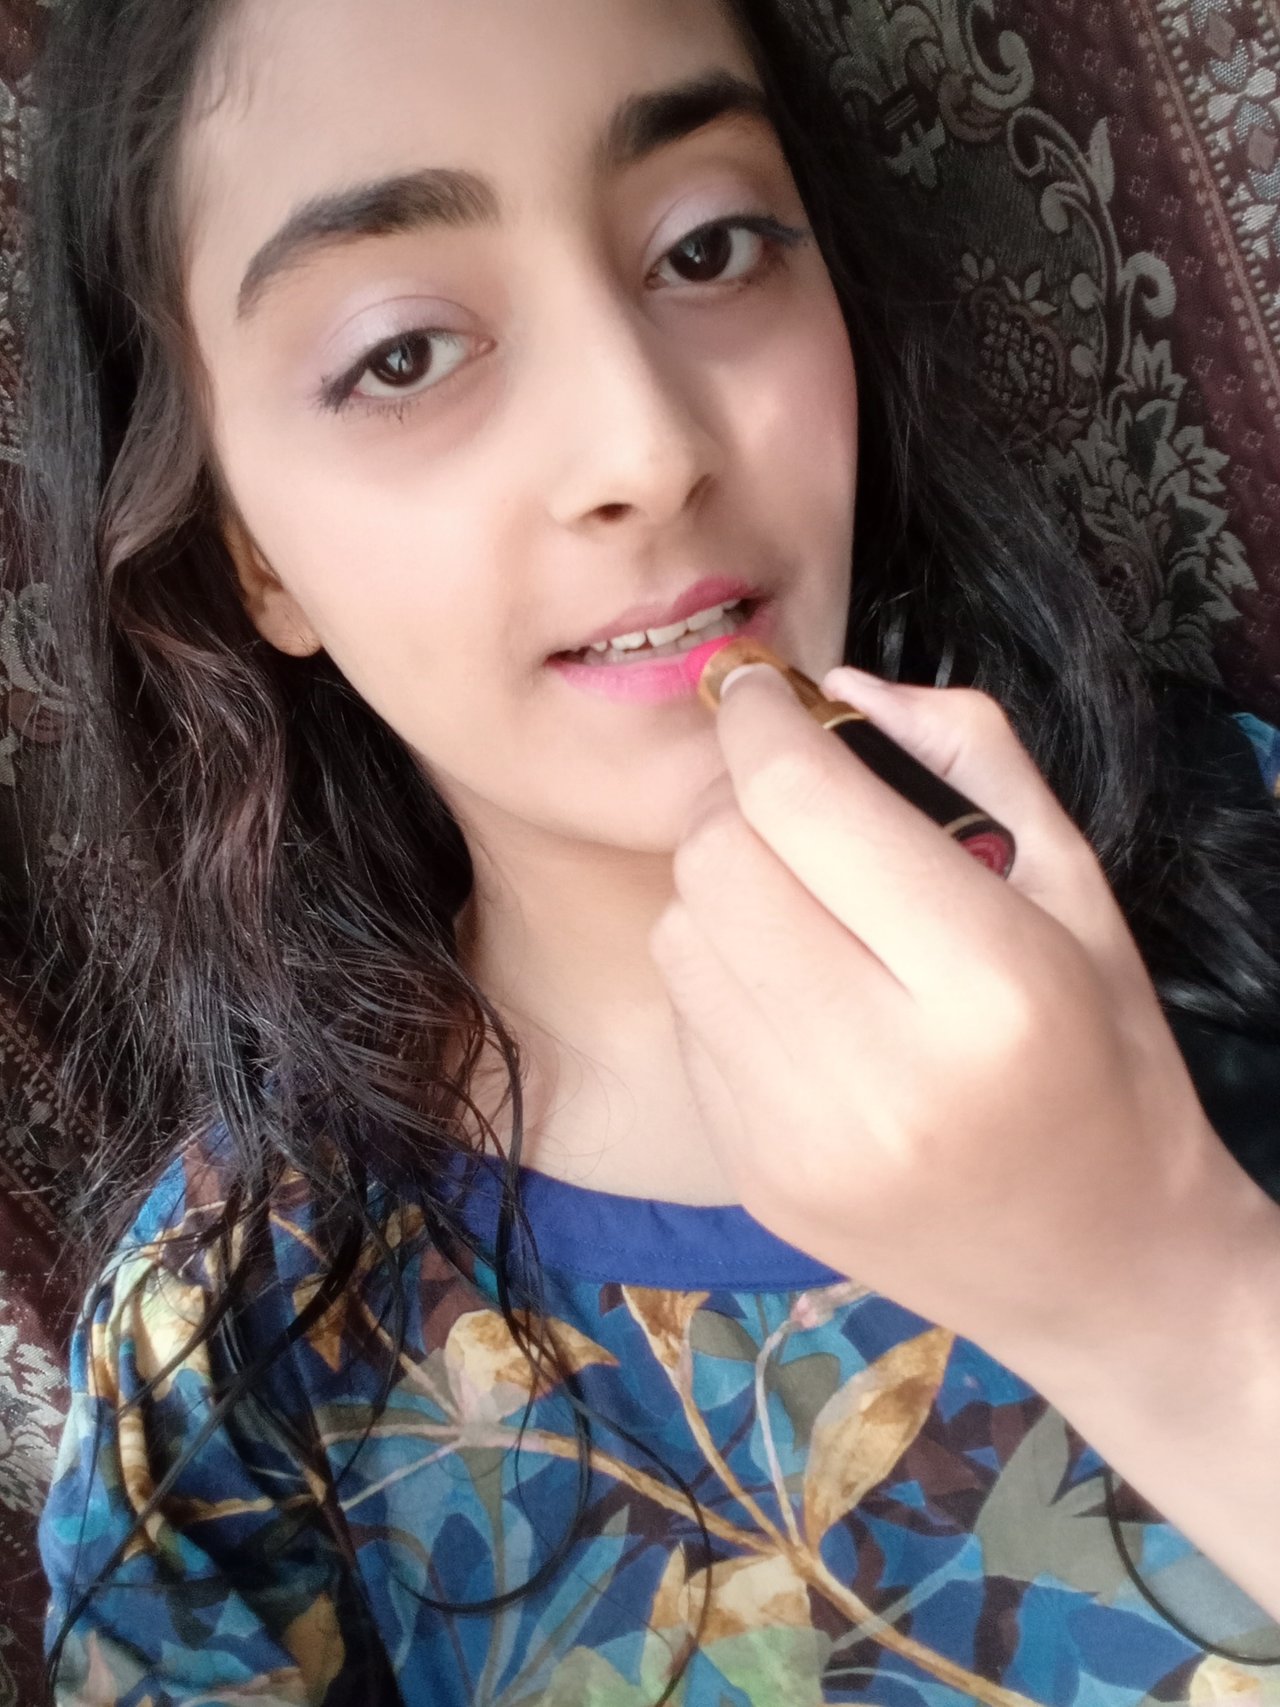
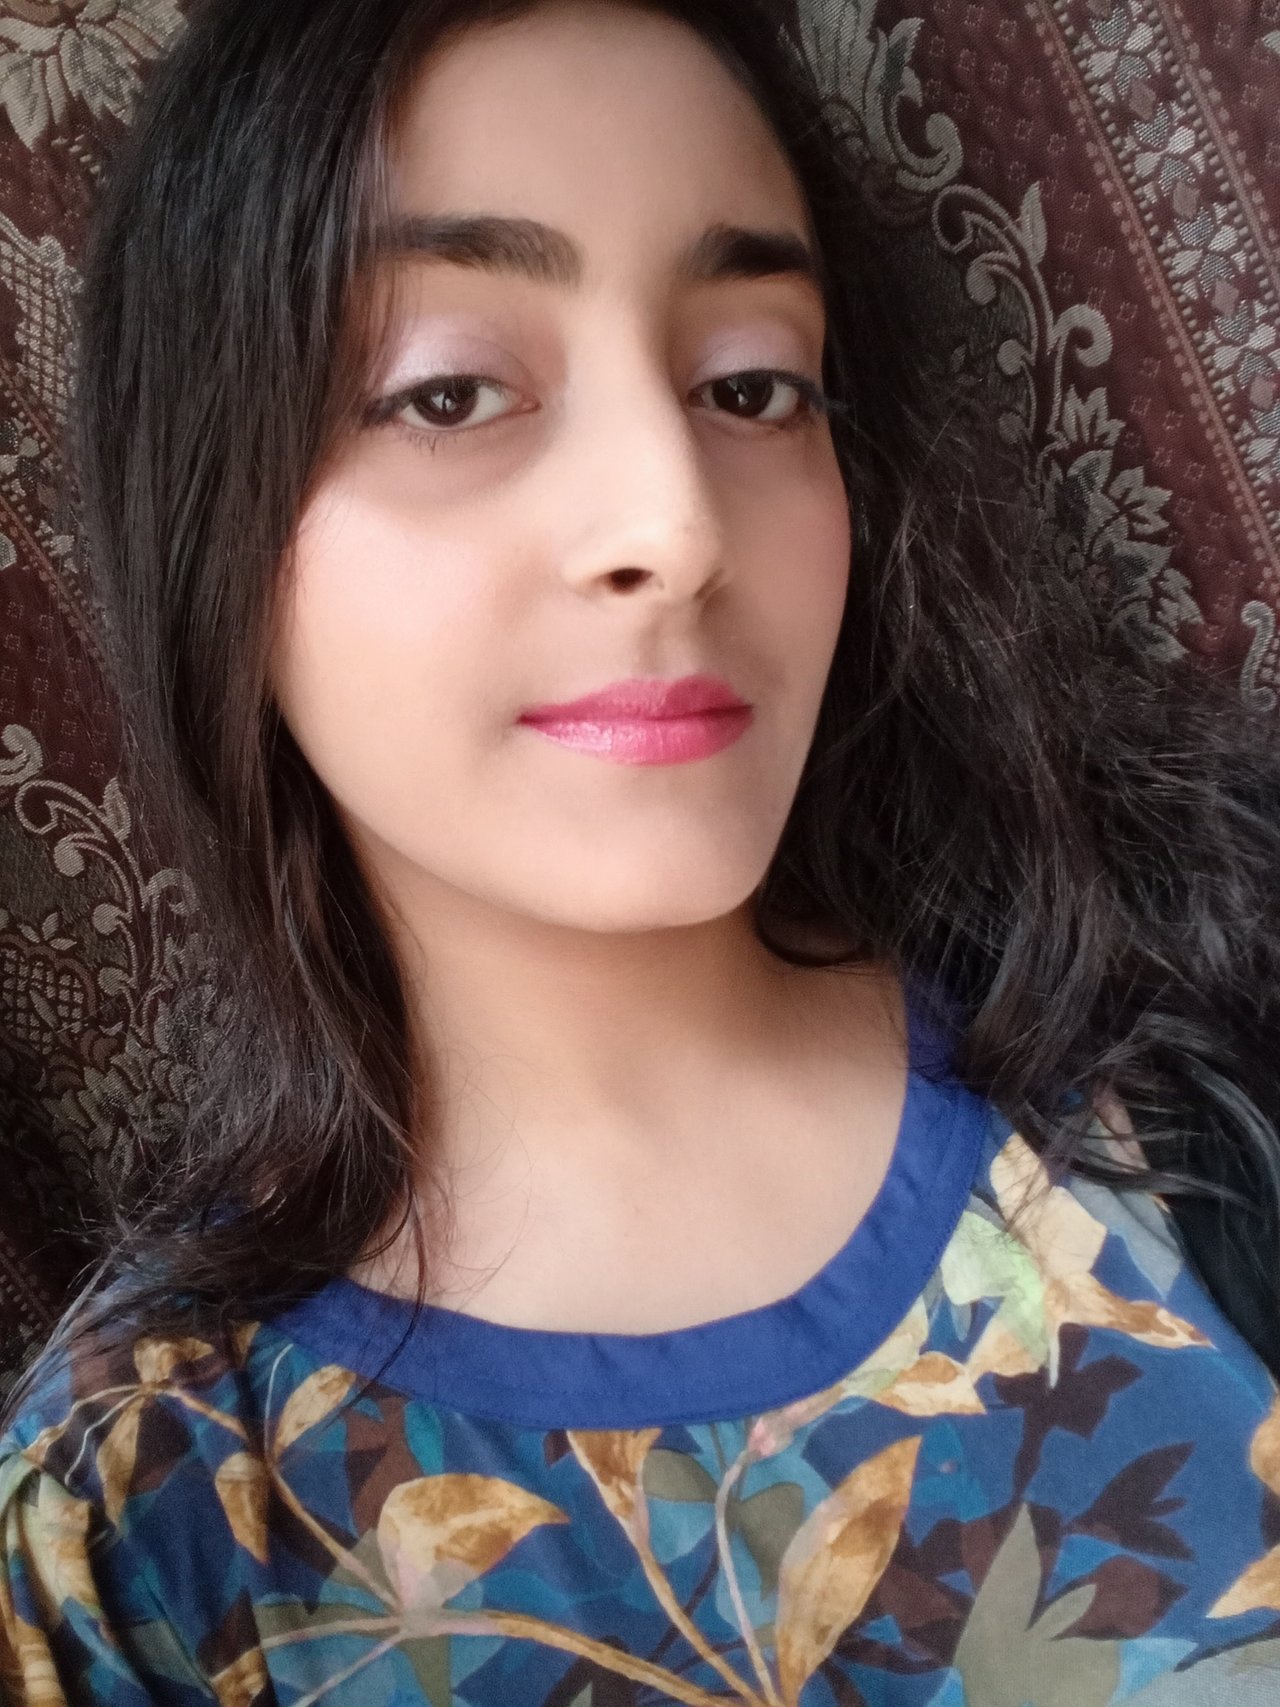
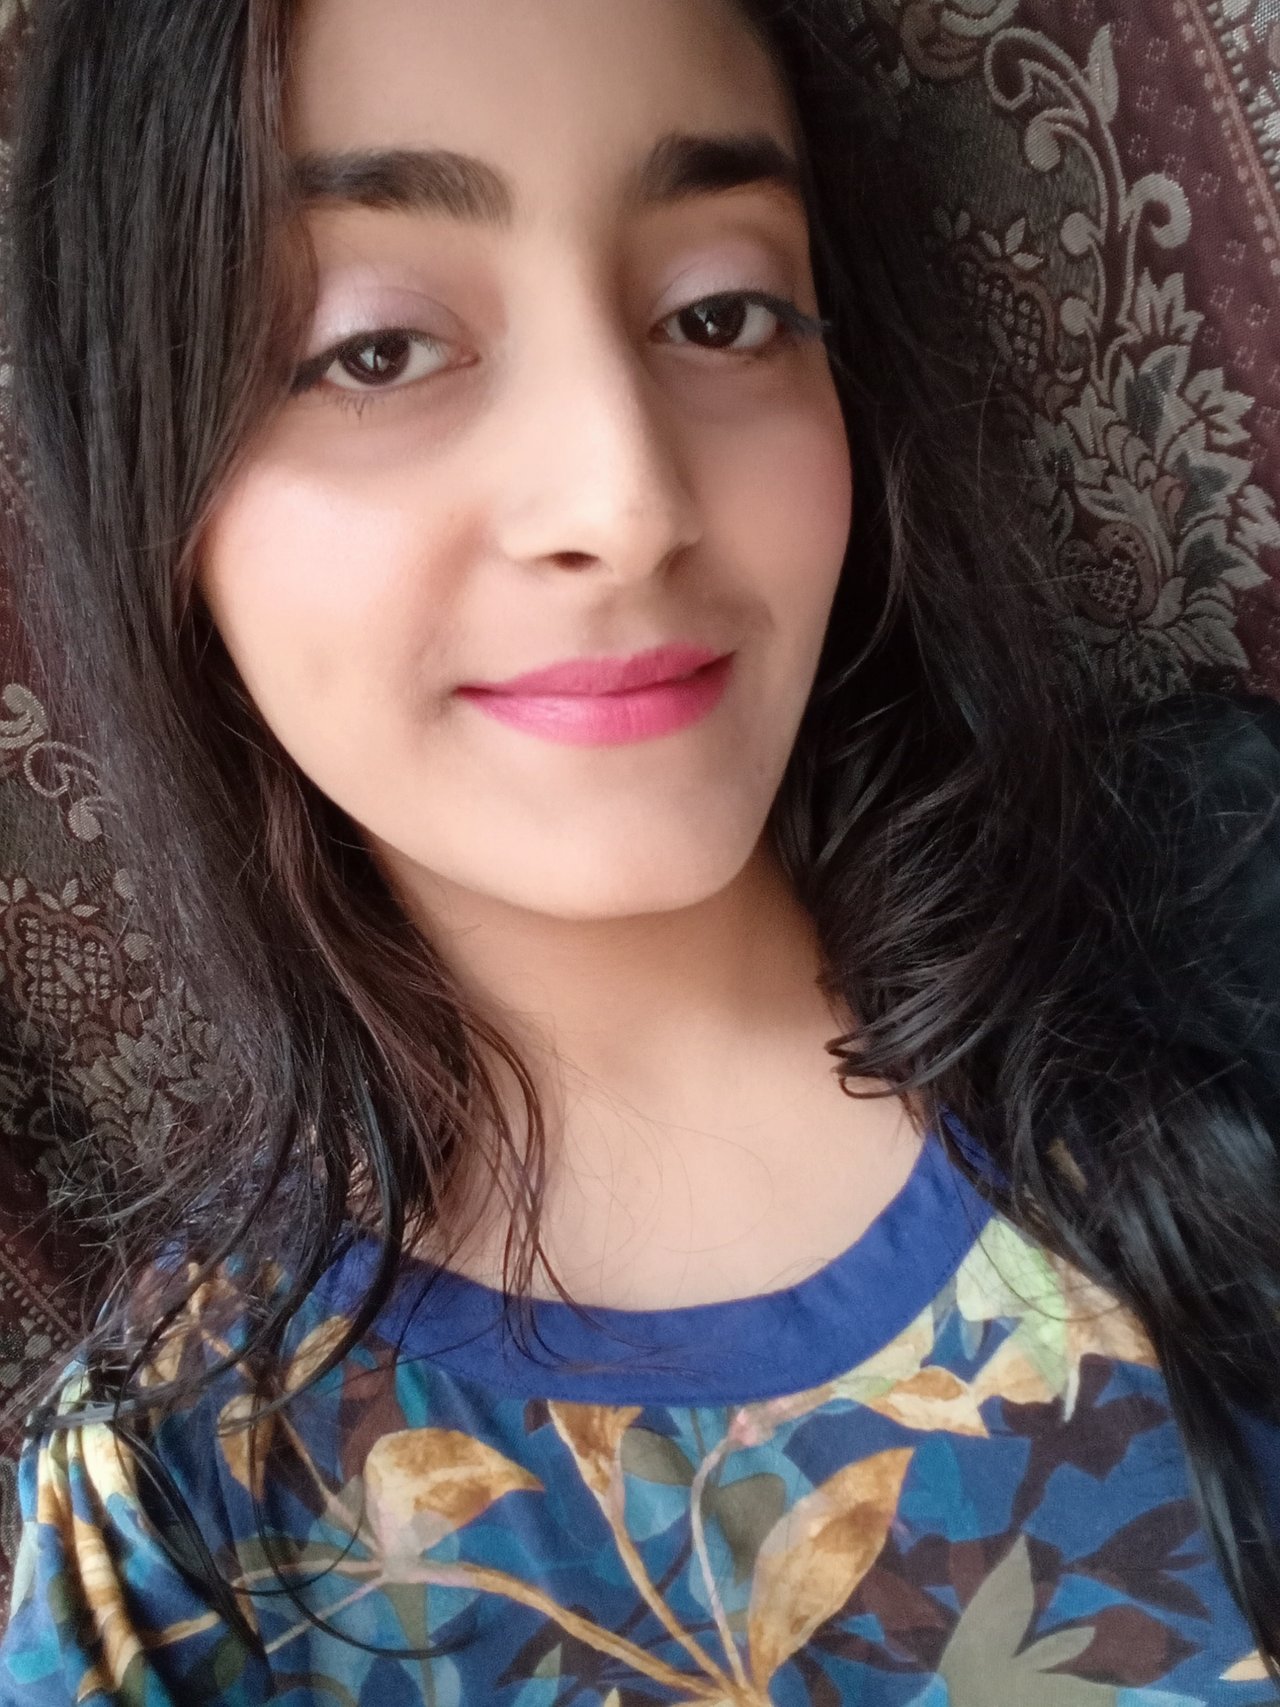
After that it was final step in which I have to apply lipstick at my lips so this is you can see the picture that I have choosed pink colour for me.
 |  |
|---|
 |  |  |
|---|
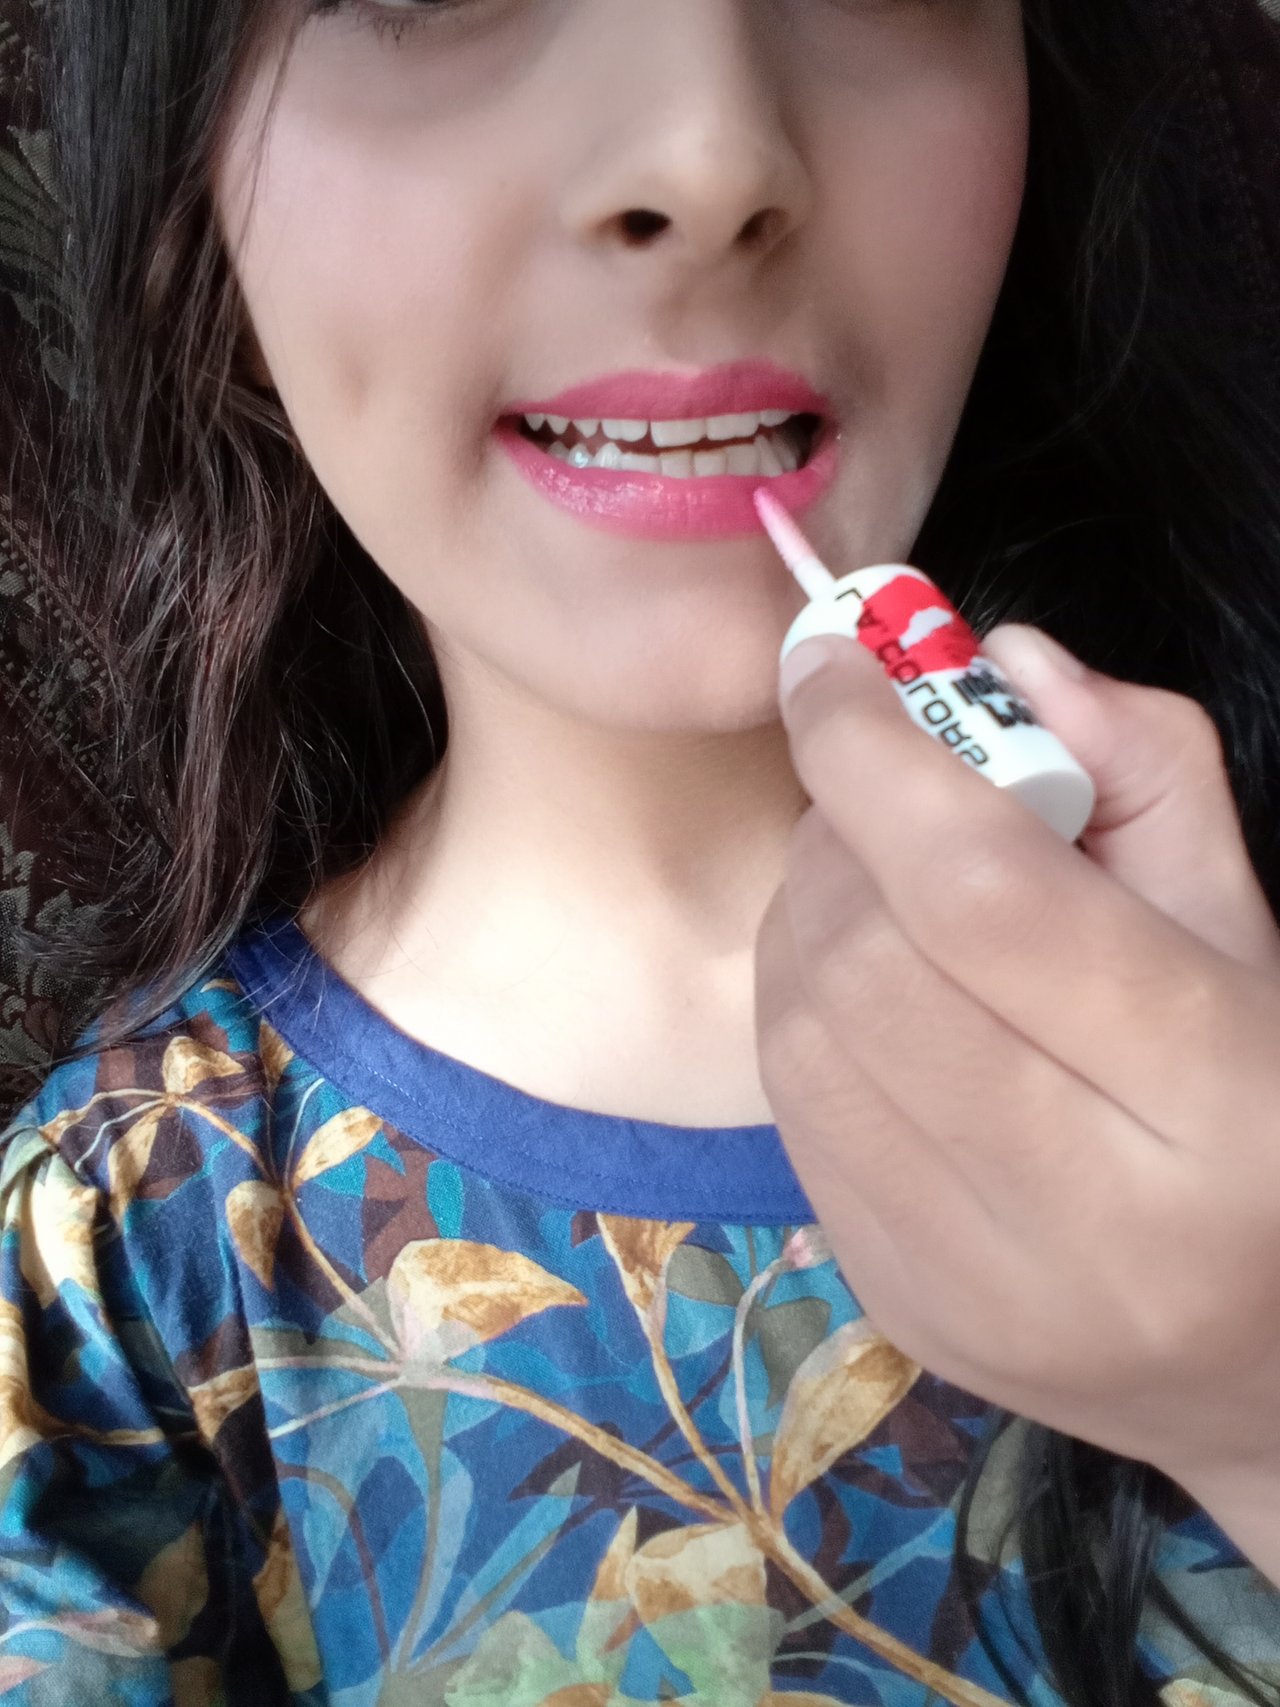
I don't want to get a bold look with my lipstick that's why I applied it at my lips with soft hands and then blend it properly. After that I have also used a lip gloss or lip shiner for giving bold look to lips so here is my final look you can see in the pictures.
I am hopeful that you all definitely like my makeup tutorial with my personal experience!
Special invitation for;
@naka05
@jyoti-thelight
@kouba01
Comments