Let's do it...Do It Yourself👉Craft, Creativity, Drawing, origami, DIY, Recycling and more
12 comments
Made with canva
Hey Beautiful Ladies !💞 |
|---|
Assalam-o-Alaikum !
Warm greetings and love to all and welcome to my post steemians.
What's going on this fabulous day. I am sure that everyone is doing well just like me. I am good. Alhamdulillah !Our honourable ma'am @ngoenyi organizes a contest which is about our skills. I really appreciate her for giving this opportunity . I am excited to participate in this contest and I would like to showcase my stitching skills. I have stitched a beautiful frock for my niece.
I would like to invite my friends
@patjewell
@pink-ring
@creative.streams
@tammanna
to participate in the contest.
Here Are Materials Required For Stitching The Frock |
|---|
- Velvet Fabric
- Scissor
- Chalk for marking
- Sewing Machine
- Inches tape
- Frock for size
- Thread blue color
Size Of The Shirt and Trouser |
|---|
Frock :
- Length 21 Inch
- Teera(seam) 9 inch
- Arms length 11 inch
- Fitting 12 inch
Trouser :
- Length 19 inch
- Asan(across) 9 Inch
- Pouncha(Hem of trouser) 7 inch
Step 1 |
|---|
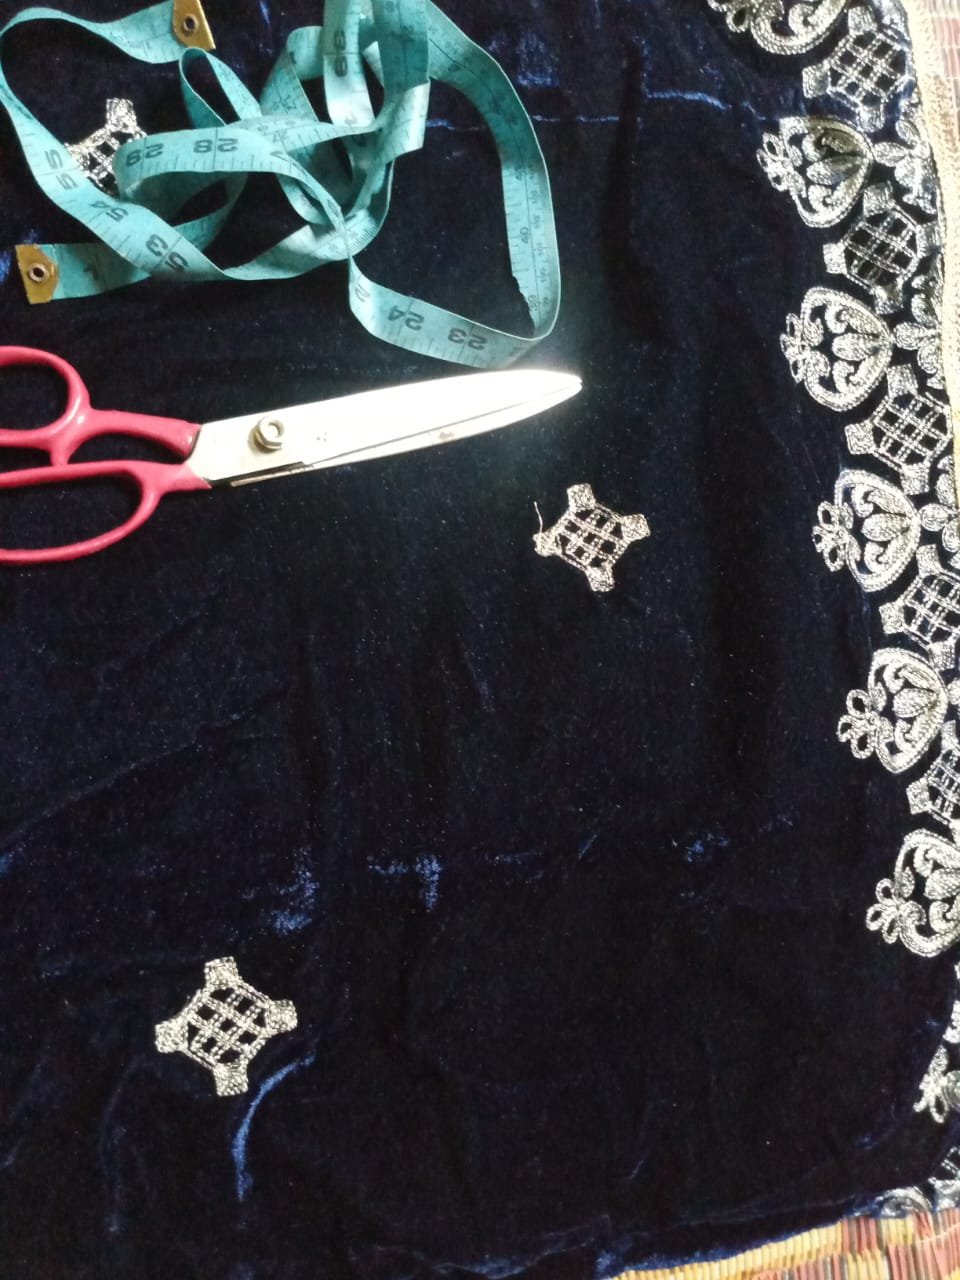
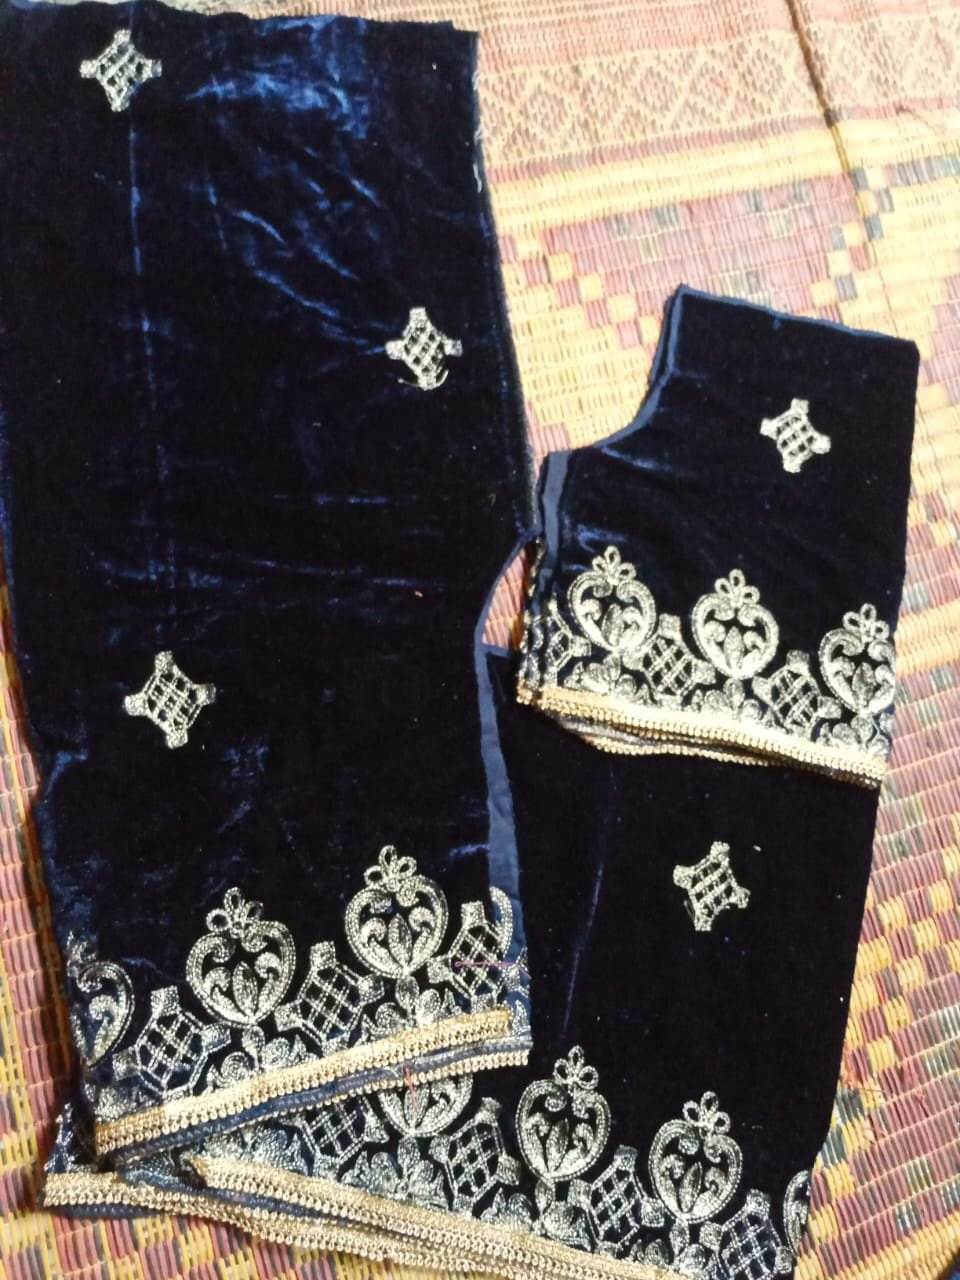
- In the beginning , I laid out the velvet fabric. I have in blue color velvet. Its a very attractive and beautiful color. Then I marked the pattern pieces according to the measurement. I cut the trouser and frock together. The bodice of the frock has been cut separately.
Step 2 |
|---|
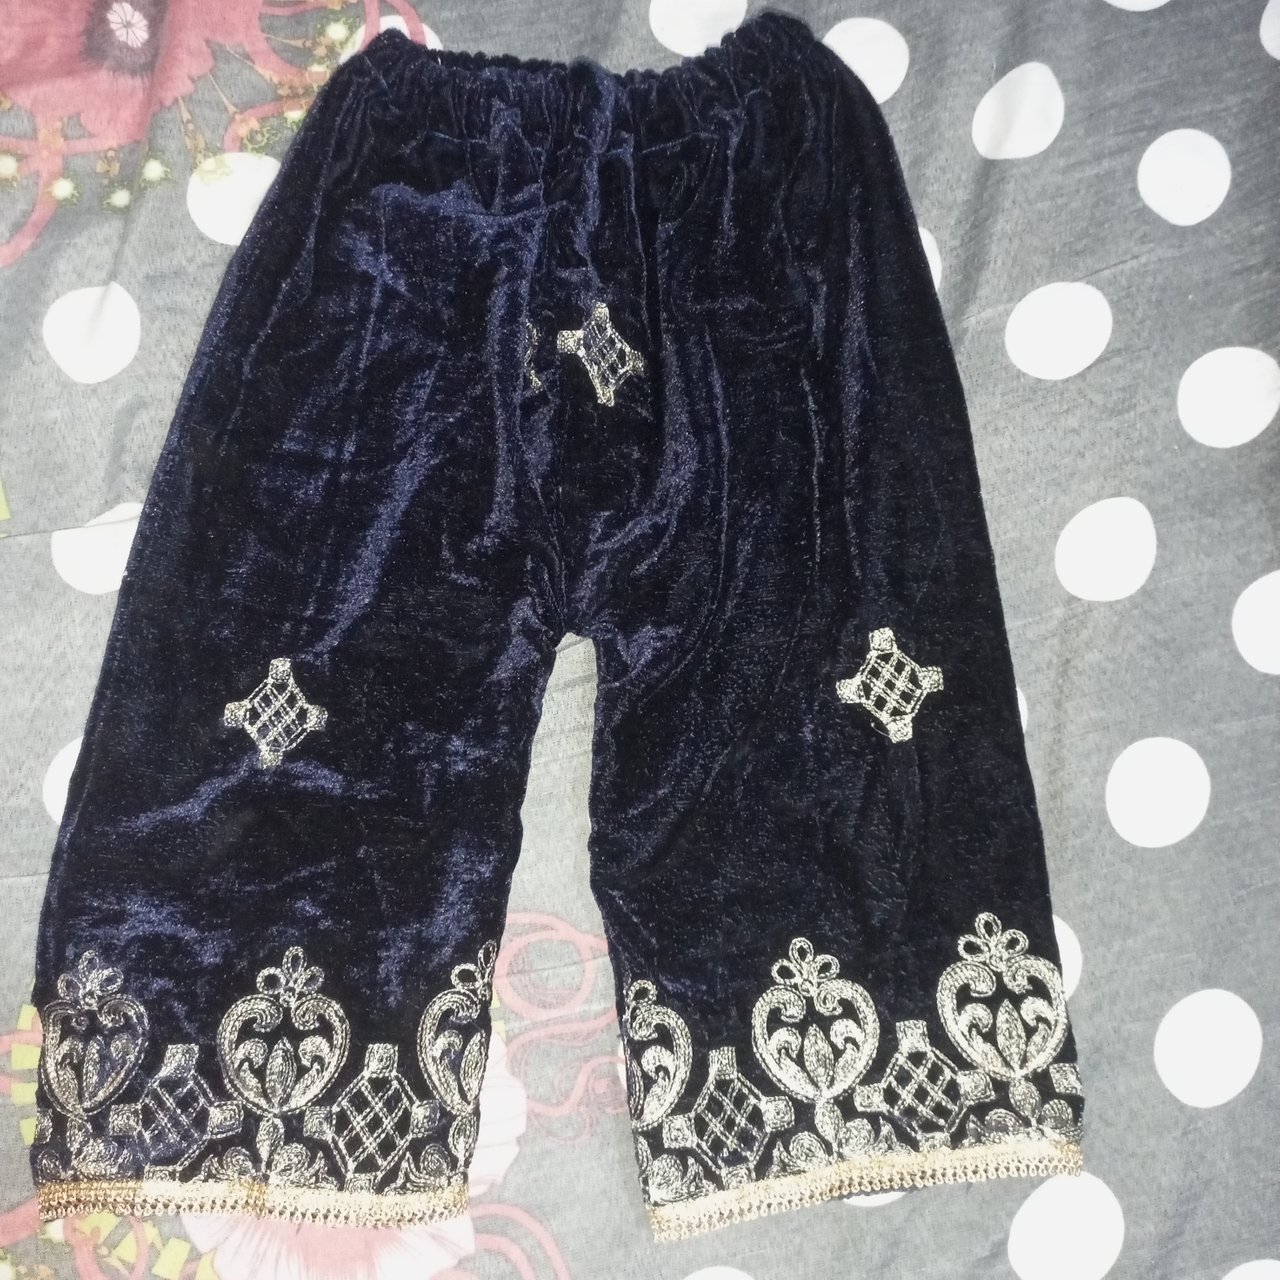
- Then I started to stitched the trouser. First I stitched the place of elastic. Then I stitched both side of trouser. Then after that I stitched the hem of the trouser. I stitched the trouser as given below.
Step 3 |
|---|
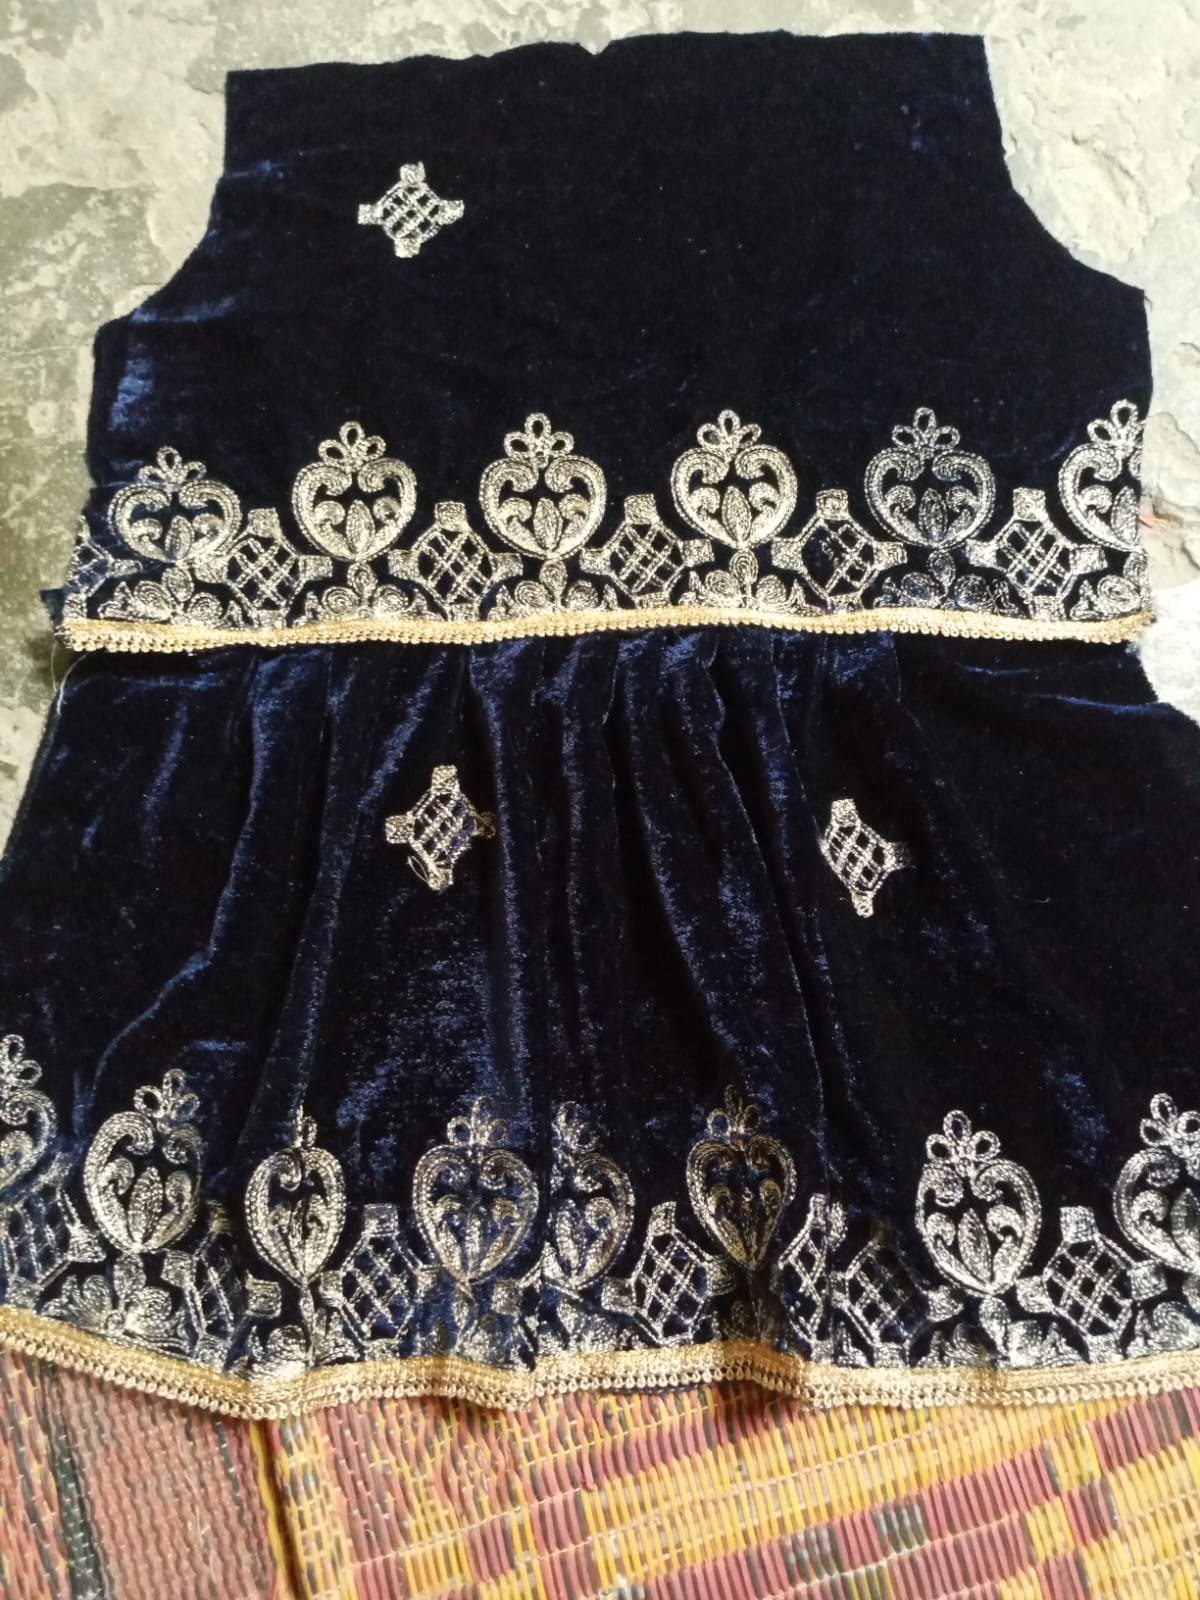
- Then after stitching the trouser I started to stitch the frock. Stitching trouser is easy then frock. Its a difficult work anyways , First I stitched the hem of the frock. I stitched the hem with frock as you can see in the picture.
Step 4 |
|---|
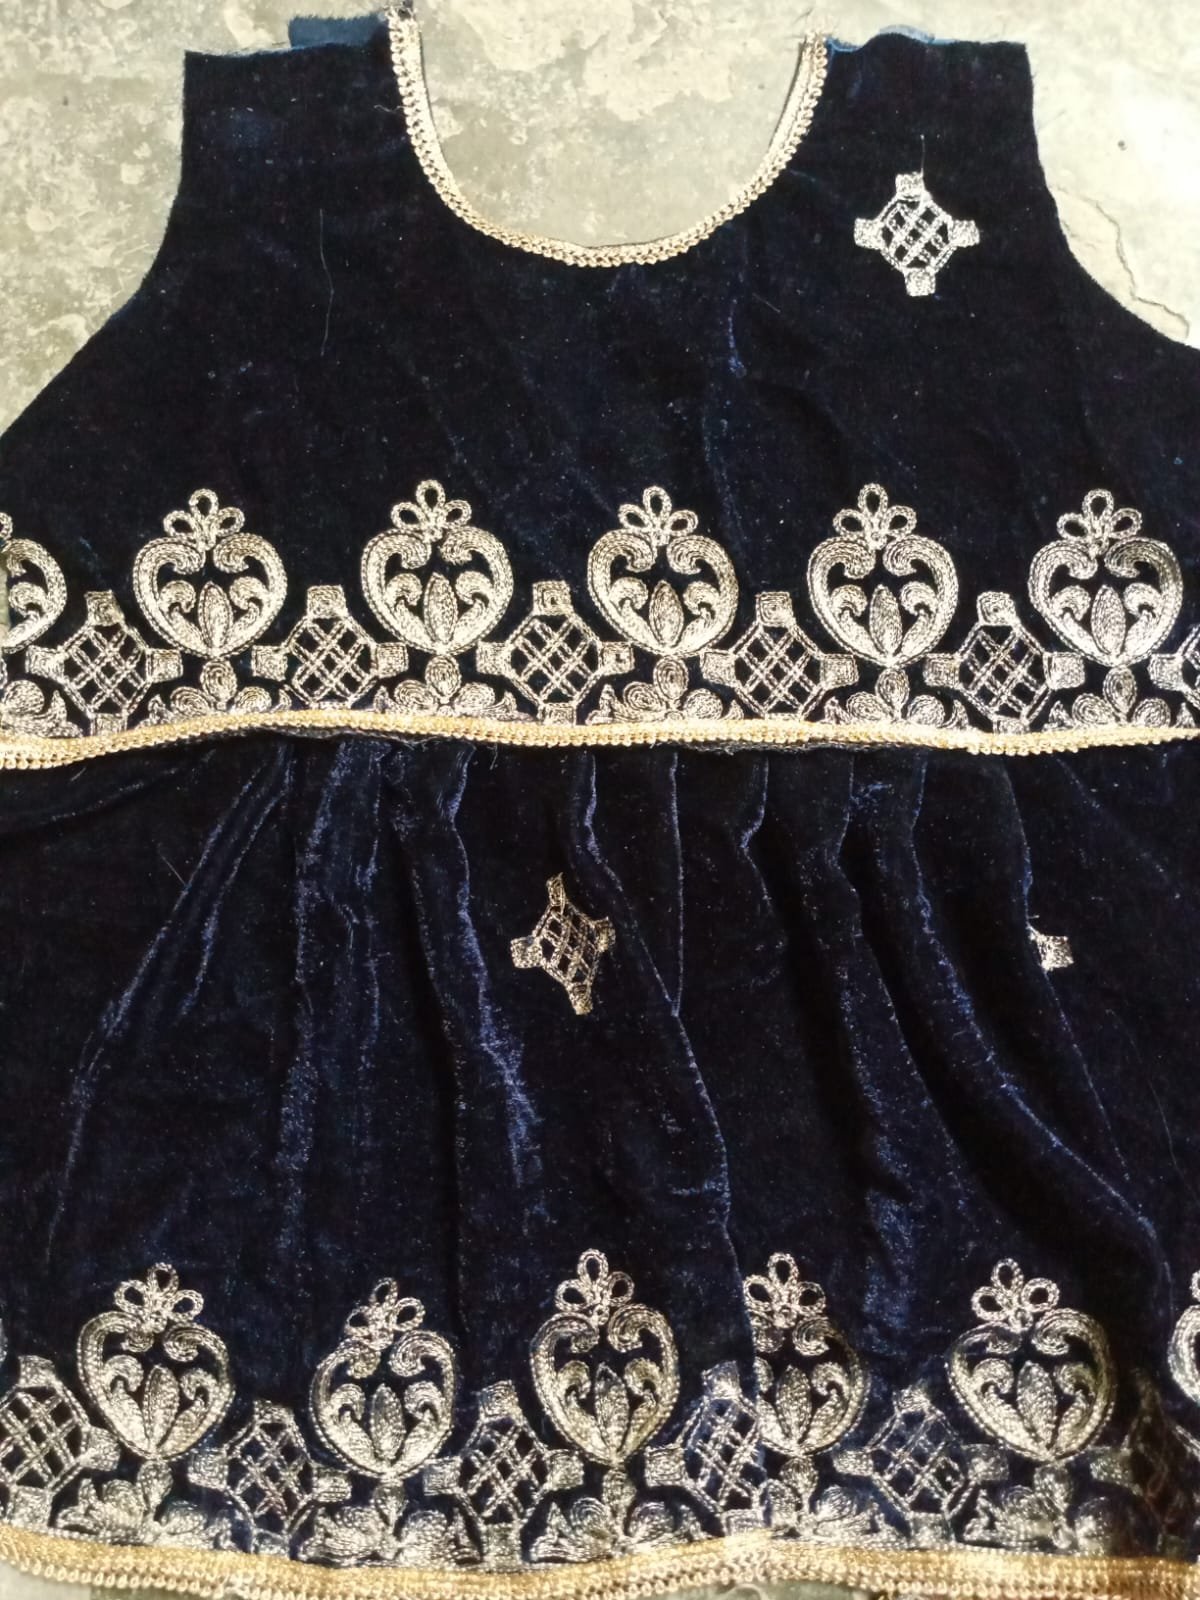
- Then after that I cut the round shape of neck. I cut it according to my niece's size. Then I started to stitch it. I stitched the round shape of frock neck. Then I stitched the lace with the neck. I stitched it for making the beautiful design of neck.
Step 5 |
|---|
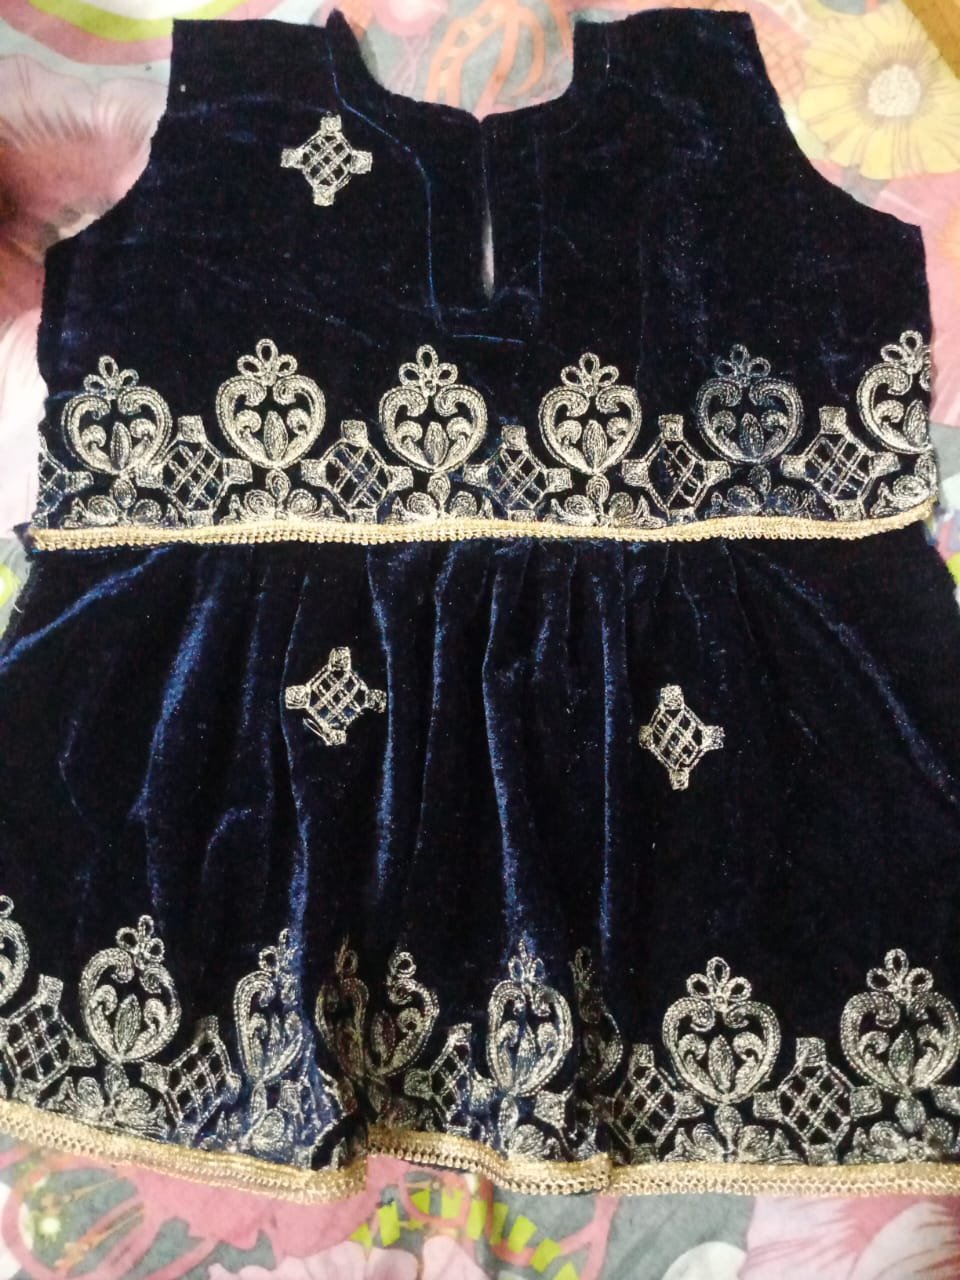
- Then I made the back neck of the frock. As it is my little niece's frock so , I have to made button patti (button panel) on the back side of the frock. First , I cut the shape of that design on the back side of frock on the top. Then I started to stitch it. I stitched it with very neatness.
Step 6 |
|---|
- Then after making the neck of the frock on both sides I then added the fitting darts (or seams) to make a better fit. I mentioned the fitting about 12 inch so that I stitched it according to it. Then I stitched the arms of the frock. I stitched the frock of my niece.
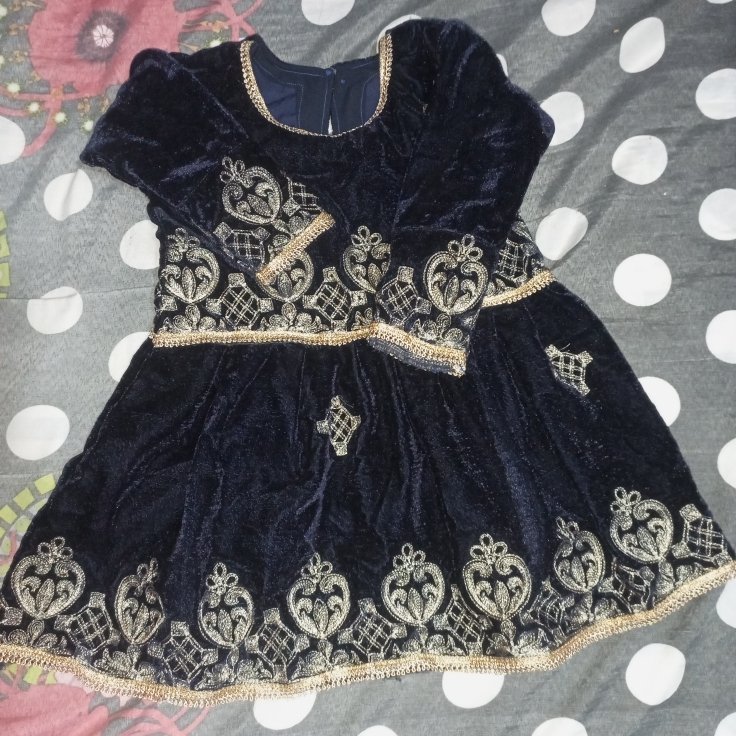
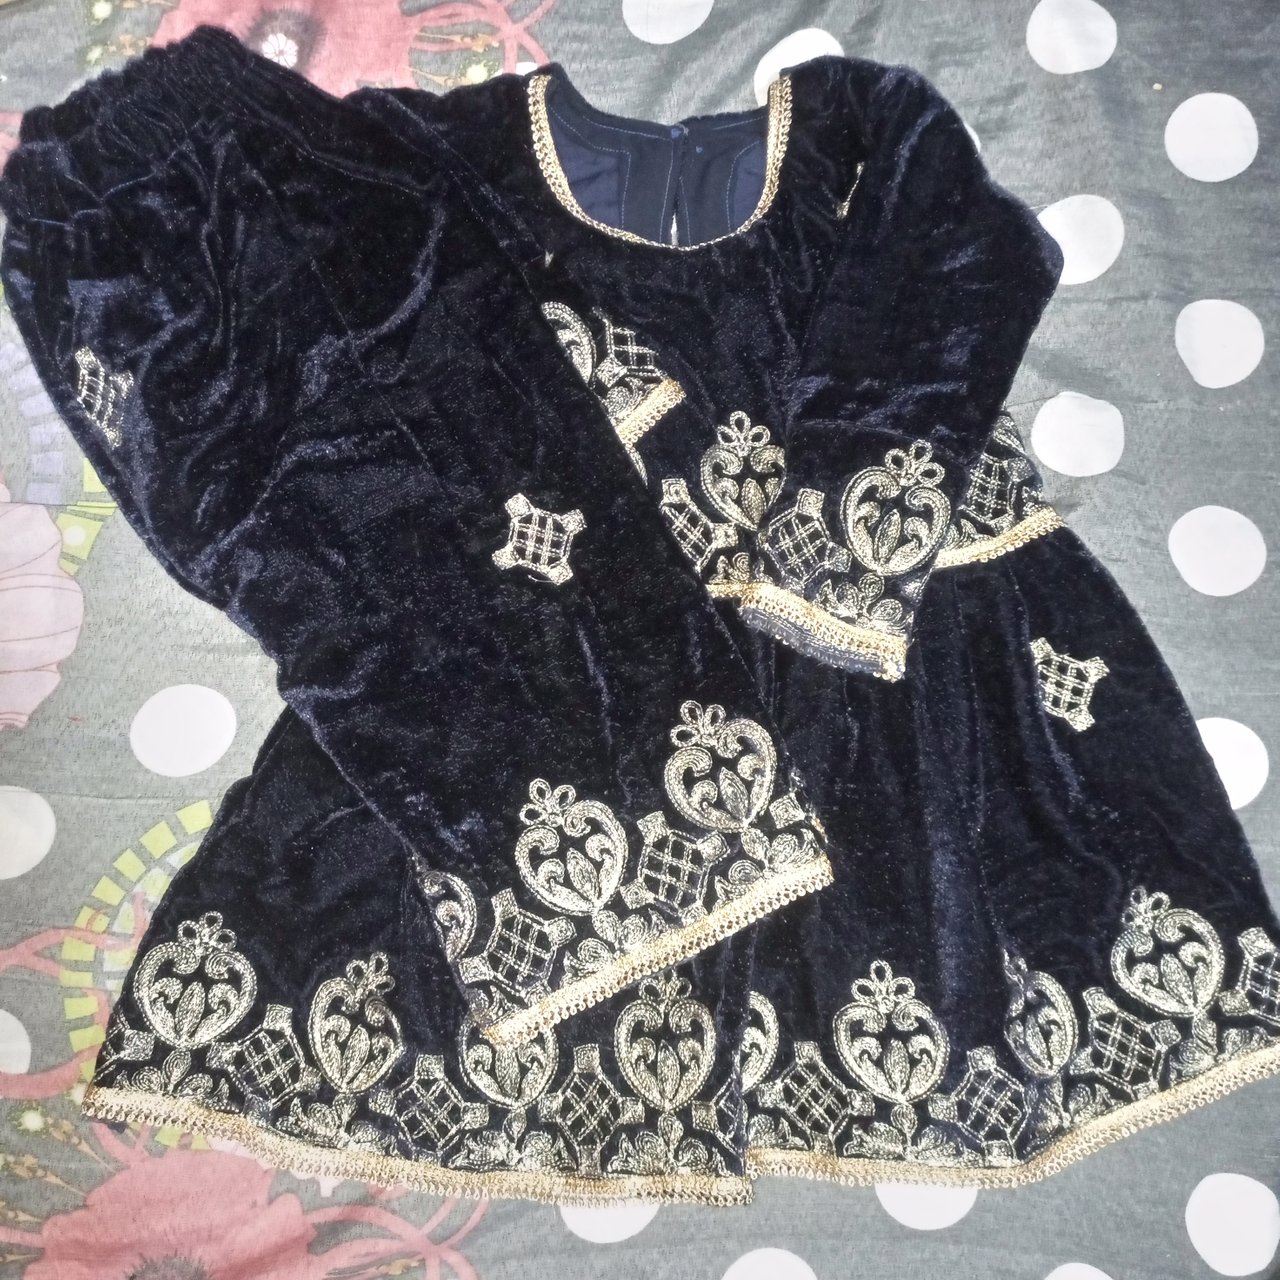
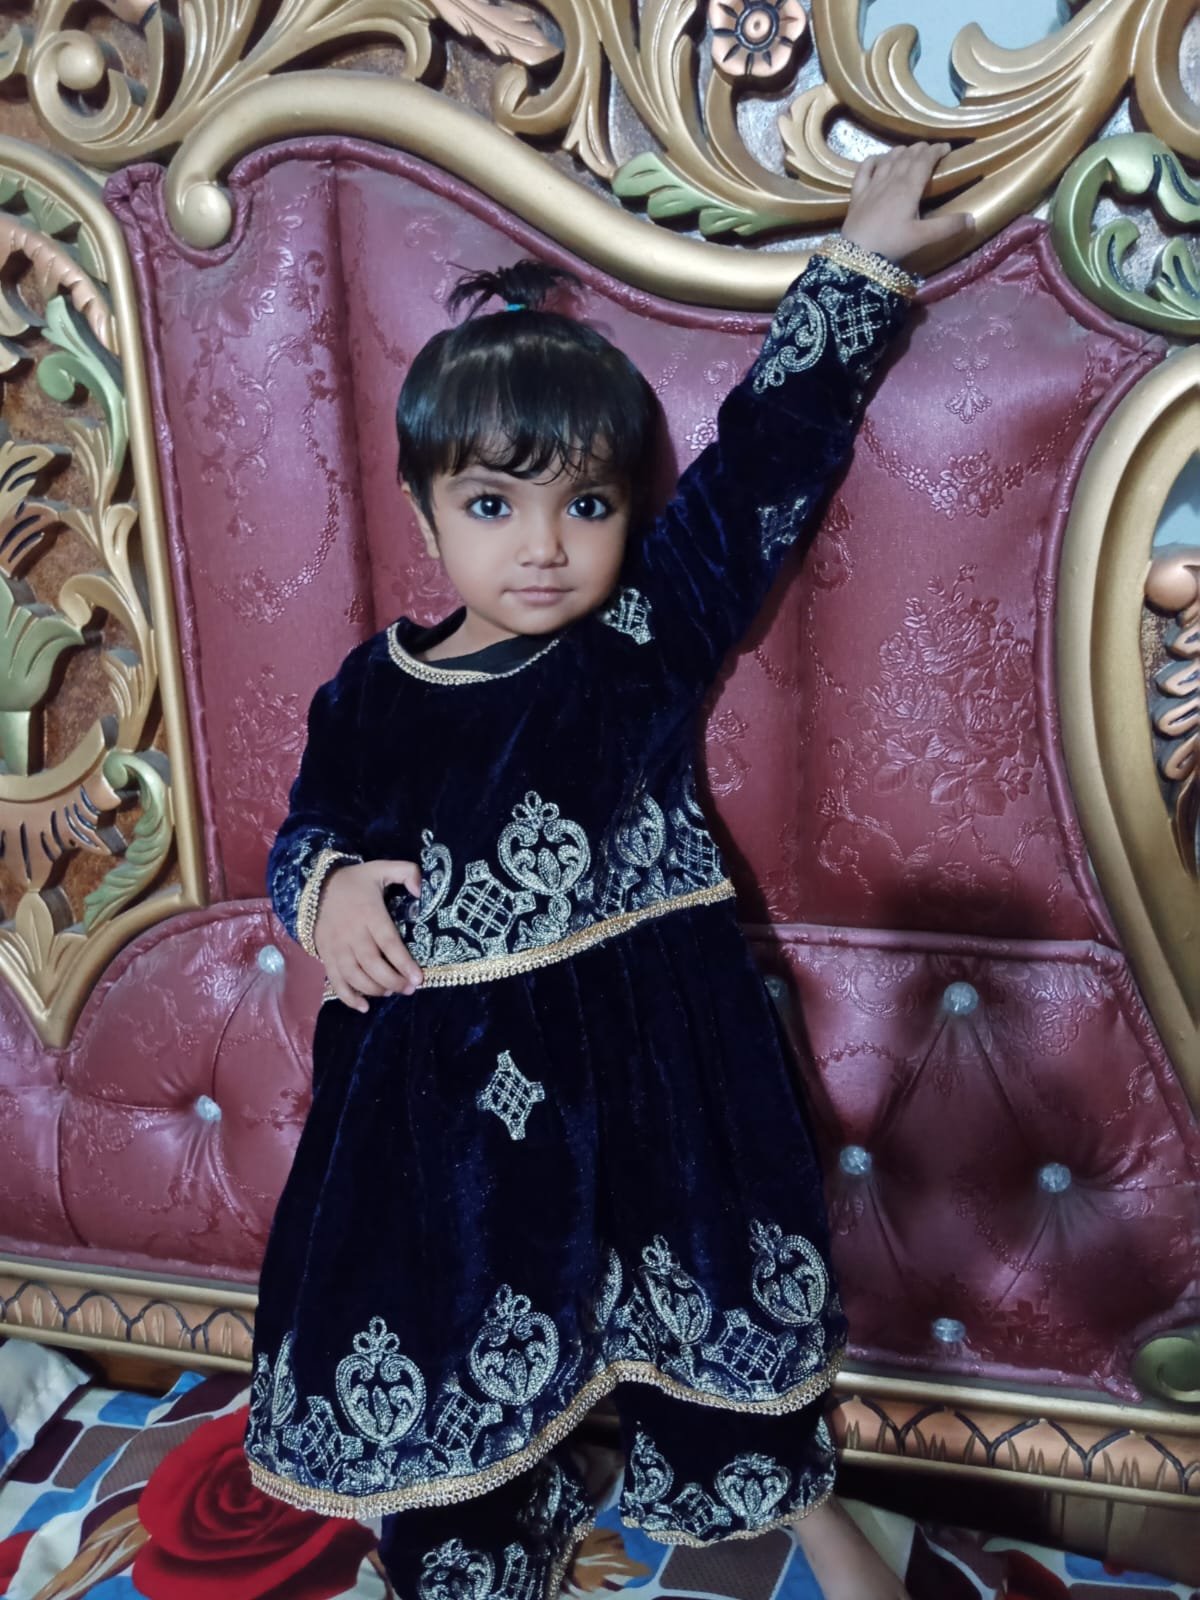
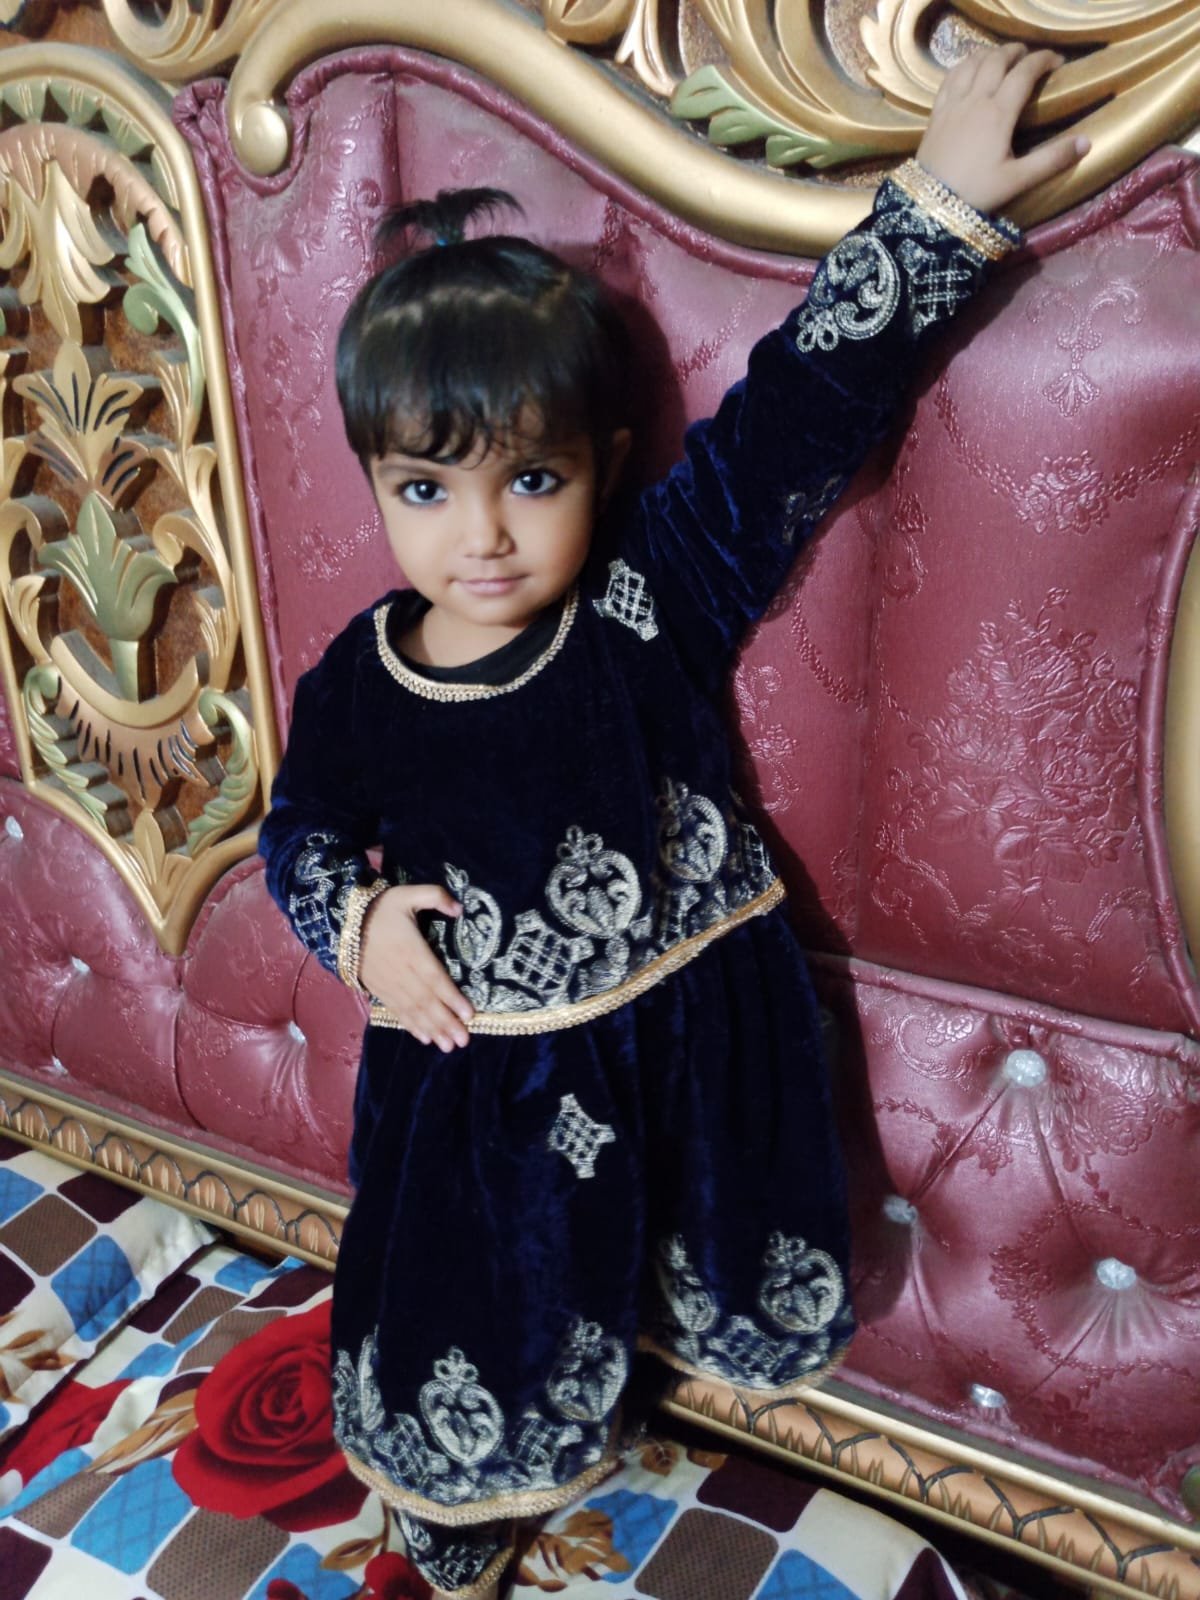
This is the picture of my niece wearing her new frock.
 |
|---|
 |
|---|
So friends this is how I stitched the beautiful frock. I hope that you also like it.
Thank you so much friends for being with me. Thank you for reading my post patiently.
Special Thanks To : @ngoenyiBest Regards : @sadaf02 |
|---|
Comments