Let's do it...Do It Yourself👉Craft, Creativity, Drawing, origami, DIY, Recycling and more
1 comment
Assalamualikum, everyone(Peace be upon you). |
|---|
This is @jubayedhossen91
From #bangladesh
Ingredients |
|---|
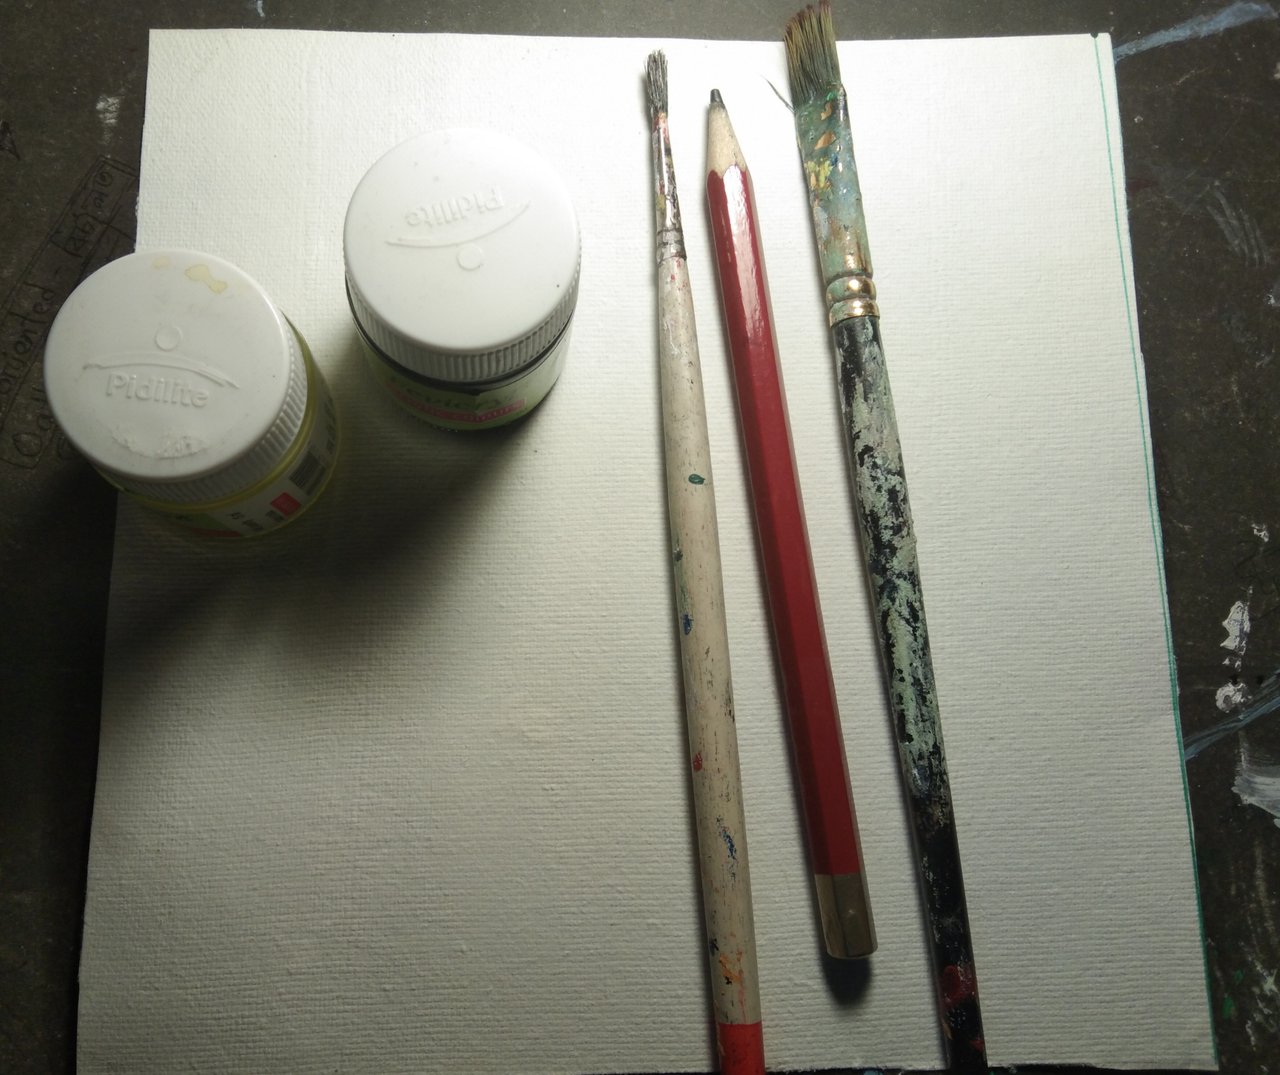
- Art paper (Acrelic color paper)
- Acrelic colors
- Paint brush
- Wood Pencile and
- Water
Step 1: Initial sketching with pencil |
|---|
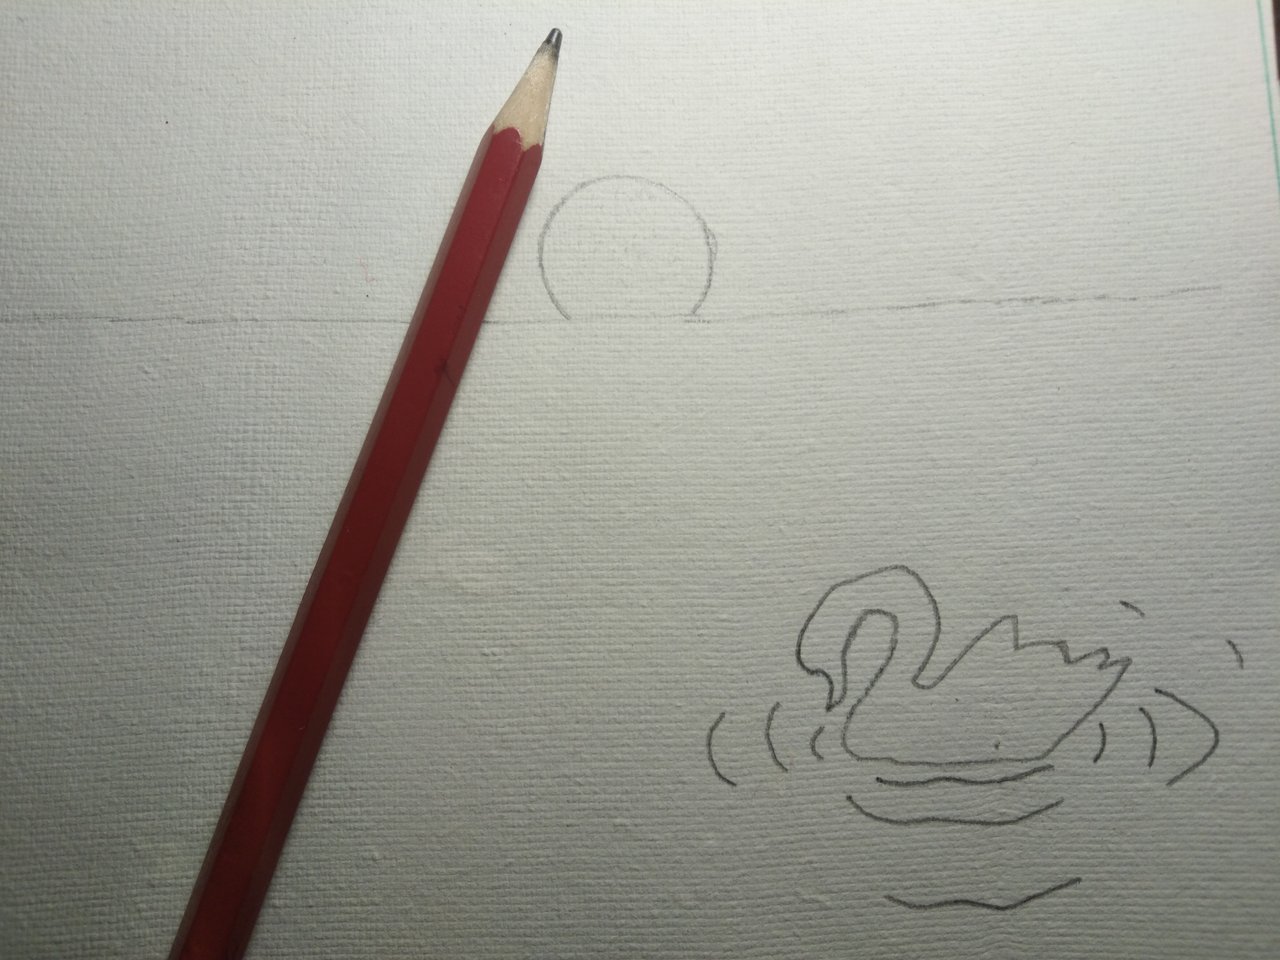
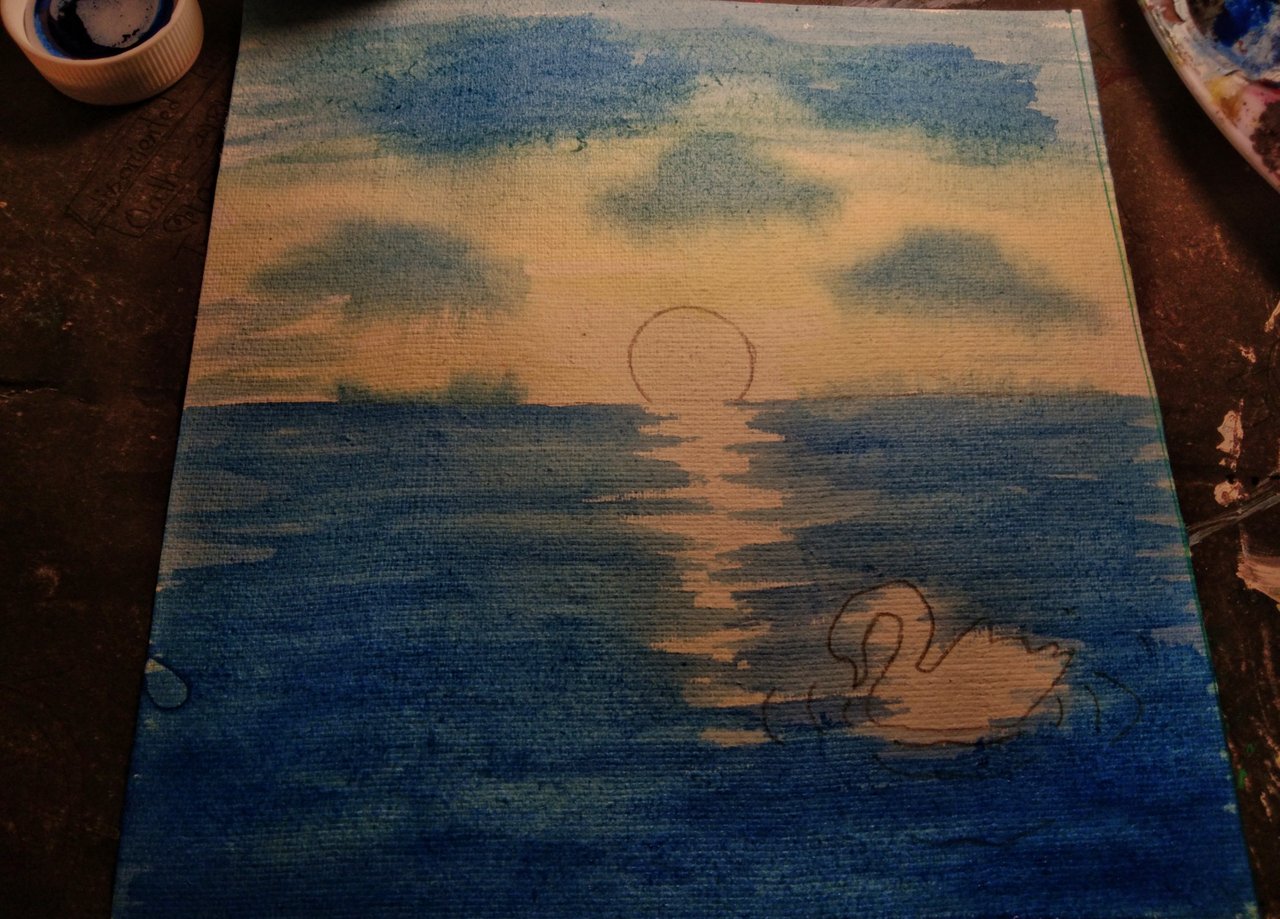
To begin the artwork, I divided the paper into two parts using pencil. This division ensured that in the upper part it would represent the sky, while the lower part would focus on the water scene. Then I adding essential elements to bring the scene realistic. First, I drew a round circle in the sky to paint the sun. And then, I sketched a swan in the water, paying close attention to its proportions, ensuring it was neither too big nor too small. Lastly, I've drawn some small waves in the water these make the lower part feel more dynamic and lively. These pencil sketches gave base to the entire composition my scene.
Step 2: Painting the sky |
|---|
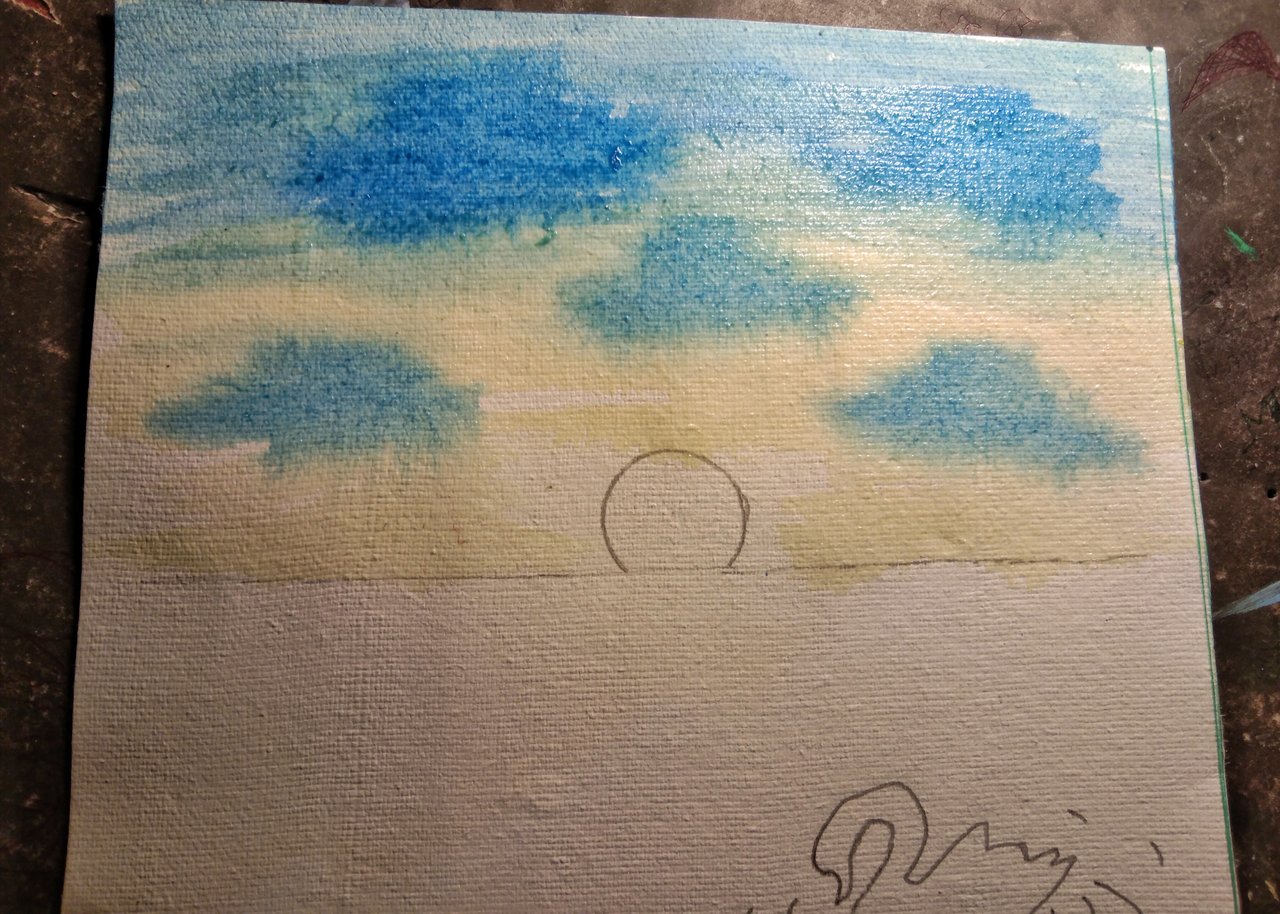
After completing the pencil sketches I move on to paint the sky with colors. I used light blue color to paint the sky. To make realistic to the sky, I added some clouds using darker blue shades and blending them with the background carefully. In the remaining empty spaces, I used the mixer of yellow and red colors to create a warm gradient, symbolizing the transition of light sunset. This mixer of colors added a soft and beautiful effect to the sky.
Step 3: Painting the water |
|---|
In this step, I fixed my attention to paint the water section. For this part, I used only one color, blue. I painted the lower part of the paper in smooth, consistent strokes, make sure the blue color matched the tone of the sky. This interaction between the sky and water created a harmonious connection between the two parts of this scene.
Step 4: Painting Sun and its reflection |
|---|
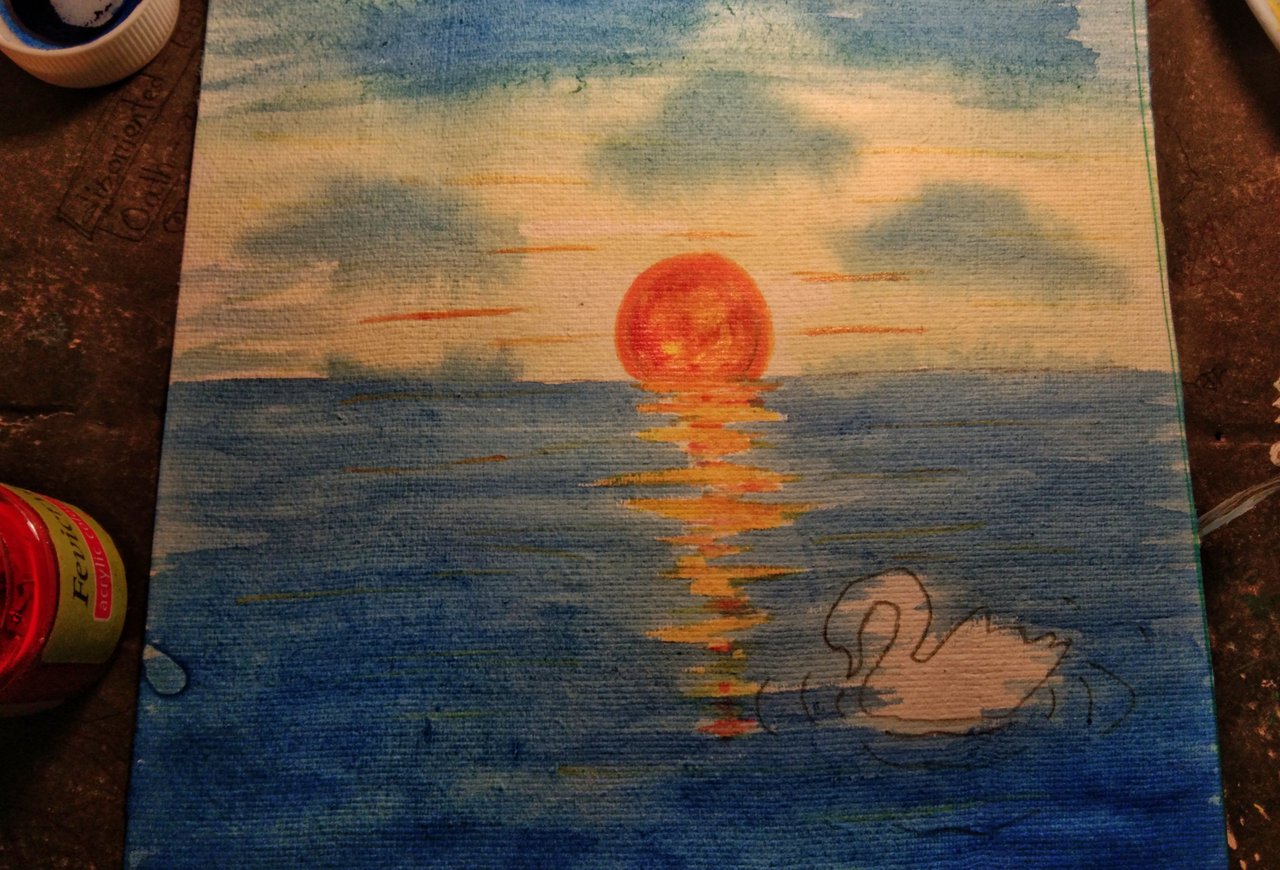
After the sky and water were completed, I painted the sun which I had drawn earlier. I filled in the base of the sun using red color to make it a bold and vibrant look. Then, I added yellow color to the remaining parts of the sun, mixing it carefully with the red. The outcome was a glowing sun with a beautiful mix of red and yellow. Increasing the realism, I painted the reflection of the sun on the water, showing how the sunlight spread and shimmers across the surface.
Step 5: Coloring the Swan |
|---|
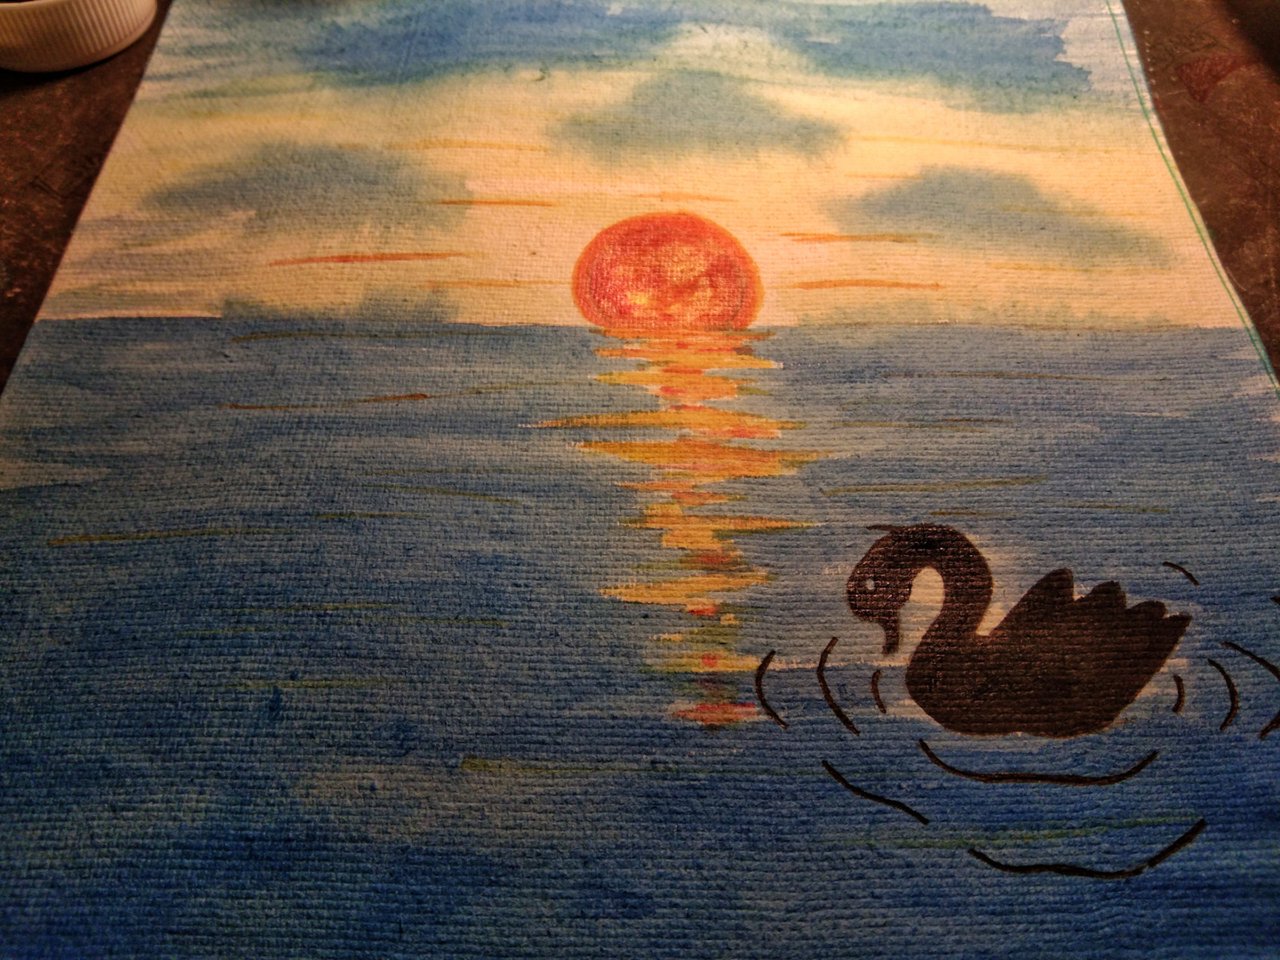
In Step 5, I focused on the coloring of the swan that I had sketched earlier. I painted the swan using black color and ensuring that it appeared as a silhouette. Since the swan was situated on the opposite of the sun, the black color made it too realistic, as objects seen against sunlight often appear dark. After the swan was painted, I added some waves beneath it to show the movement of water around the swan.
Final step |
|---|
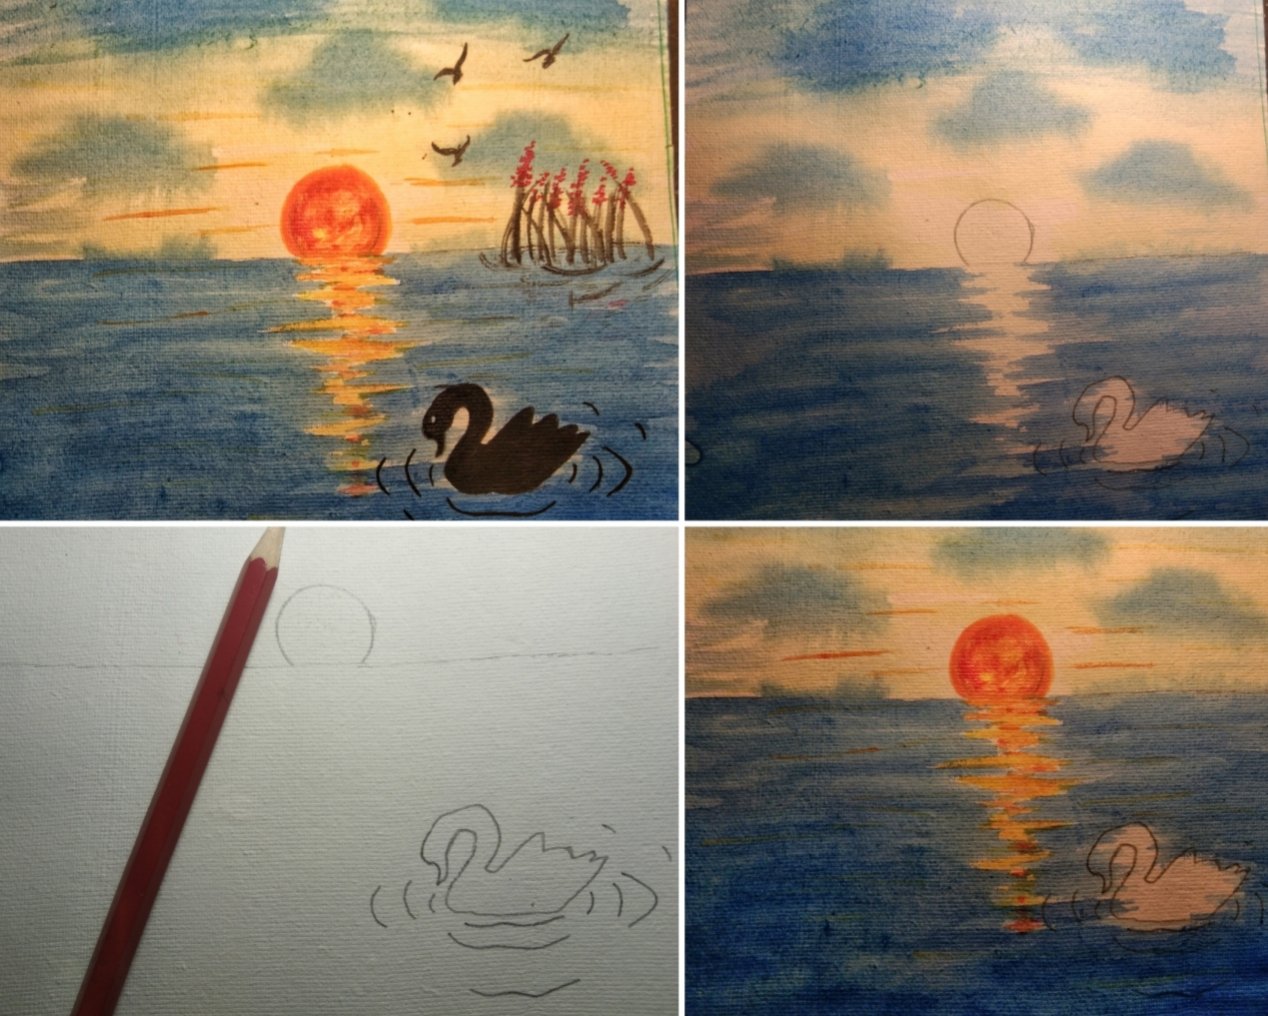
To complete the painting, I added the final touches. I added some black grasses in the foreground, which made depth and balance to the composition. I painted small red flowers on the grass. Lastly, I drew three birds these are flying in the sky, giving the scene a thinking of freedom and movement. These final ingredients tied the whole artwork together, making it feel complete and vibrant.
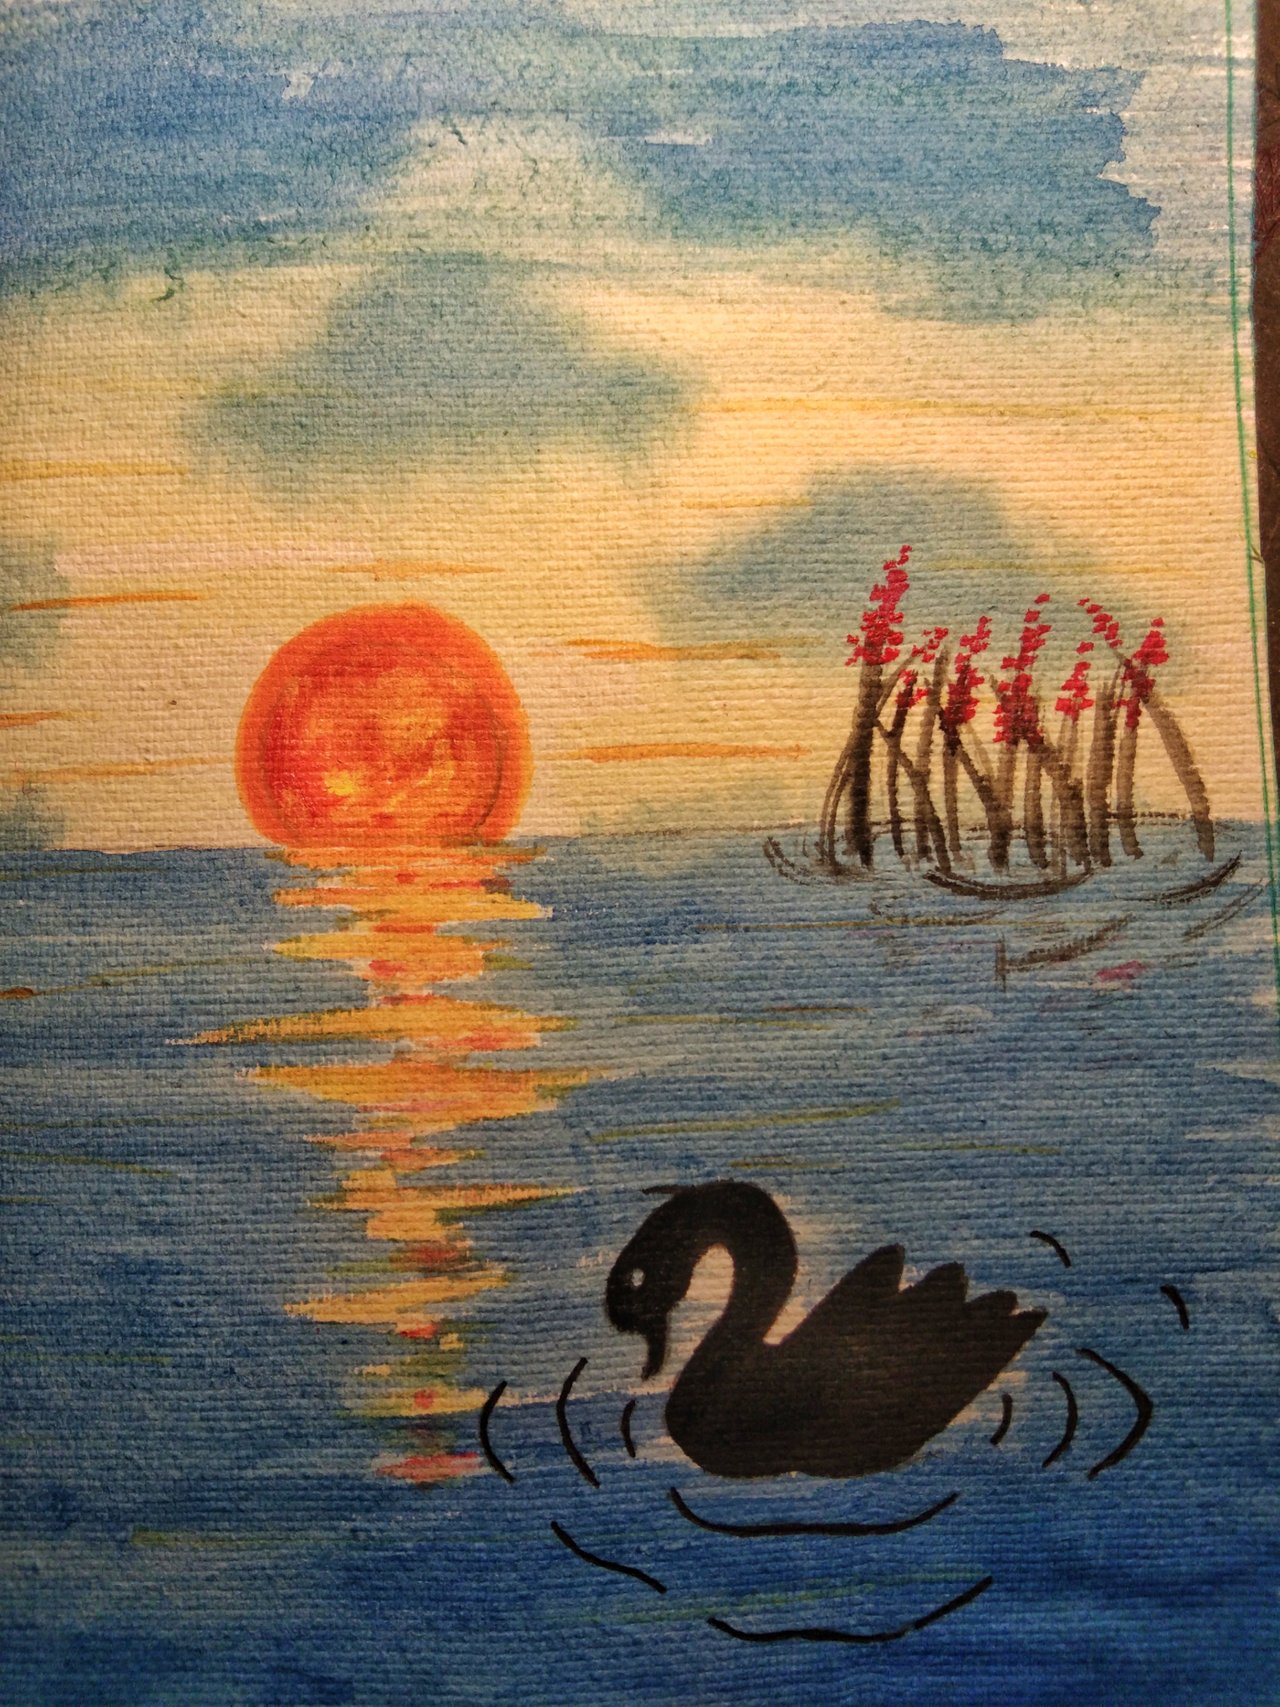
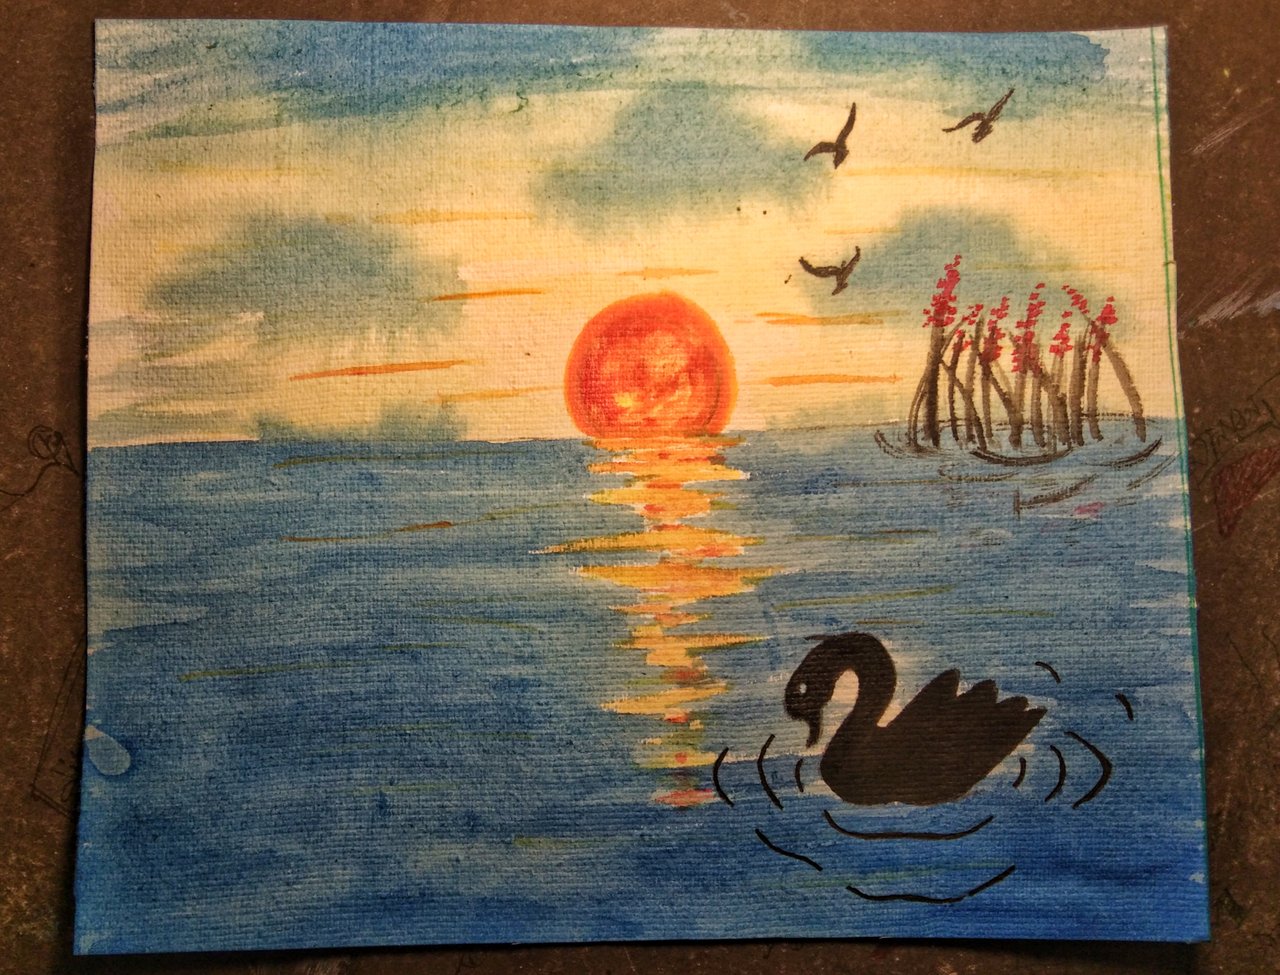
This step by step process resulted in a beautiful and mind-blowing painting, full of life and emotion.
I am mentioning three of my friends to join this contest @tonmoy2002 @junaidahmed @kafio
Comments