"SEC-S21W1: Creating a Blog for Amazon Affiliate Marketing"
5 comments
 |
|---|
It is now very easy for bloggers, businesses, or content creators to earn commissions by promoting other people's products via a means called Amazon Affiliate.
This is an initiative that was launched a long time ago by Amazon to allow individuals like the categories of individuals that we have earlier introduced to earn commissions by promoting Amazon products.
Let's say for example, I have a website in which Amazon products are promoted you visit my website click on the affiliate's unique link on my website, and make a purchase on Amazon, I will earn an affiliate percentage of the sale from the product you purchase via my link.
Amazon affiliate marketing works even while you are sleeping almost everything is been done online, meaning you will need to have a blog, social media account, or YouTube channel. For this challenge as requested by the professor, I will be showing you how to use a blog to promote Amazon affiliates.
Create a Blog for Amazon Affiliate Marketing
Before now, I have a personal blog named Joewix which I created in 2020 with Blogger for publishing stories and news as you can see from the image shared below.
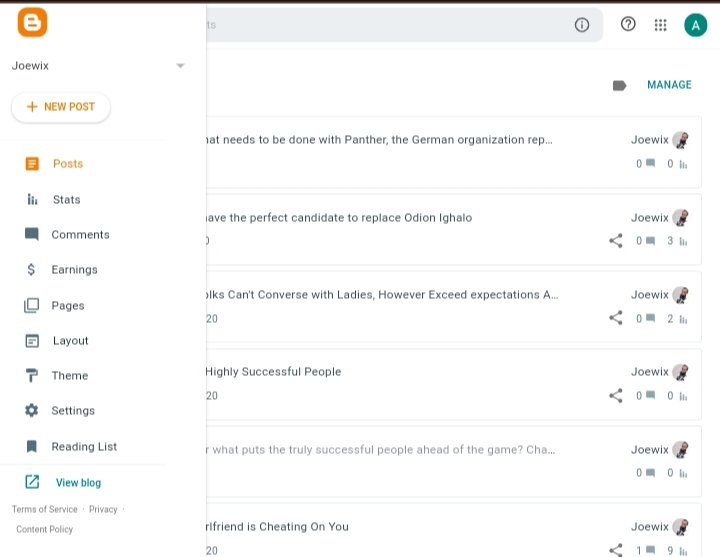
For the sake of this challenge, I created a new blog using the same email address that I used in my previous blog by following the steps I have shared below.
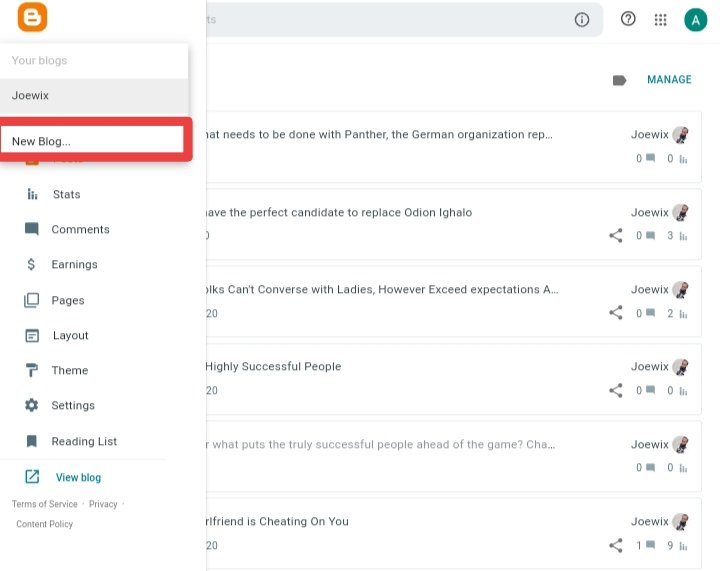
- I click on the name of my previous blog name and select
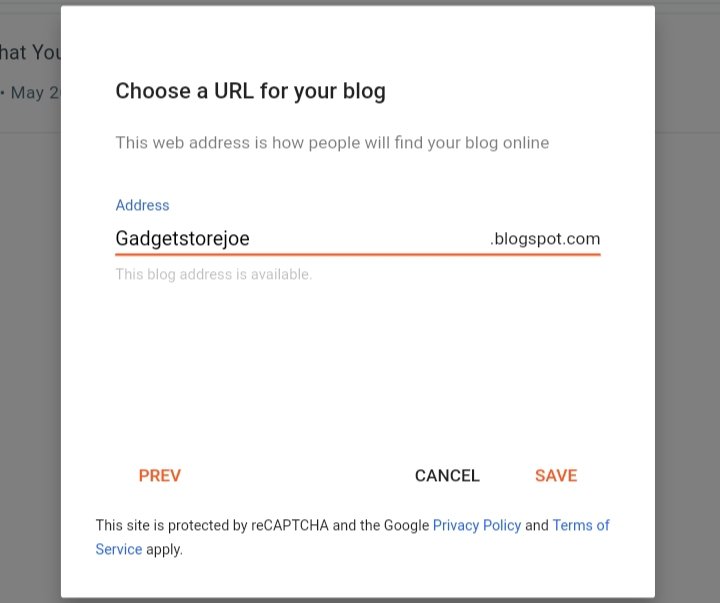
New Blogand choose a name for my store which I chooseGadgetstorejoe.blogspot.comand click on save.
 |  |
|---|
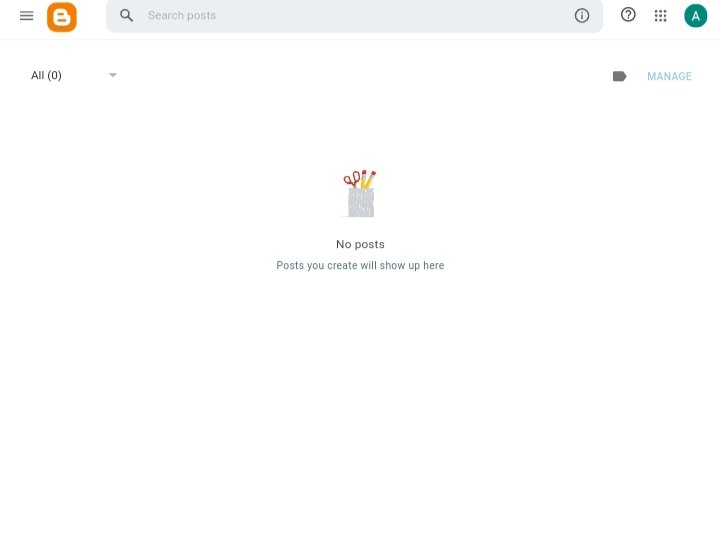
https://gadgetstorejoe.blogspot.com/?m=1
Customizing My Blog Layout and Theme
For me to use a professional blog that would make my blog appealing, I click on the homepage and locate theme which I then select my preferred theme and apply it.
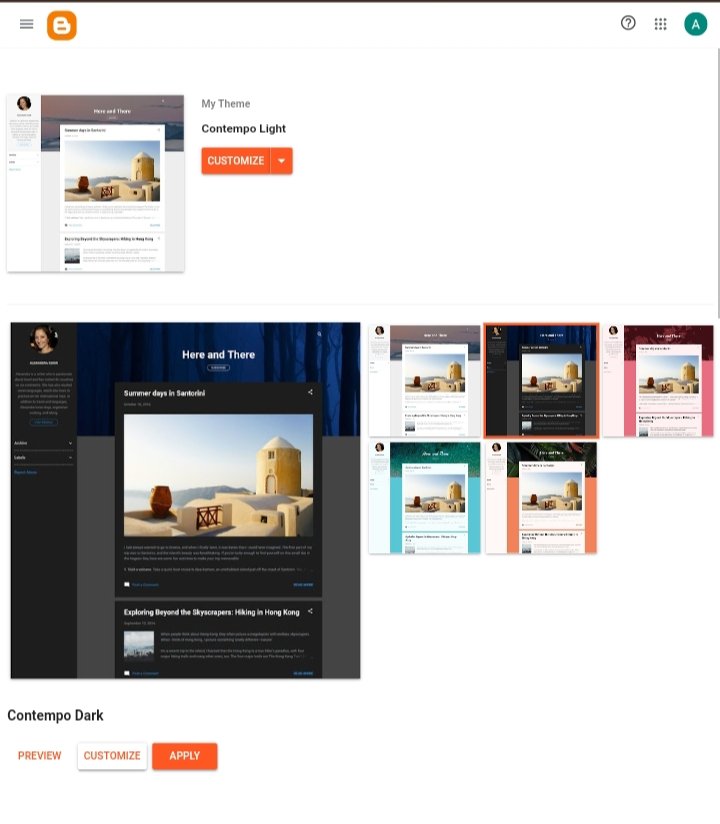
The layout allows me to arrange widgets like my blog archive, search bar, and the about section
Add Three Dummy Product Posts
Creating my First Post
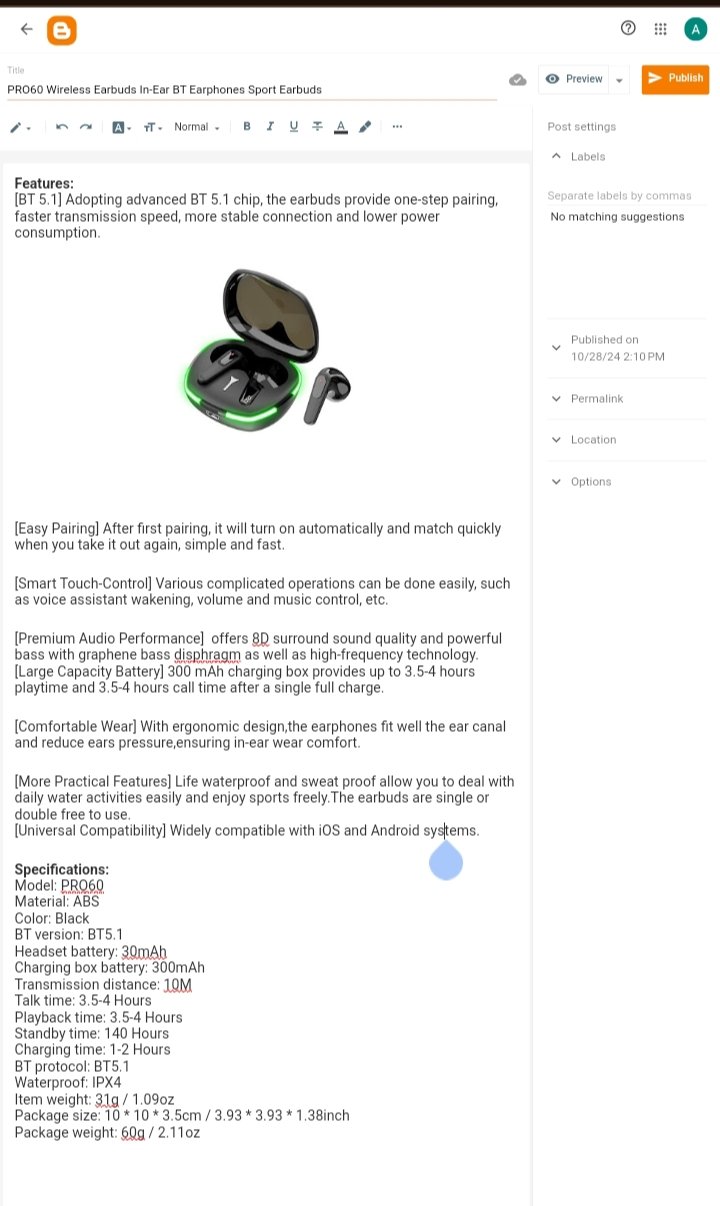
- For me to create my first posts, I click on "New Post in the left sidebar. This opens the post editor for me to do the following.
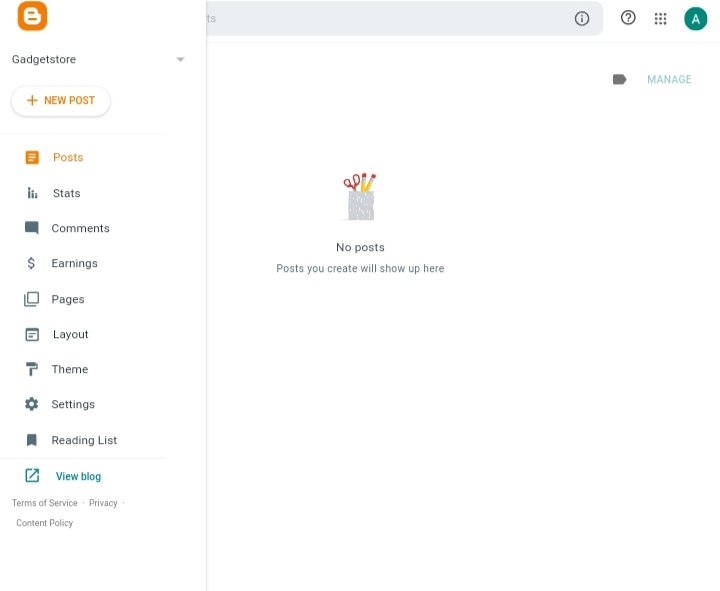
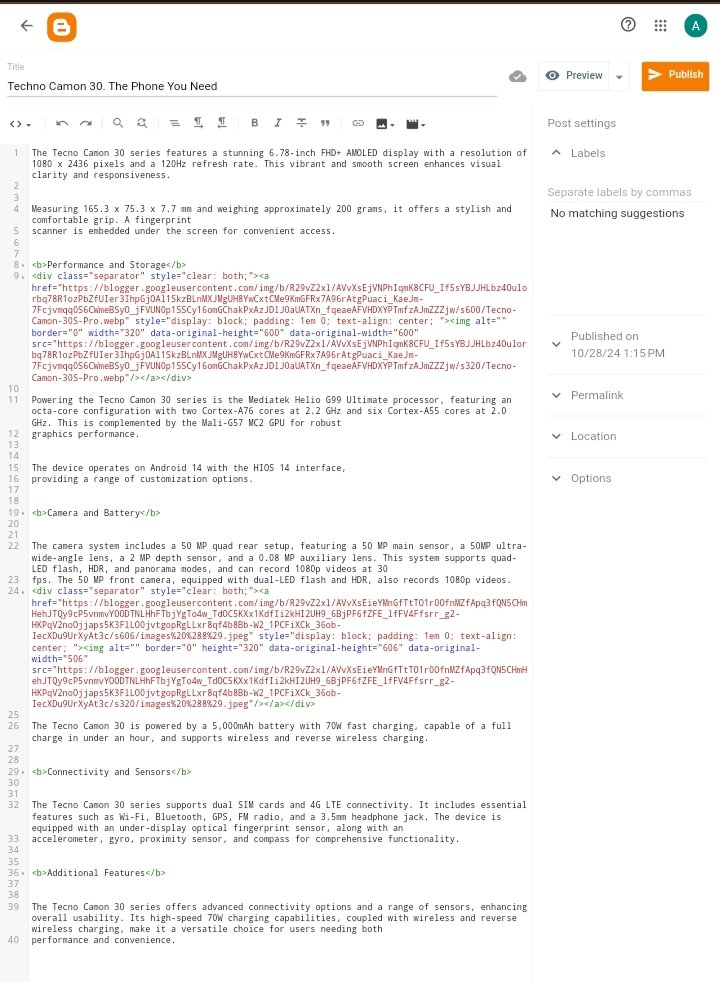
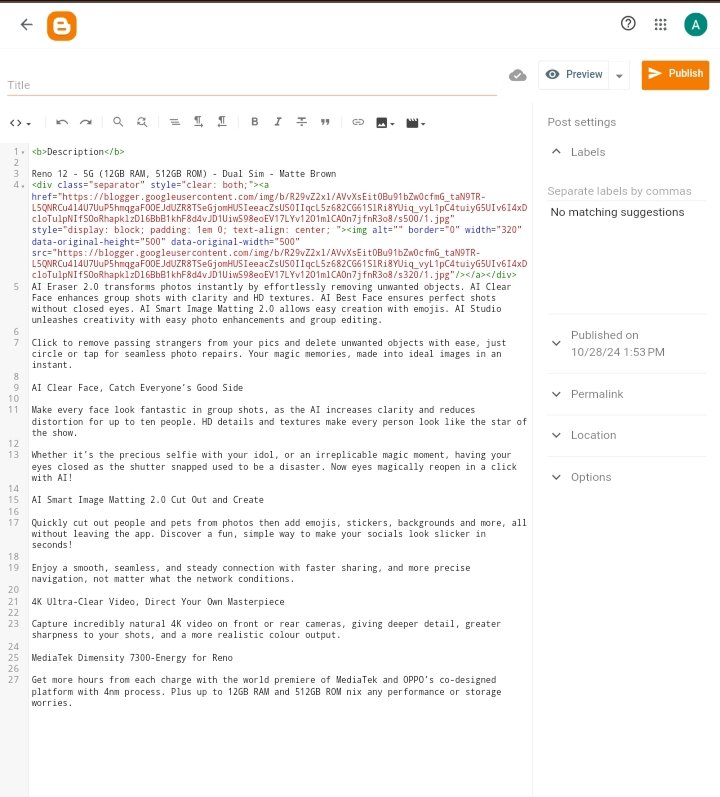
Add a Title:I use a catchy and relevant title.Write Your Content:This is where I Add text and images. Although other media like video can be added, I only add images.
 |  |  |
|---|
Labels:These are similar to categories or tags that I used to organize my content.
Preview and Publish My Post
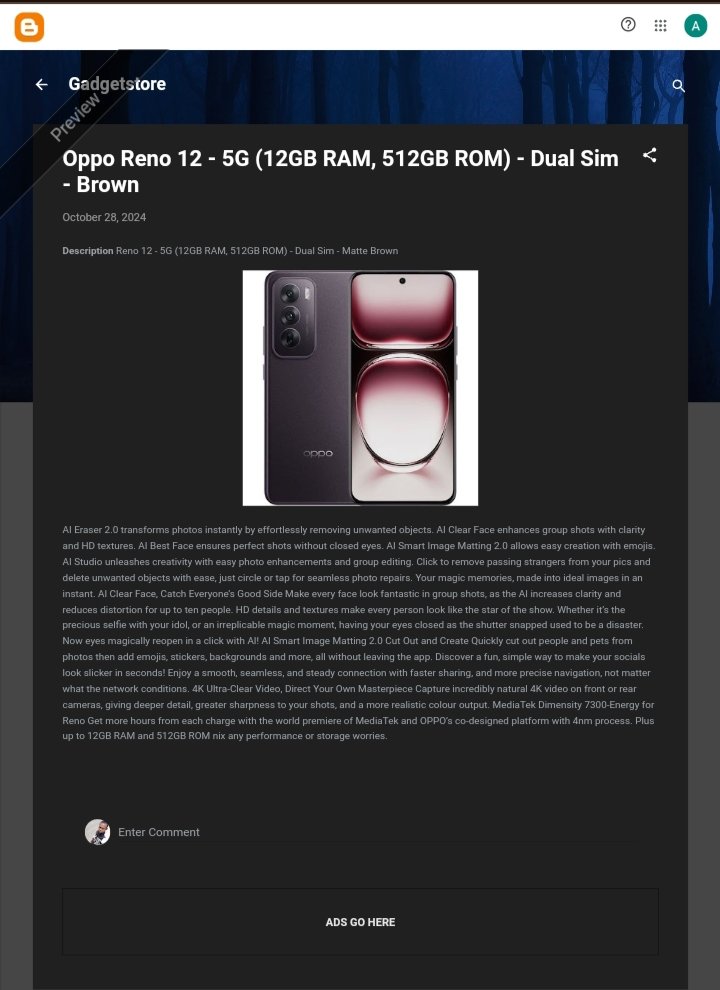
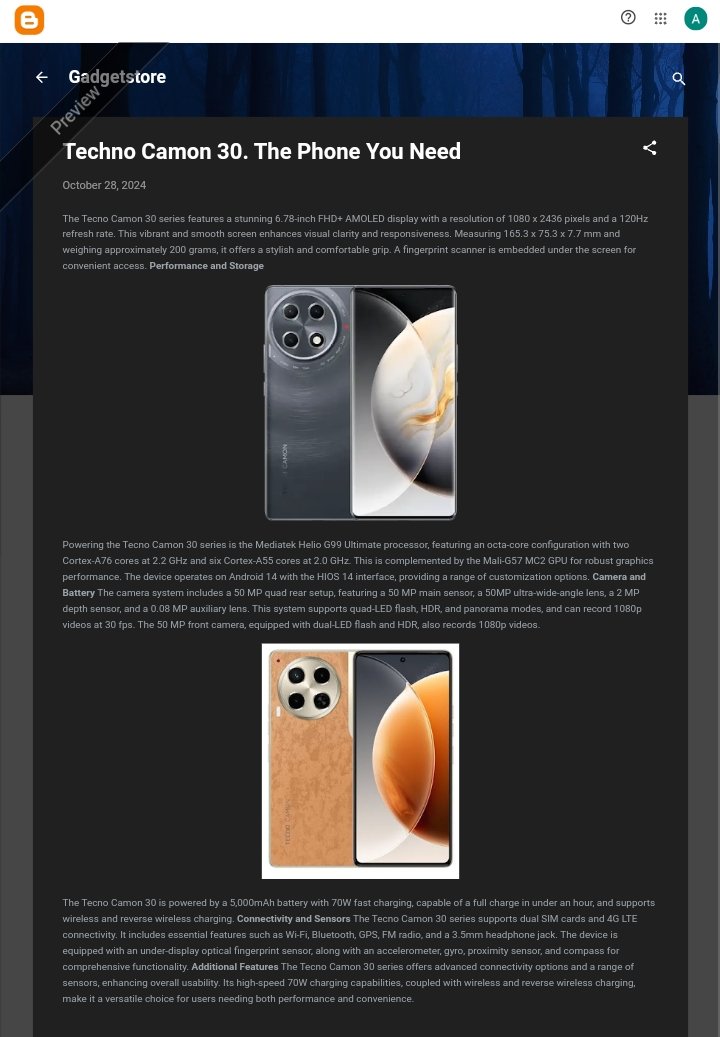
- I click on the Preview to see how my post will look immediately after it is published.
 |  |
|---|
- As I was satisfied with the look of my post, I then clicked on Publish for the post to go live on my blog.
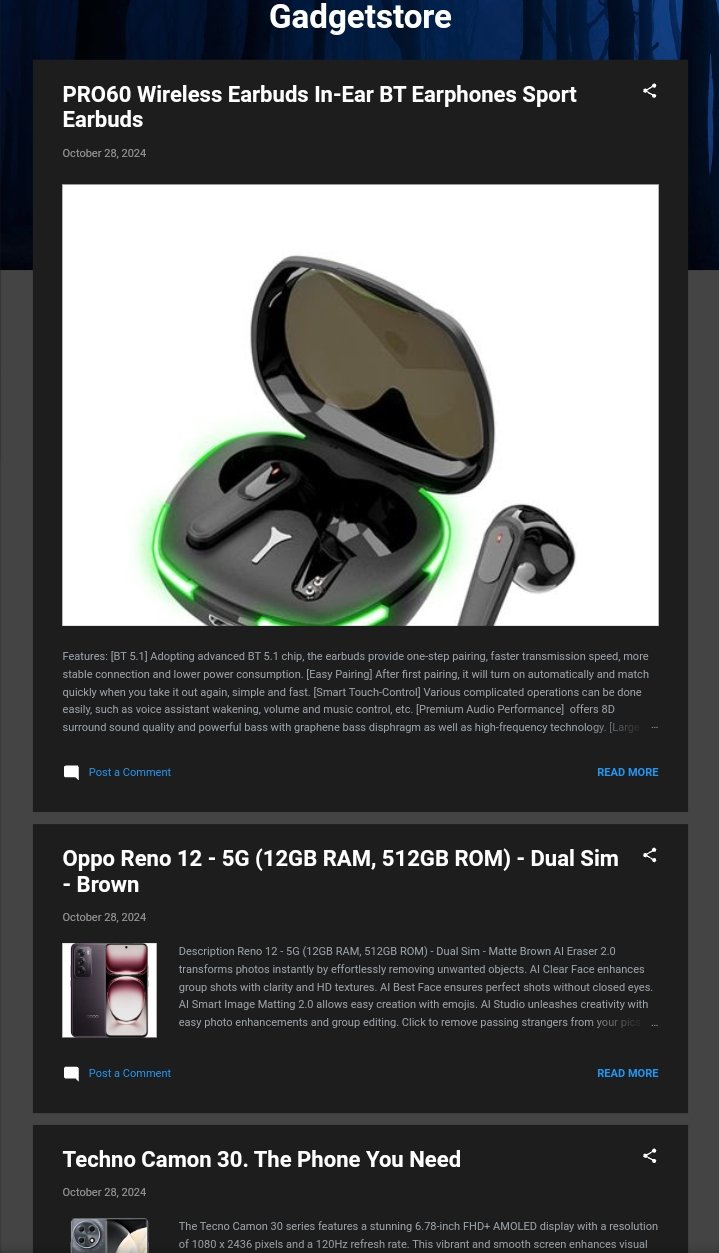
https://gadgetstorejoe.blogspot.com/2024/10/techno-camon-30-phone-you-need.html
https://gadgetstorejoe.blogspot.com/2024/10/description-reno-12-5g-12gb-ram-512gb.html
https://gadgetstorejoe.blogspot.com/2024/10/pro60-wireless-earbuds-in-ear-bt.html
Adjusting My Blog Settings
- For me to adjust the information such as language, meta description, and privacy, I click on Settings on the left-hand side.
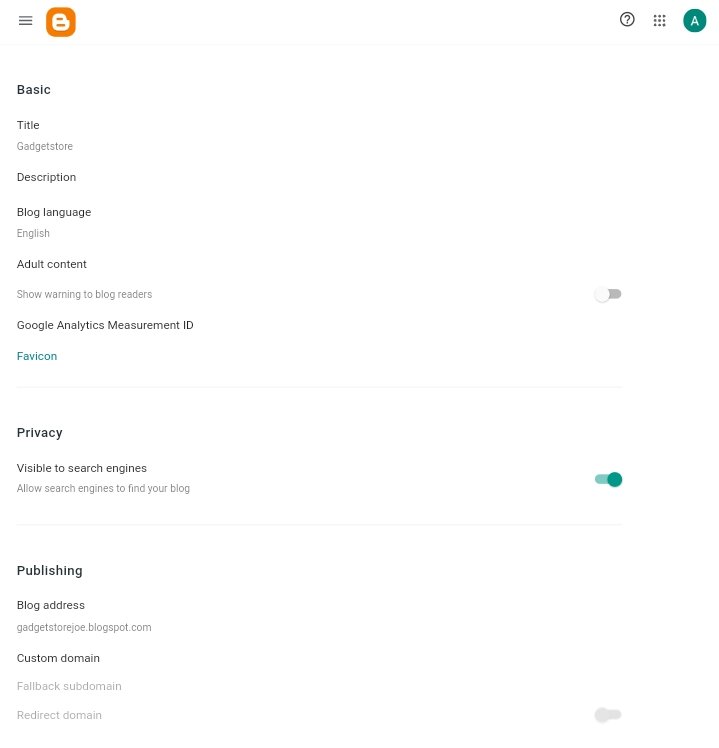
- It is from the settings that I made some changes to my blog I can also configure the search engine optimization, Monetization option, and custom domain if I want to monetize my blog for add display.
Cc:-
@hamzayousafzai
I am inviting: @kuoba01, @simonnwigwe, and @dove11
Comments