Attempting a Button Joint : 17 April 2024
7 comments
I have continued the stuffing and sewing process of my little friend-in-the-making here.
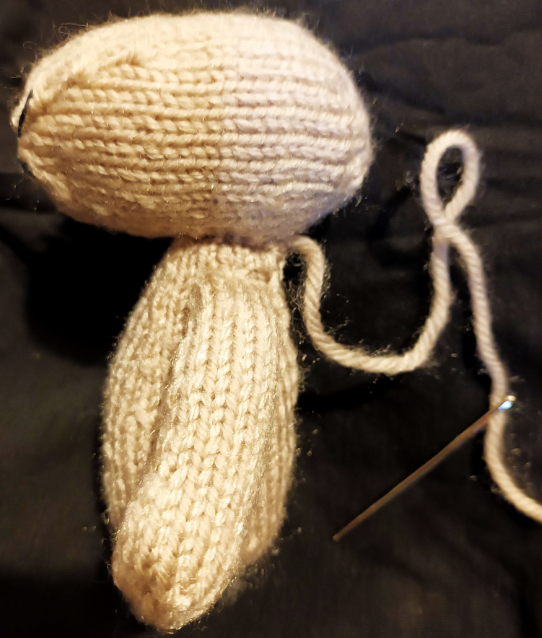
The photo above shows you the profile of its head, which reminds me a bit of ET. Having completed all that I realised that the arms were going to be ‘fixed’ like that, ie without any movement. It was too late to change that step which actually follows the instructions in the knitting kit. It was too late because after sewing the arms I decided to join the neck to the head using the same yarn so if I cut it off to redo the arms I would have to sew the whole thing again; it’s taken me a long time to get here as it is. I decided to look into ways of attaching toy legs so there's movement. The kit is quite simplistic and it does not offer any options.
After a lot of thinking and checking You Tube for inspiration, it seems that the best way to go about it is to attempt a Button Joint. I do not own anything that uses this method so I cannot clarify further here other than just show you what I’m aiming to achieve. See the photo below :
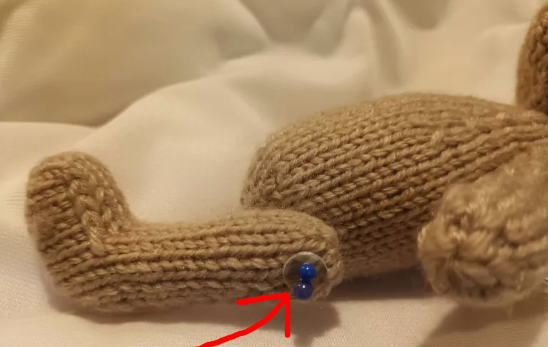
The idea is that you join a button on the outside of the leg of the toy through the leg and body. You need to do this without cutting the thread. This in theory is not complicated but it requires some fiddly sewing.
It was great to find that couple of small transparent buttons suitable for the size of the toy. I also managed to find a long needle to go through them.
This clear tutorial shows how to do this process. I haven't attempted it yet as I've been collecting matching thread, that long needle and the buttons. In the video the person uses an extremely long needle . I don’t own one like that but as this is such a small toy it may not be necessary anyway. I've linked the video below in case you are interested:
Thank you for reading !
Comments