Update #87: Writing Expedition ✍️, Have Fun while Writing! Construction of Cooker & Frying Pan From Waste Carton
11 comments
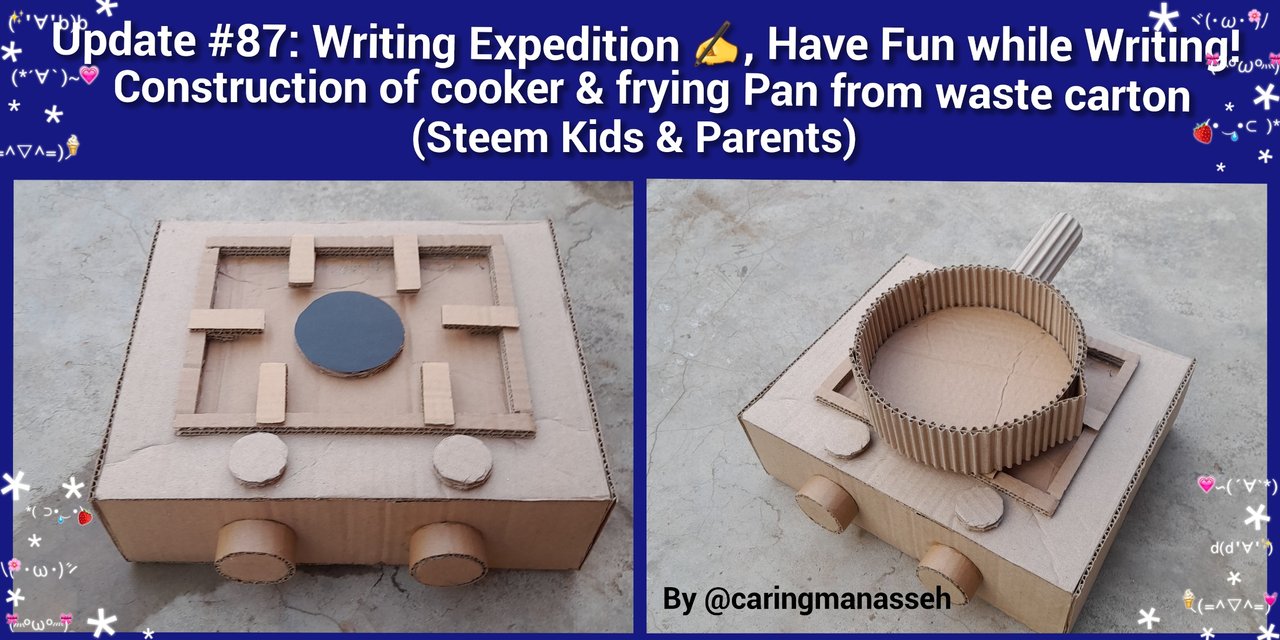
Edited from GridArt
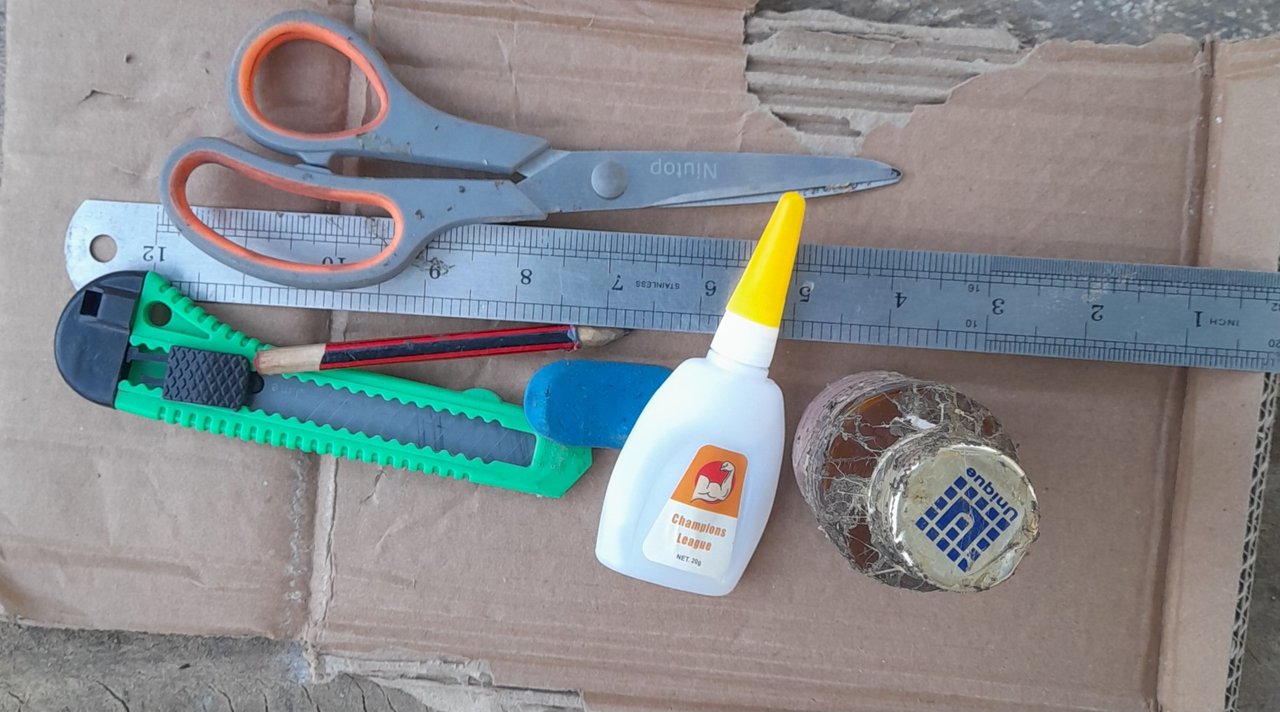
Materials For Construction
- Waste carton
- Black embossed paper
- Evostik gum
- Ruler
- Pencil
- Eraser
- Scissors
- Paper cutter
- Adhesive
Step 1
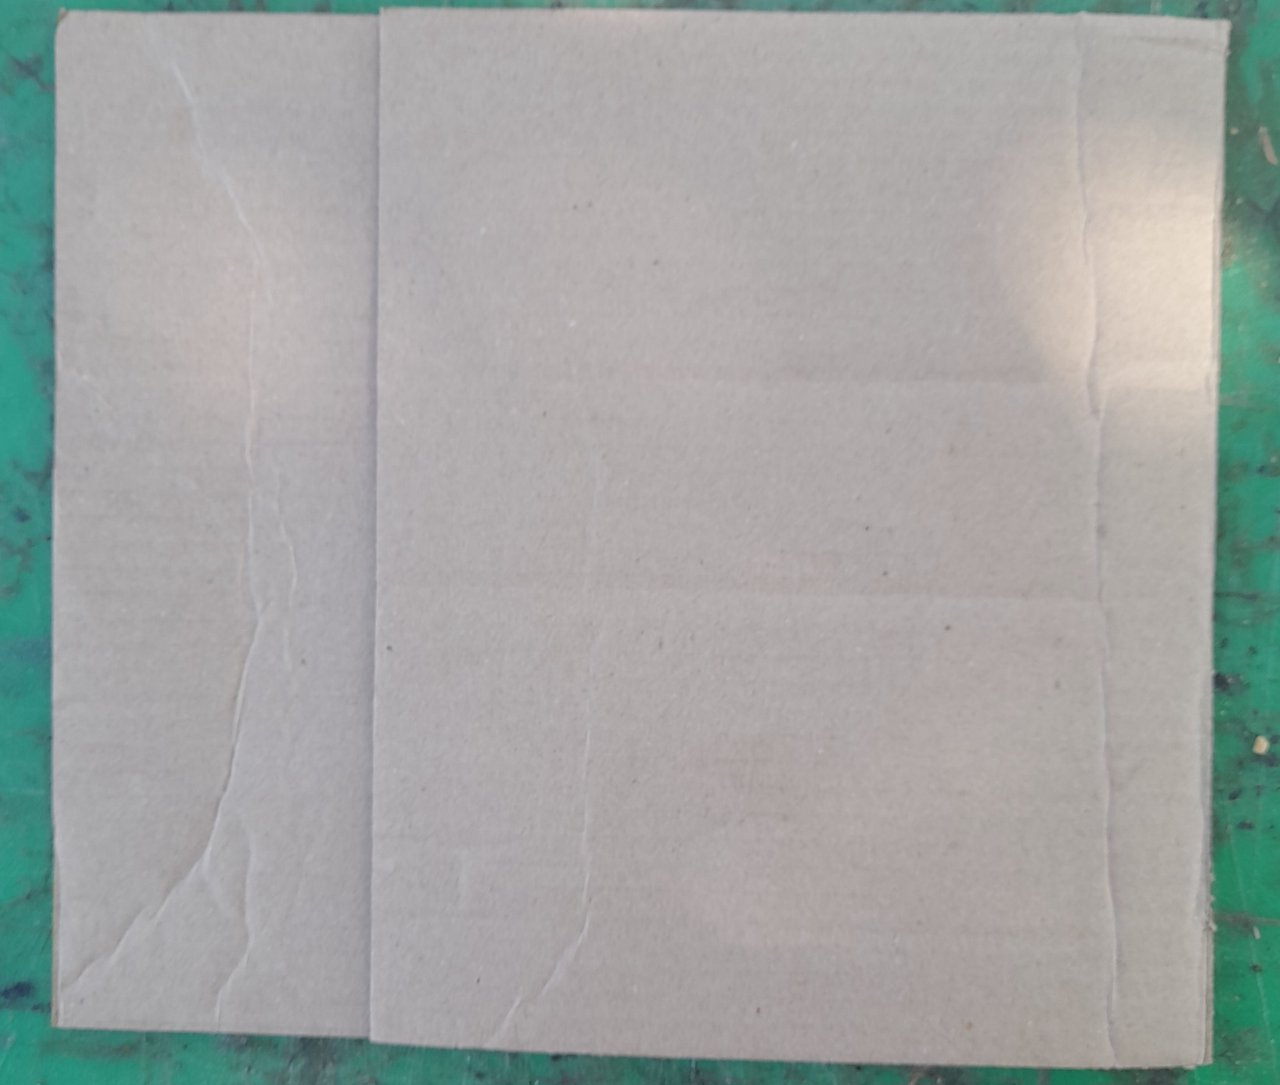
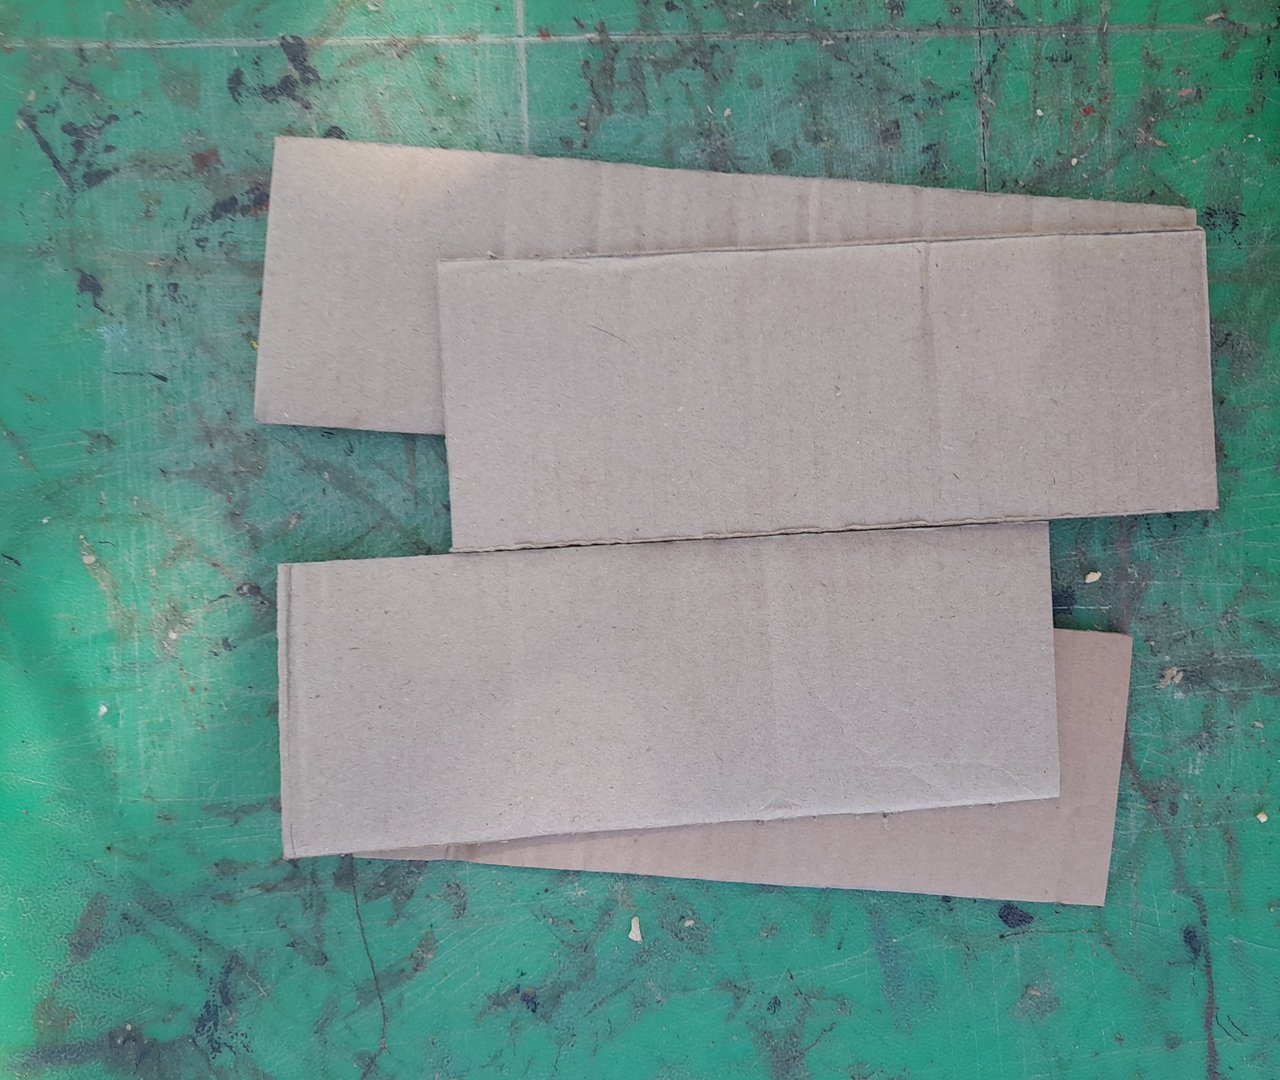
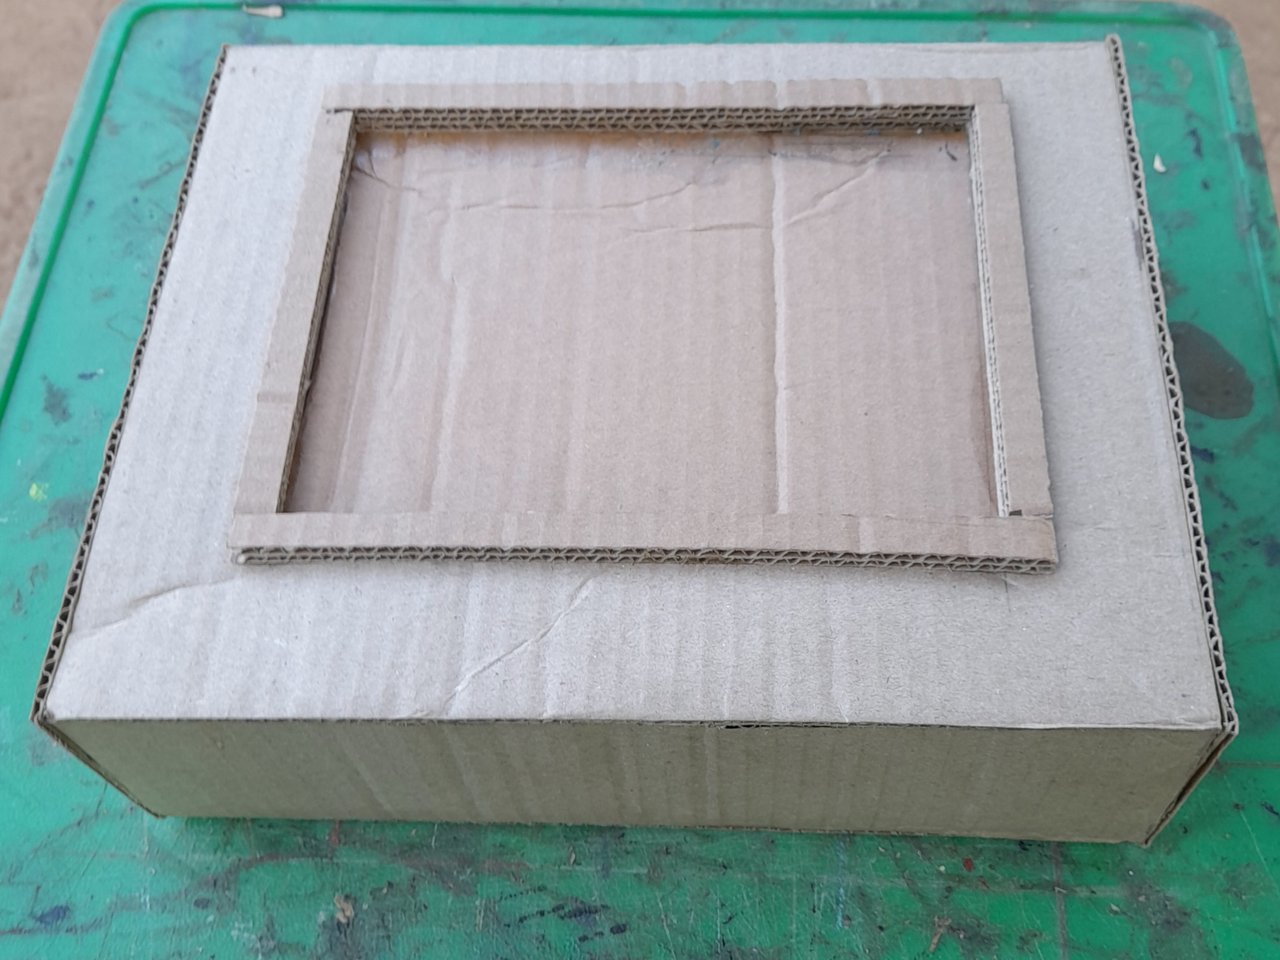
I began my construction by taking my measurements on the carton and cutting them appropriately. I started with the top and bottom of the cooker which measured 30cm by 25cm. The front and back views are measured 25cm by 9cm while the two sides views are measured 30cm by 9cm.
Step 2
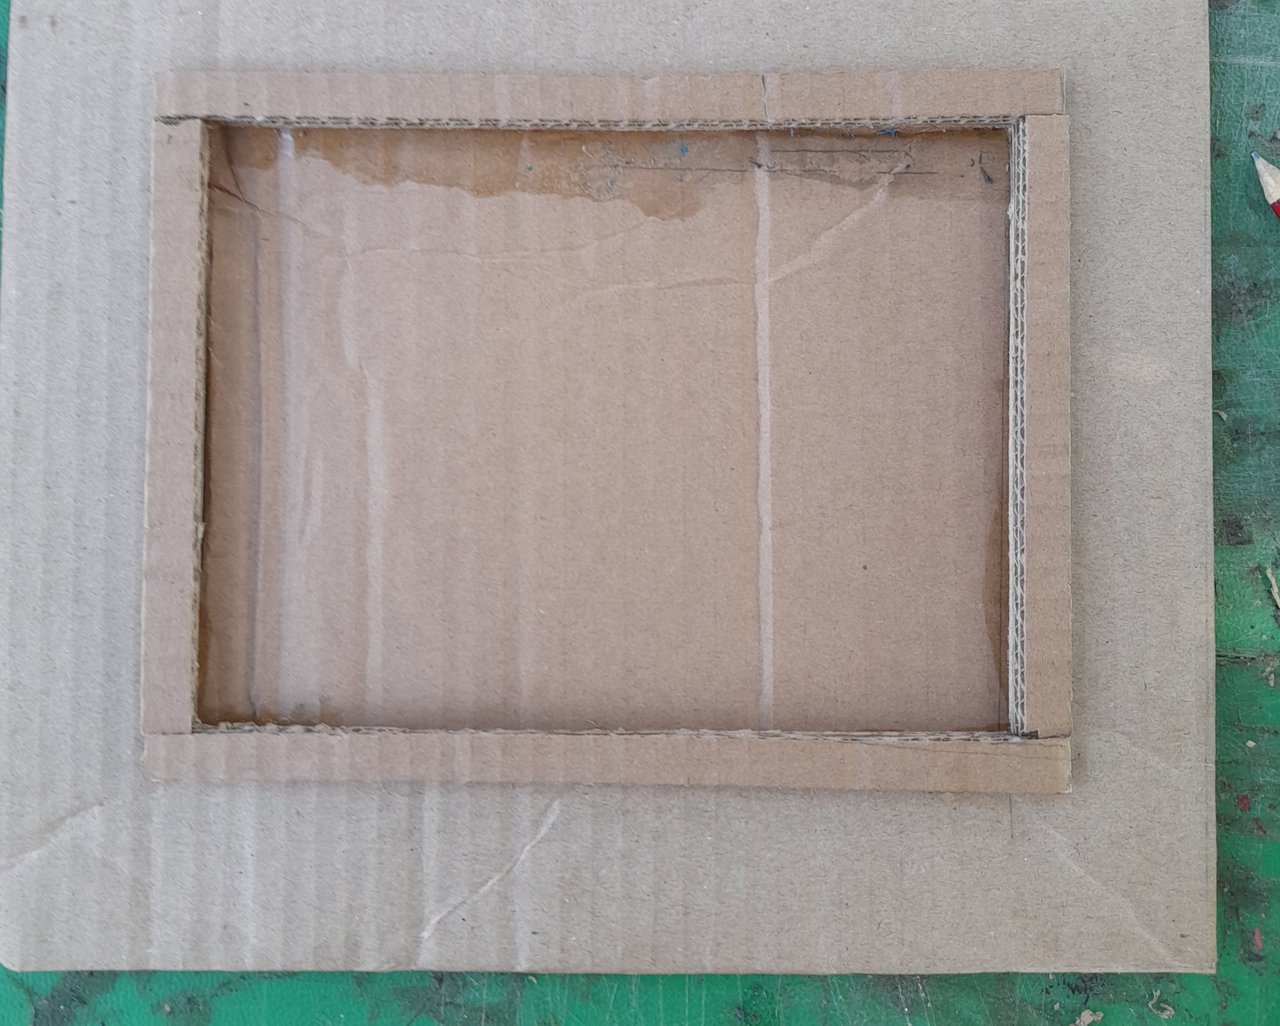
On the front panel, I cut a rectangle shape measuring 20cm by 15cm. After that, I cut a carton 1cm wide and gummed it around the edges of the rectangular shape. Finally in this step, I covered the rectangular hole created with a carton through the back of the front panel.
Step 3
I gummed the measurement taken in step one above to form the frame of the gas cooker. I used both the evostik gum and Adhesive to glue the cartons.
Step 4
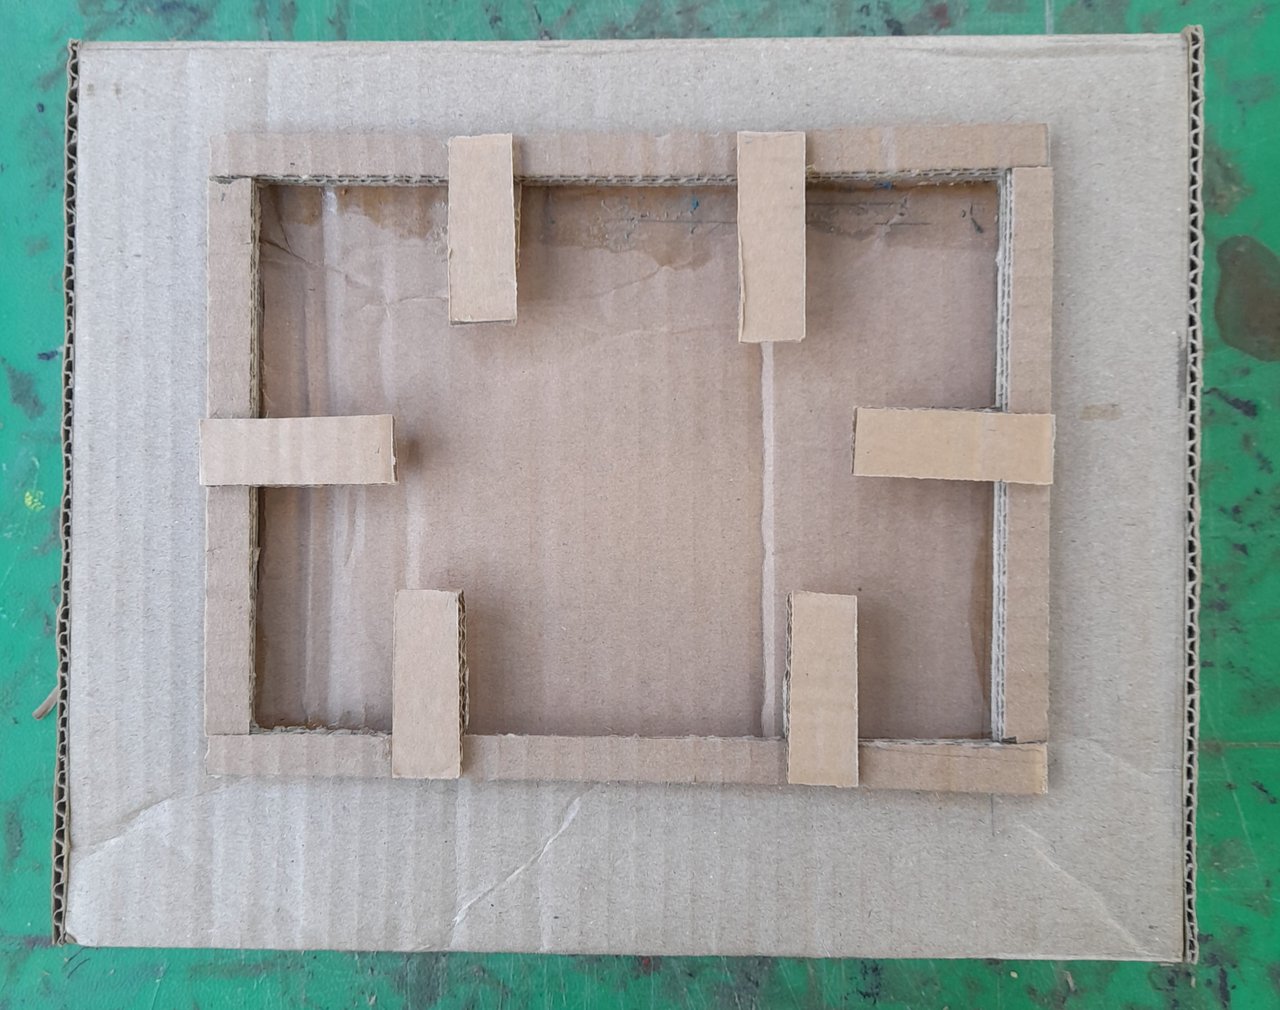
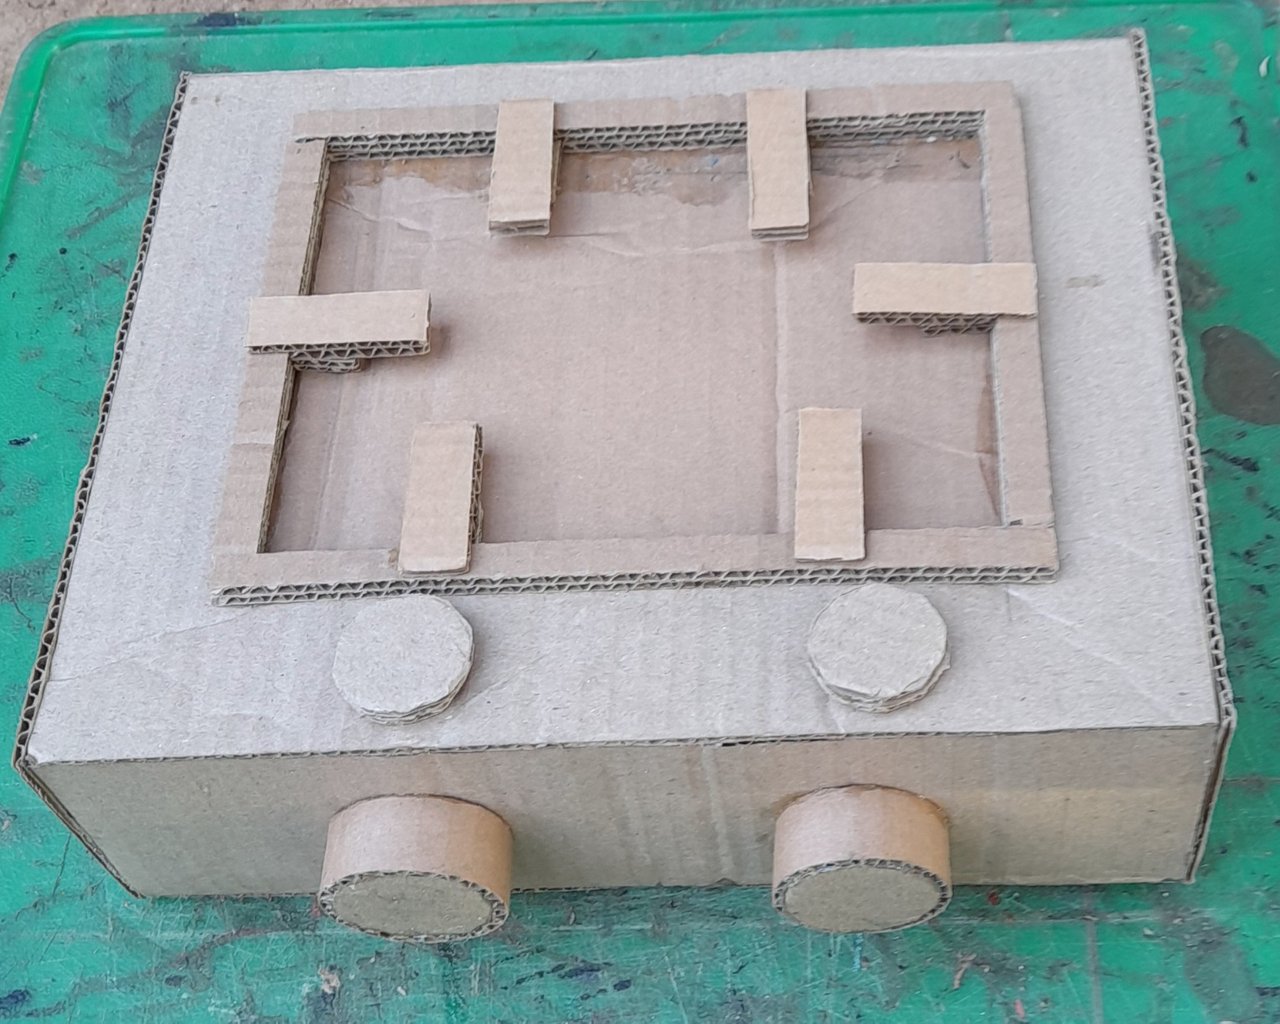
I constructed the pan-supporter. The pan-supporter measures 1.5cm wide and 5cm long. Six pieces were constructed and mounted on the front panel of the gas cooker using the evostic gum.
Step 5
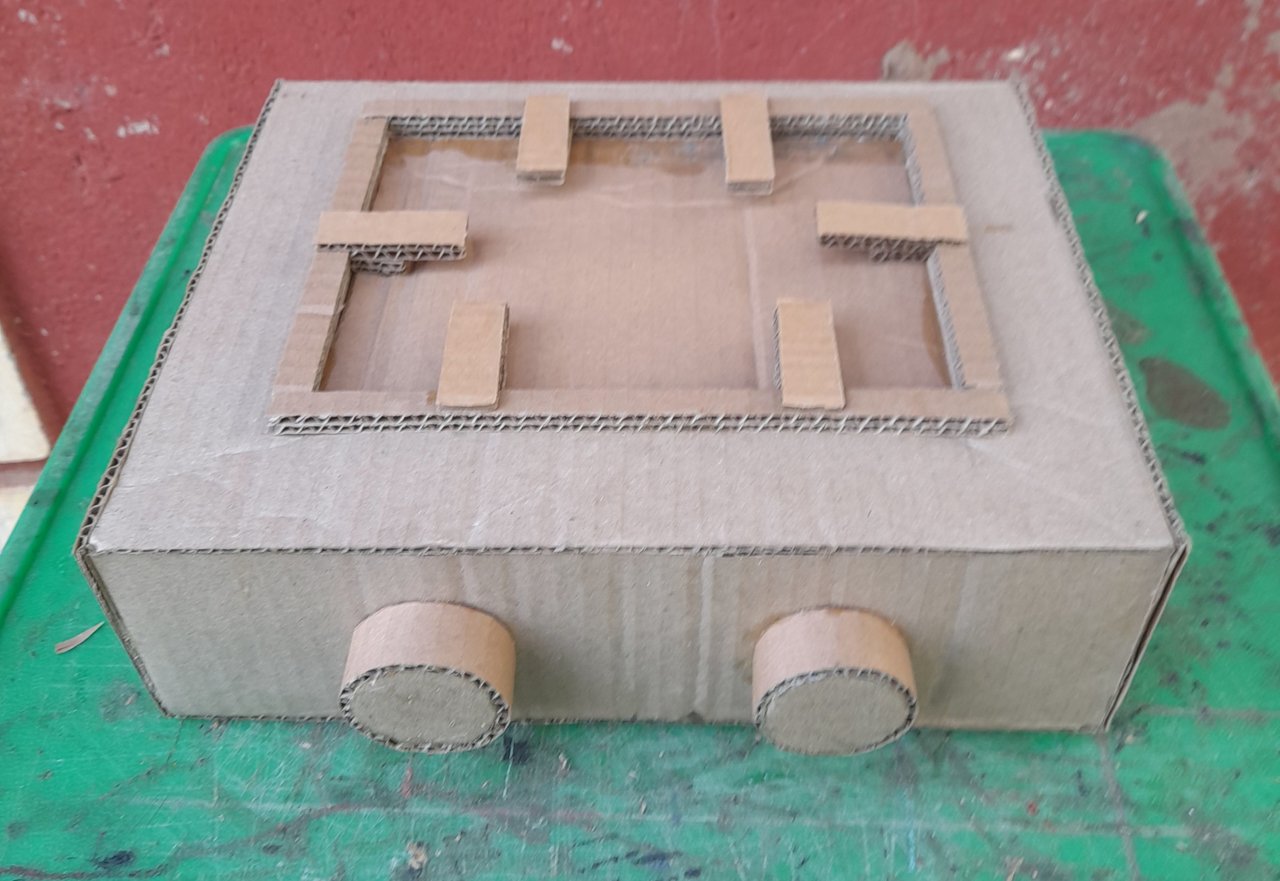
I constructed two knobs by cutting a small circle and a rectangular carton of 2cm wide. I gummed the rectangular carton around the circle to form the kno s. Finally, I gummed the knobs on the cooker.
Step 6
I cut two small circles and gummed them on the front panel to serve as the indicators of the knobs.
Step 7
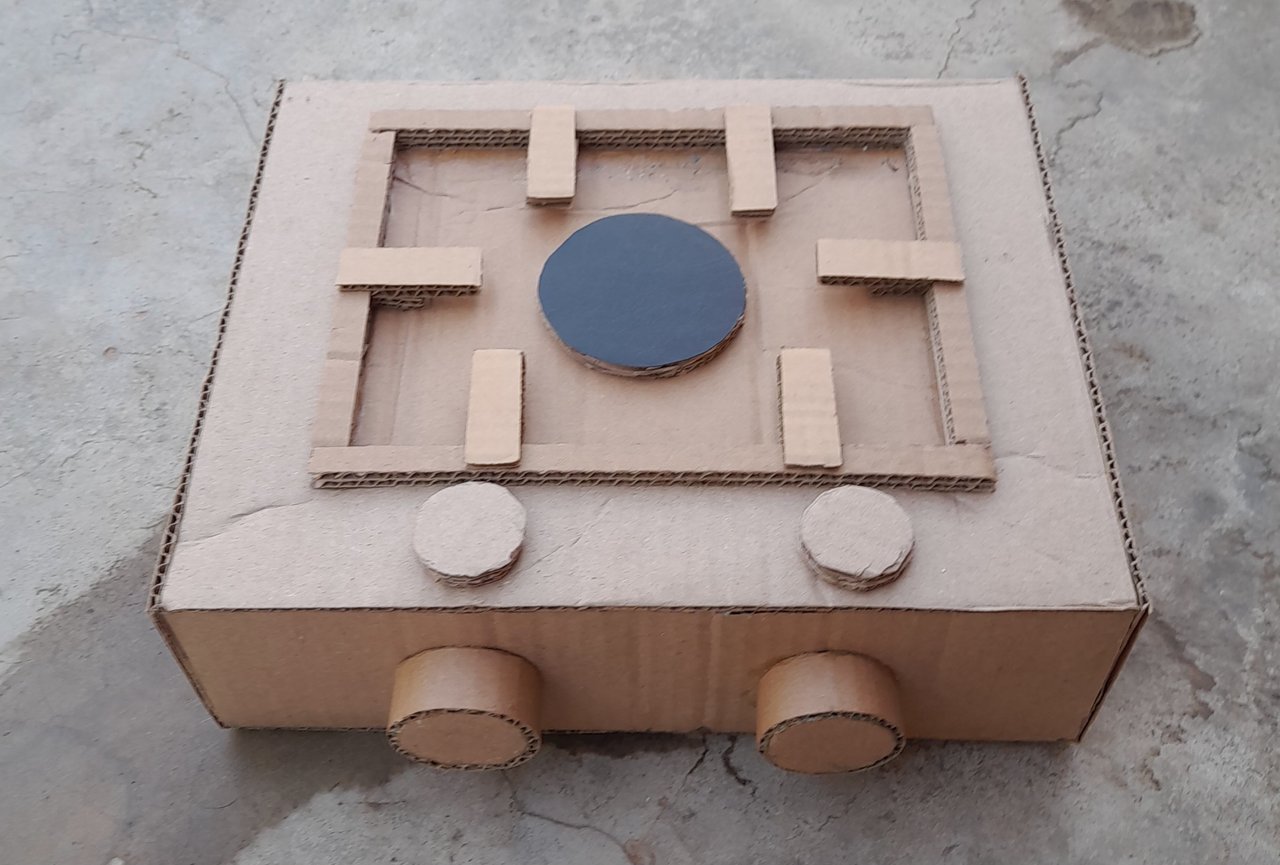
I constructed the circular burner using a carton and I covered the top with black embossed paper. I gummed it on the front panel.
Step 8
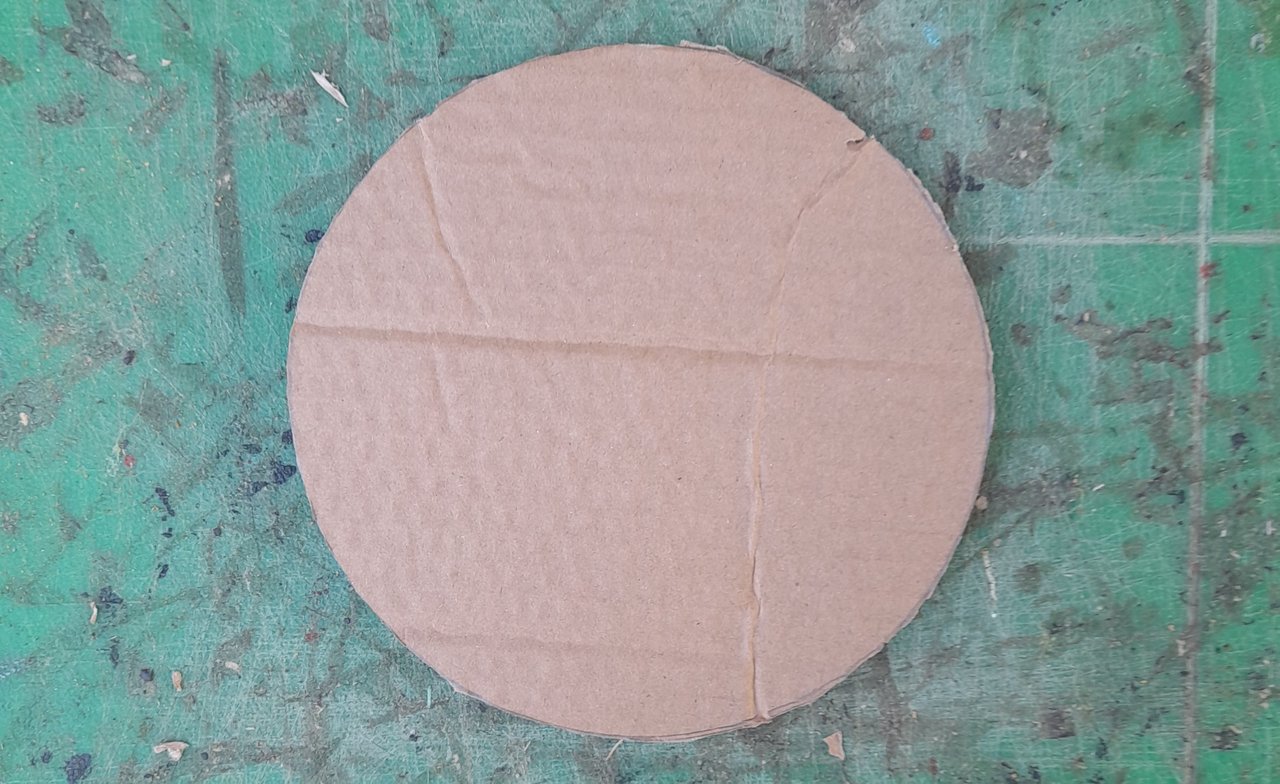
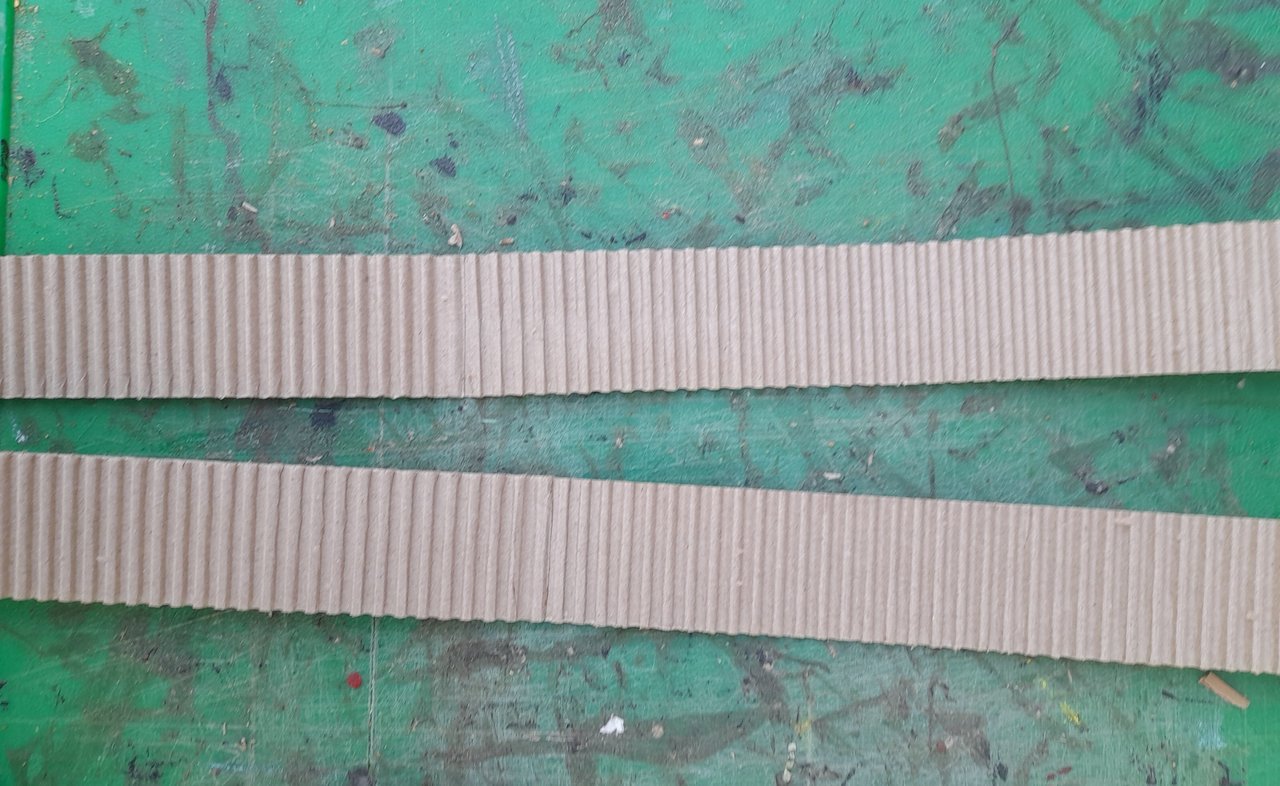
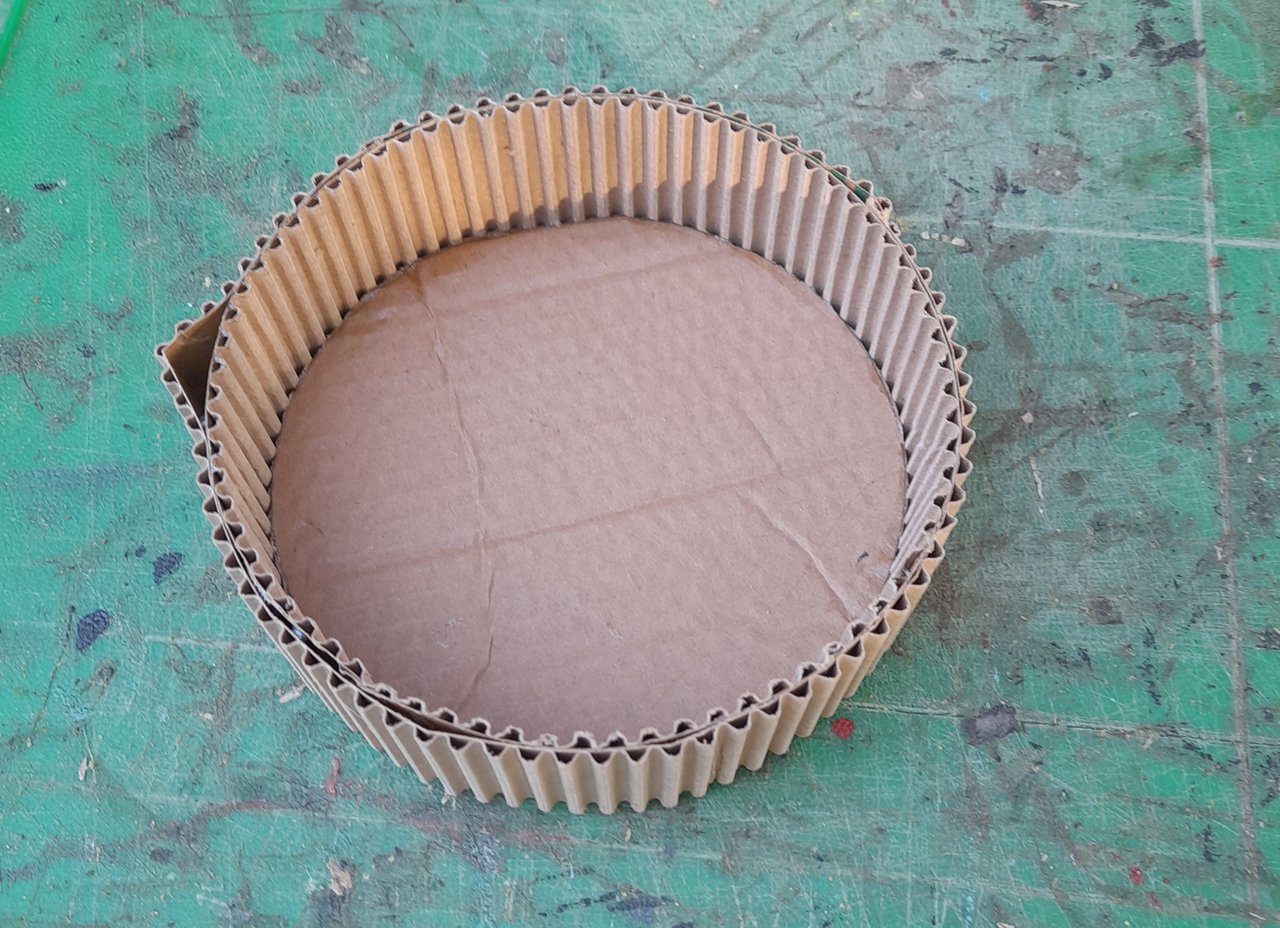
Here I cut a circle That can fit the gas cooker and I also cut two rectangular cartons 5cm wide and peeled one side
Step 9
I gummed the two rectangular cartons together and sealed them around the circular base to form my frying pan.
Step 10
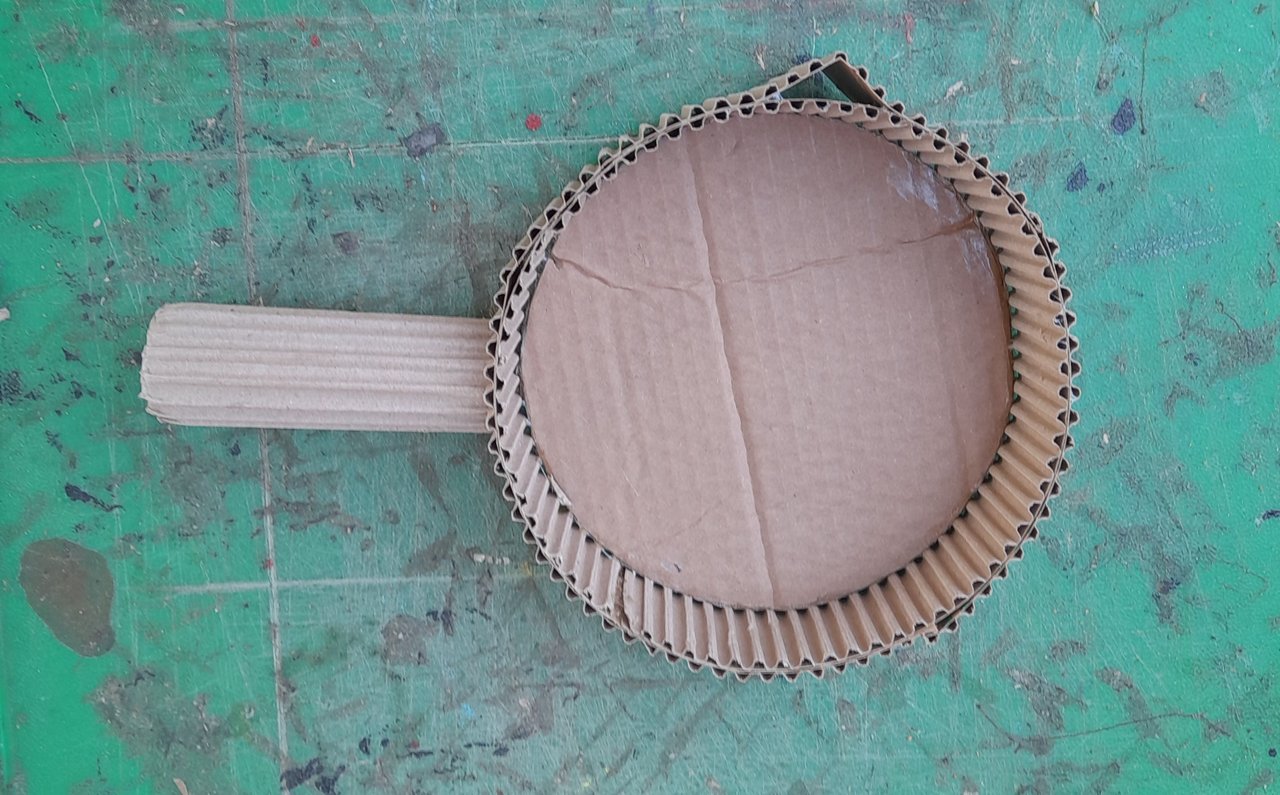
At this step, I formed the handle of the frying pan using a carton and gummed it on the pan using Evostik gum.
Step 10
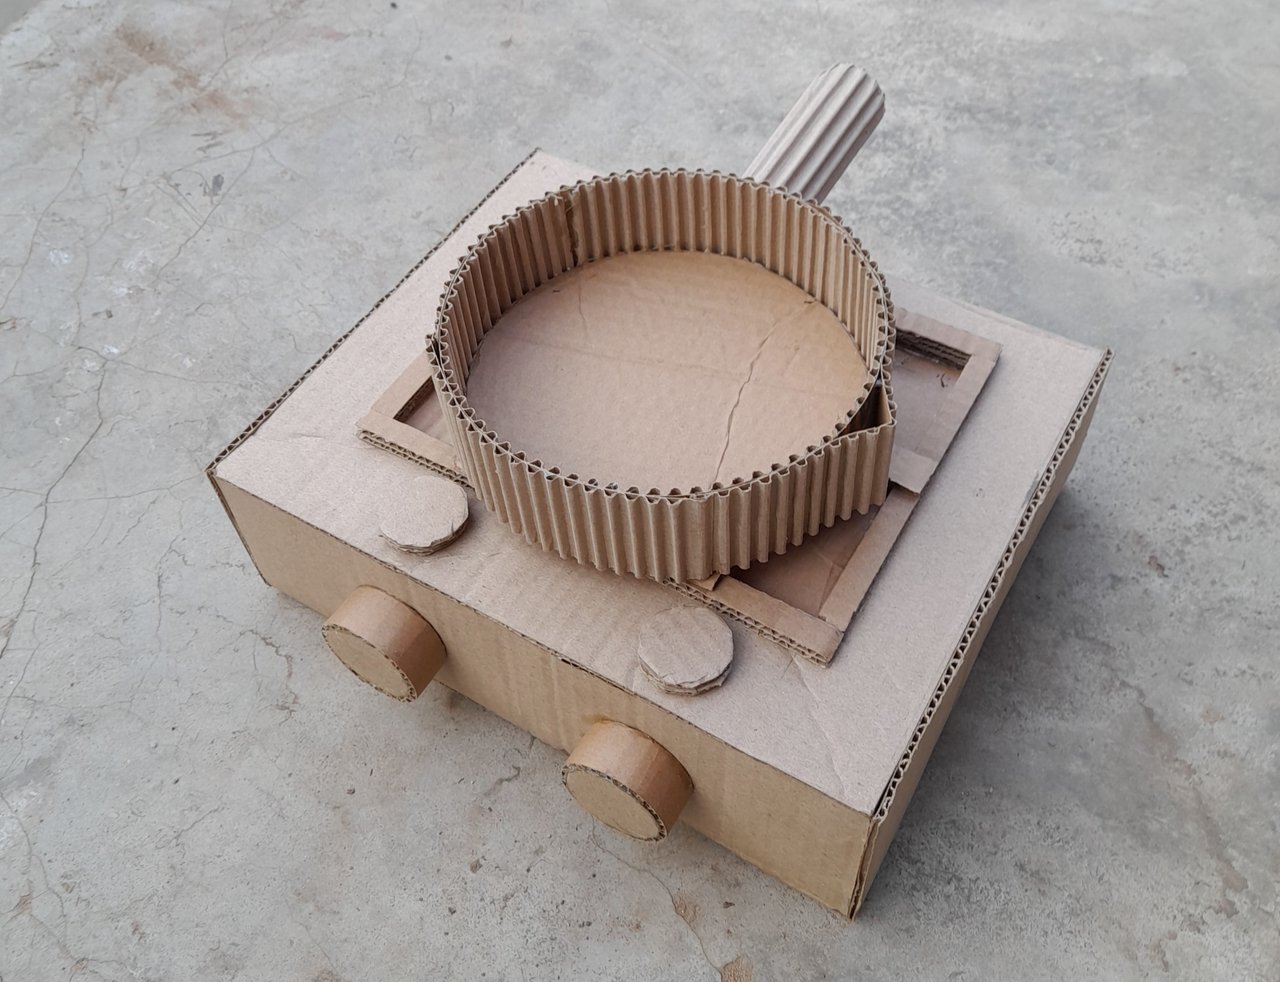
I mounted my frying pan on the gas cooker.
Selfie
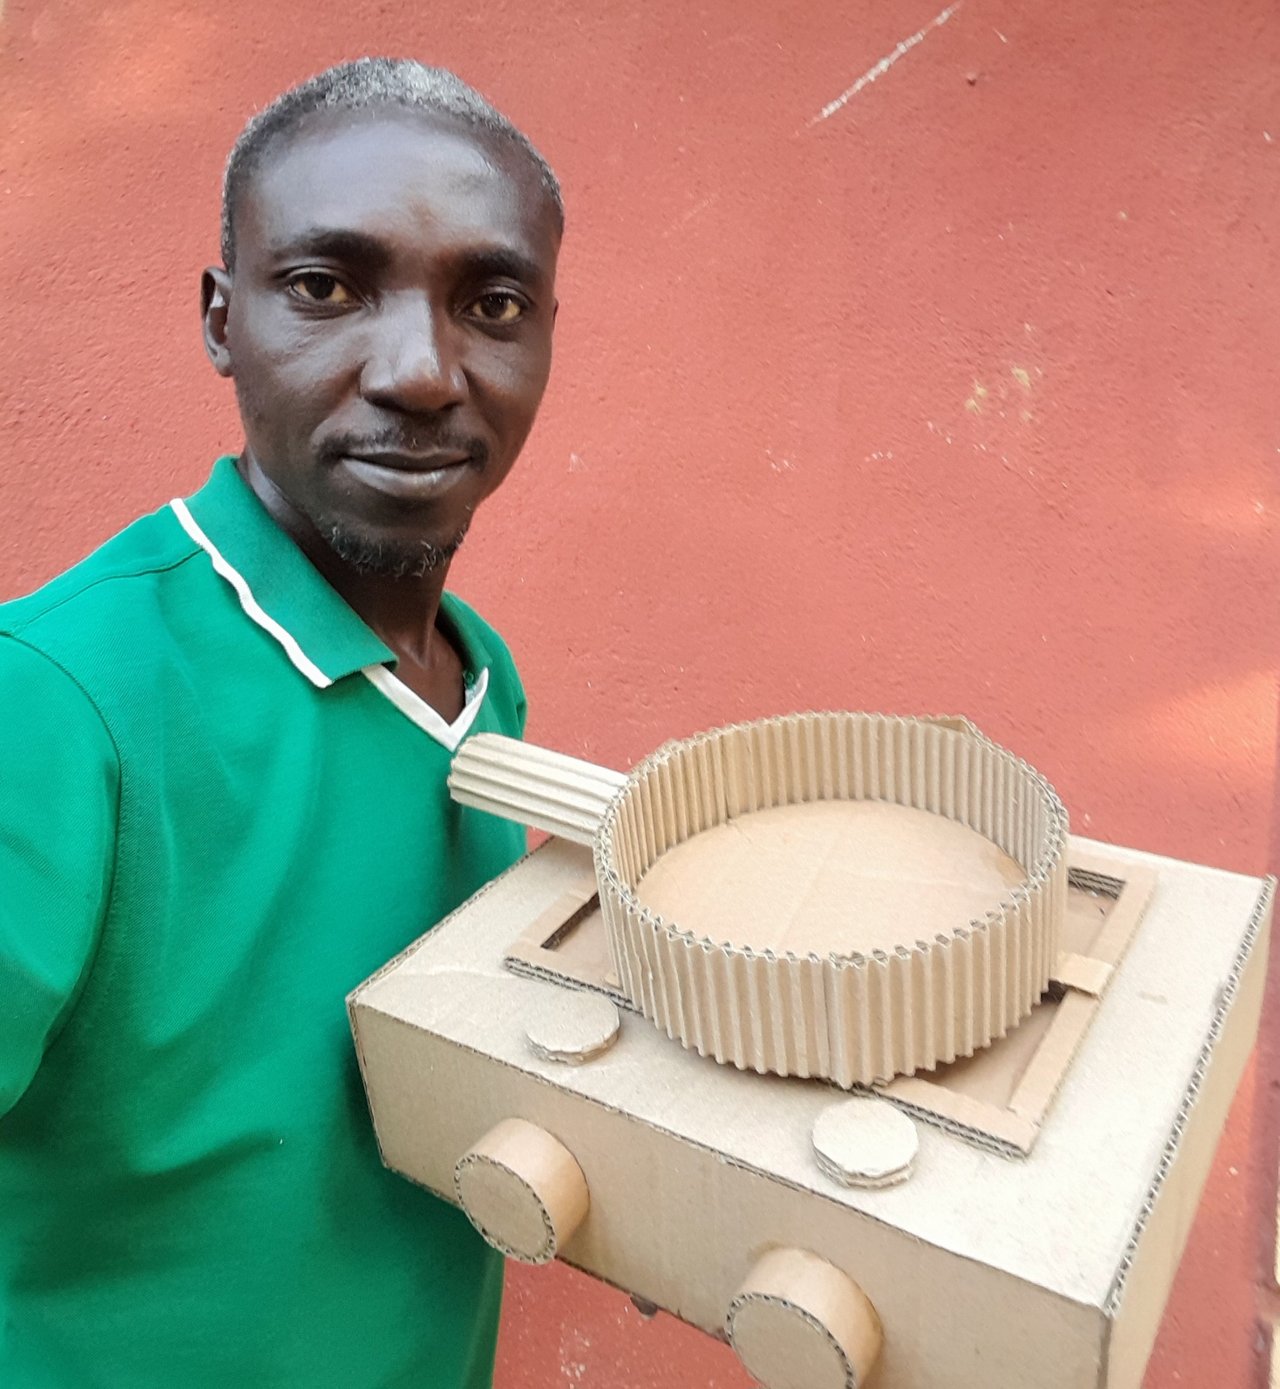
This is my craft presentation for this week's contest. Thank you friends for visiting my blog and for your support. I also appreciate @steemkidss for organising and sustaining this contest. I invite my fellow Steemians to also participate in this contest:
@chant
@pandora2010
@zisha-hafiz
@ihorgic
Cc
10% support to @steemkidss
Comments