SLC-S21W3 | Apply your eye makeup correctly to highlight your look
10 comments
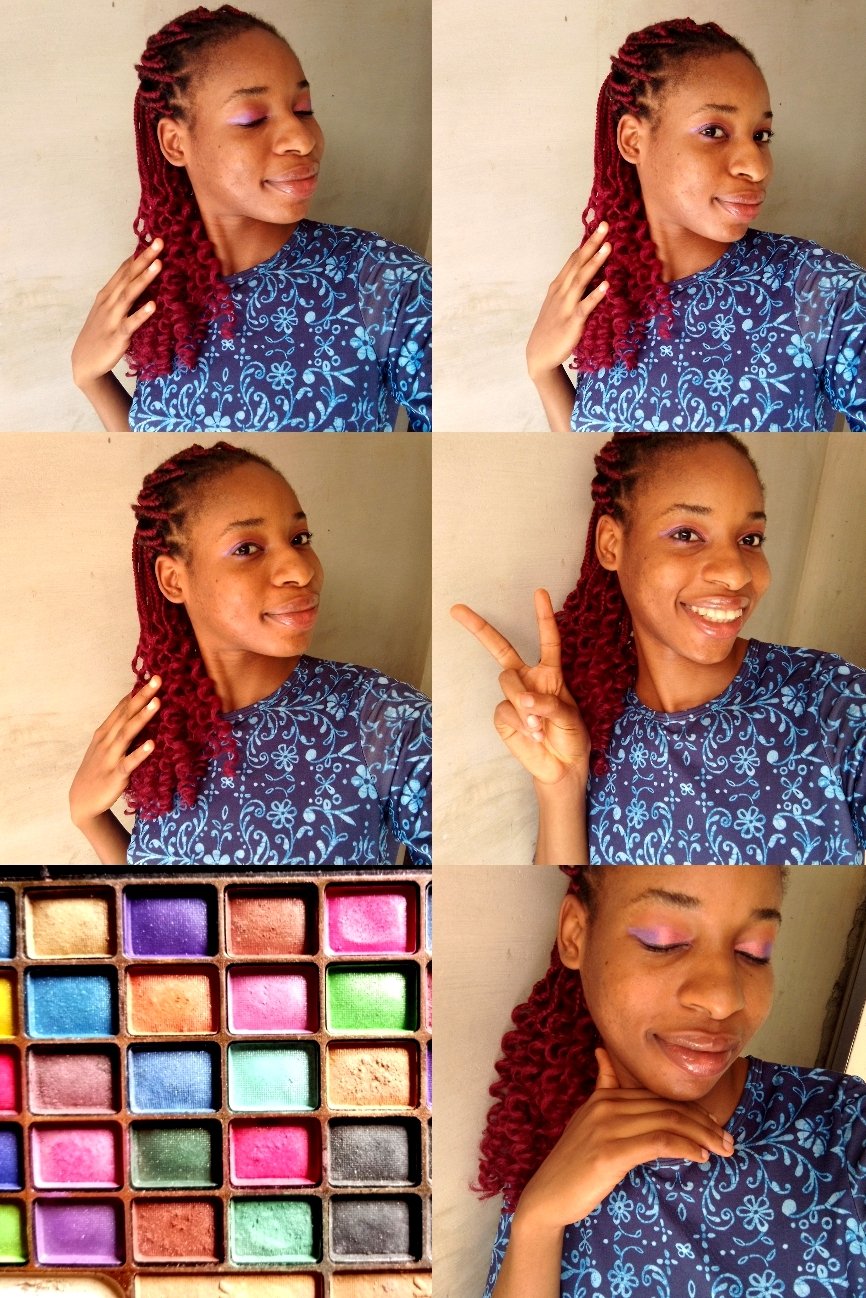
Hello friends♥️. It's an exciting time to try some makeup and I'm happy to take on this activity!
Today we'll be applying eye makeup and doing it the correct way to highlight our look. Eye makeup is a prominent and very important feature of the overall makeup. To achieve an outstanding and polished finishing, care must be taken with regards to the eyes.
With that being said, I've attached some products and a step by step method to applying eye makeup.
💄 - According to what was seen in the lesson, you must do shading on both the upper eyelid and the inner eyelid, with the three tones of your preference and blend it as best as possible; Also, explain and do some research about your eye types and what is the best way to enhance your look according to that type. 04 points.
First, I cleaned my face paying attention to the eye area then I applied primer on my eye area to make it dry and allow the makeup last longer.
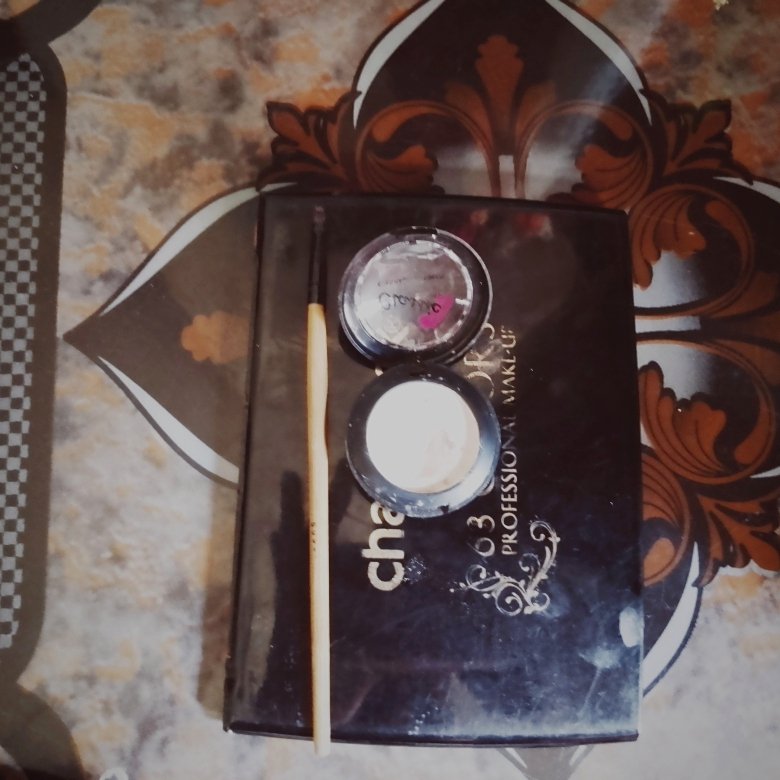
Next I used eye primer and a suitable small mouthed brush to give the eye primer a definite line on my eye. Then I painted the primer all the way through my eyes in the same shape and left it to dry. (Trust the process)😁
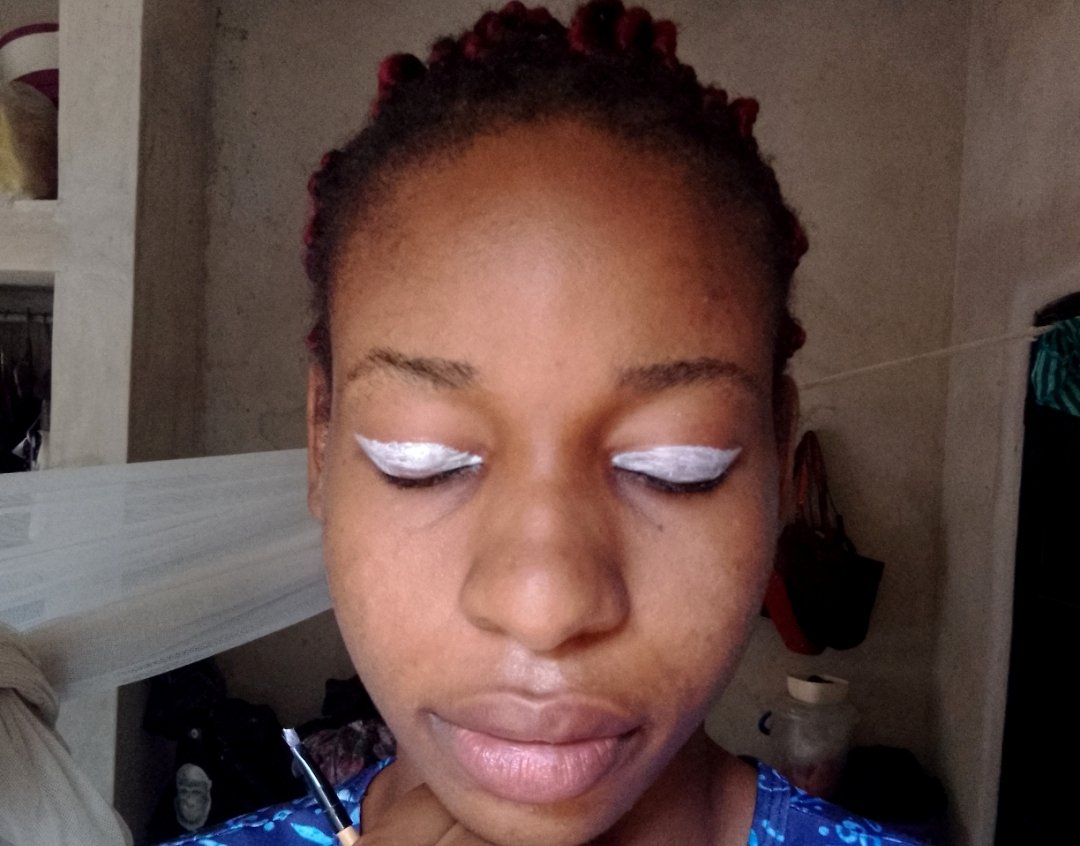
For the shading I chose three colours: black, purple and wine color.
I made use of two types of eyeshadow palette.
The first palette is mostly made up of transition shades. It is dull for the most part and I use it on the upper most part of my eyes (just after the eyebrows)
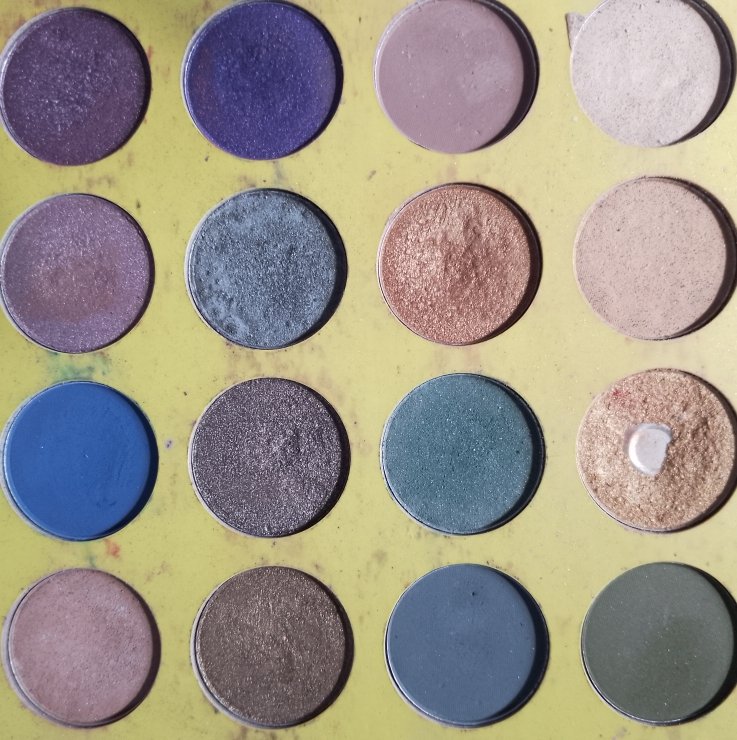
The second pallette is the made eyeshadow which I apply on my eyes (underneath the transition shade)
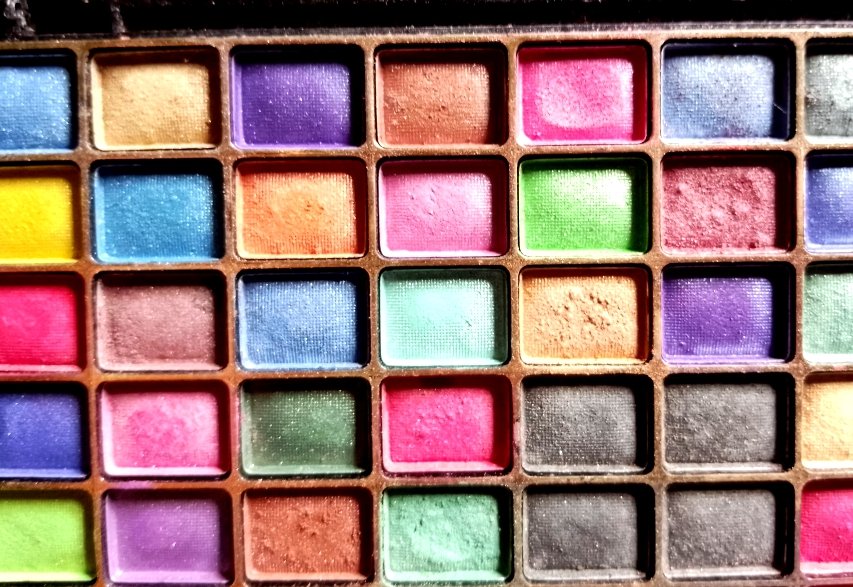
I actually used light red as my transition shade and I applied a little bit of black at the lower part of my eyelid and then wine color at the beginning part and purple at the ending part of my upper eye and I blended it as best as possible to give a defined colour

After my research was conducted, I discovered these types which I have explained to the best of my knowledge
Almond Eyes
People with almond shaped eyes have a visible crease and irises that touch the eyelid’s top and bottom. This eye type is wider than other shapes, with smaller lids.
Round Eyes
Round eyes have creases a person can spot easily. You can see the white part above or below the iris, making them look more noticeable.
Monolid Eyes
Monolid eyes looks flat from the front with no crease or fold in the lids. They can often look bigger in pictures when viewed from a slight angle.
Protruding Eyes
Protruding eyes are often called bulging eyes by some people including myself. Here, when the eyeballs appear to be big or protrude creating a bulge from the eye socket. This can give a rounded appearance. The irises may not touch the eyelids, and the whites of the eyes may be very visible.
Downturned Eyes
Here, the outer corner of the eye droops downward, giving the individual asad or tired look. This shape of the eye appear narrower than other eye shapes due to the droop.
Upturned Eyes
Upturned eyes are often called cat eyes by some. They are the opposite of downturned eyes. This shape is usually almond-like but slightly lifts at the outer corner. The bottom lashes also turn upward.
Close Set Eyes
There is a minimal space between both eyes due to the position of the bridge of the nose. Here, the distance between your inner corners should measure less than an inch or two apart.
Wide Set Eyes
This eye shape is exactly as the mane implies. They are the opposite of close-set eyes. This means the space between them is can be noticed and it is further apart than close-set eyes.
Deep-set Eyes
This eye type make the brow bone stand out and look more exposed than the actual eyes. This happens because they’re set farther back in your skull. Hence the eyebrows are more prominent and noticeable.
💄- For this answer, you should apply the eyeliner on your eyes in the same way as shown in practice, so that it is precise and enhances your look; tell us about your experience and if this step was too difficult for you. 04 points
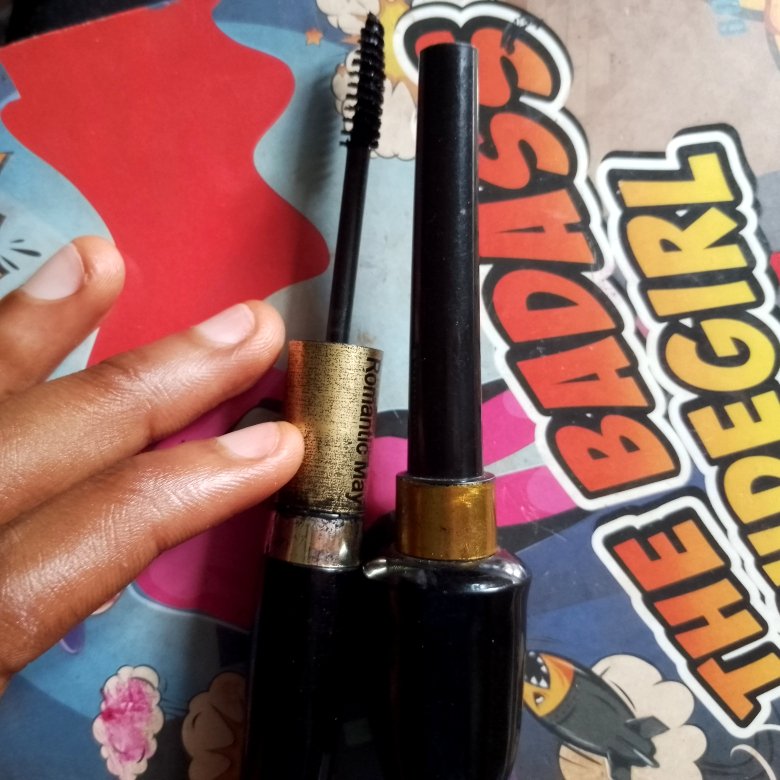
The eyeliner and mascara used
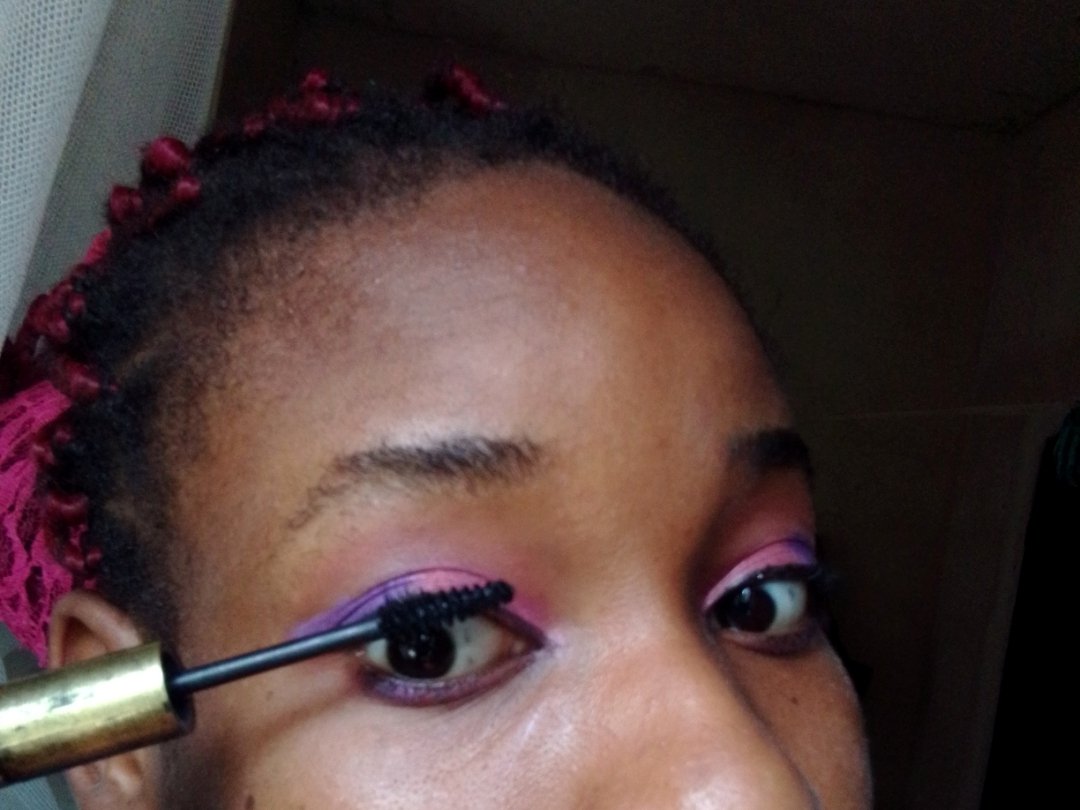
This step wasn't too difficult for me. As a frequent eye liner user. I quickly drew the liner over my eye lid taking special care so that it won't be too thick and damage the eyeshadow or too thin that it's barely visible. Then i gave it a little cat eye towards the ending. Though the purple shade I used covered the cat eye I was trying to demonstrate. Then, I deepened the eyeliner to give a nice finishing.
Next, I used my mascara to lengthen my eye lashes
💄 - Explain which mascara brush best suits your needs and why; also, tell us if you use the eyelash curler or on the contrary, if you glue false lashes, either in dots or in runs.
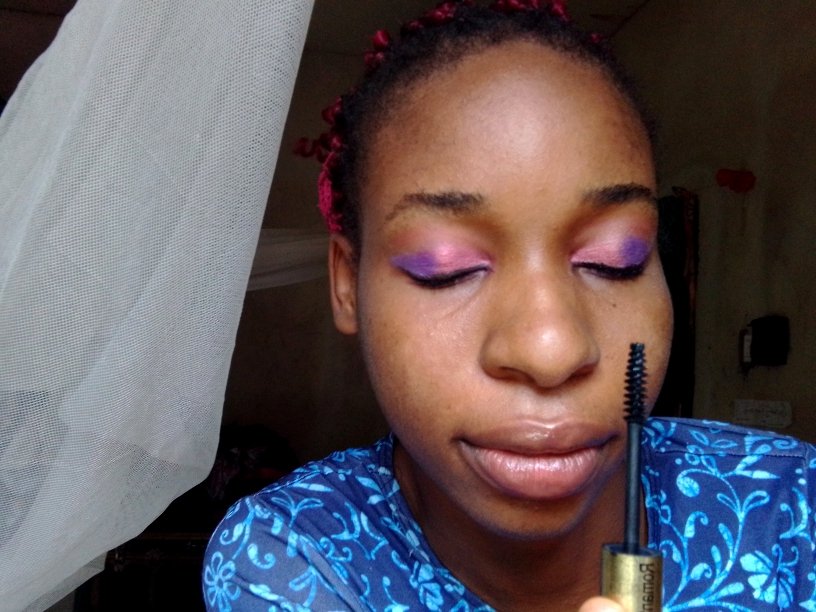
The basic mascara wand does the trick for me and I use it every time. This mascara is widely spaces and ensures that the mascara is evenly spread across the eye lash as the Individual lengthens it through. It doesn't allow a build up of mascara in strategic location but it spreads all through the eyelashes. I did not use false lashes, at least not for today😁 and when I use false lashes I make sure it is very light and thin and is giving a natural look and not too thick or pronounced.
💄 Research and explain what is the best way to clean and wash our implements and how often it should be done to avoid future skin problems. 01 point
First, I use baby wipes to clean the brushes. Spread the baby wipes open in your palms and use the brush to scrub through all edges and angles to remove excess foundation, eyeshadow or other makeup products.
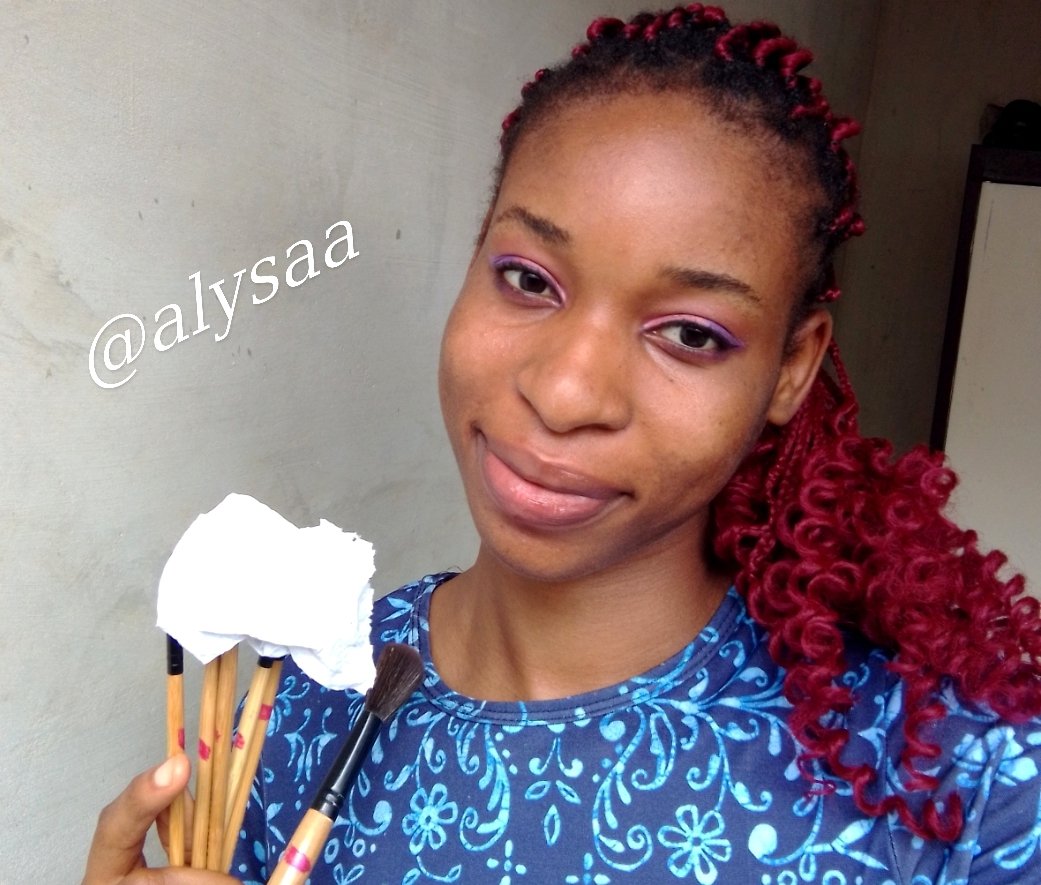
Next, i soak the brushes inside warm soapy water for some minutes to remove left over product that wasn't cleaned by the wipes
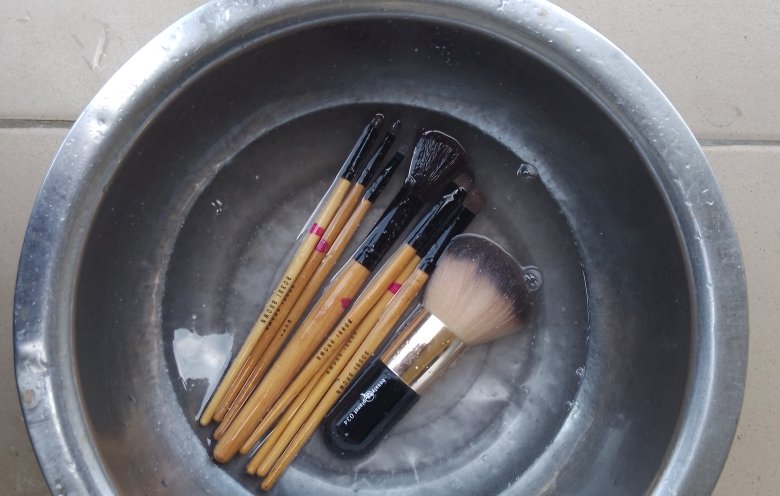
This should be done after every makeup day. Leaving makeup products unwashed till the next time can be very dangerous. It can cause skin care problems like acne or even blisters in extreme cases.
From my research I also discovered the use of alcohol propylene to clean makeup brushes. Though I haven't used it before I'll try doing it sometime. The alcohol propylene should be sprayed on the cloth to be used in cleaning and then thoroughly, the individual should brush each stick across the damp cloth and then simply leave to try. However, I prefer the warm water method with a mild soap because it actually removes all the extra dirt and makes it germfree and save to use again.
I really enjoyed this activity. I also learned some hacks myself and this activity will definitely help in lessening the time I usually spend doing eye makeup for occasions😁. Thank you friends for reading. Hope you've also learnt some important details♥️
I invite @eliany, @khayjay and @goodybest
Comments